Disclosure: This post may contain affiliate links.
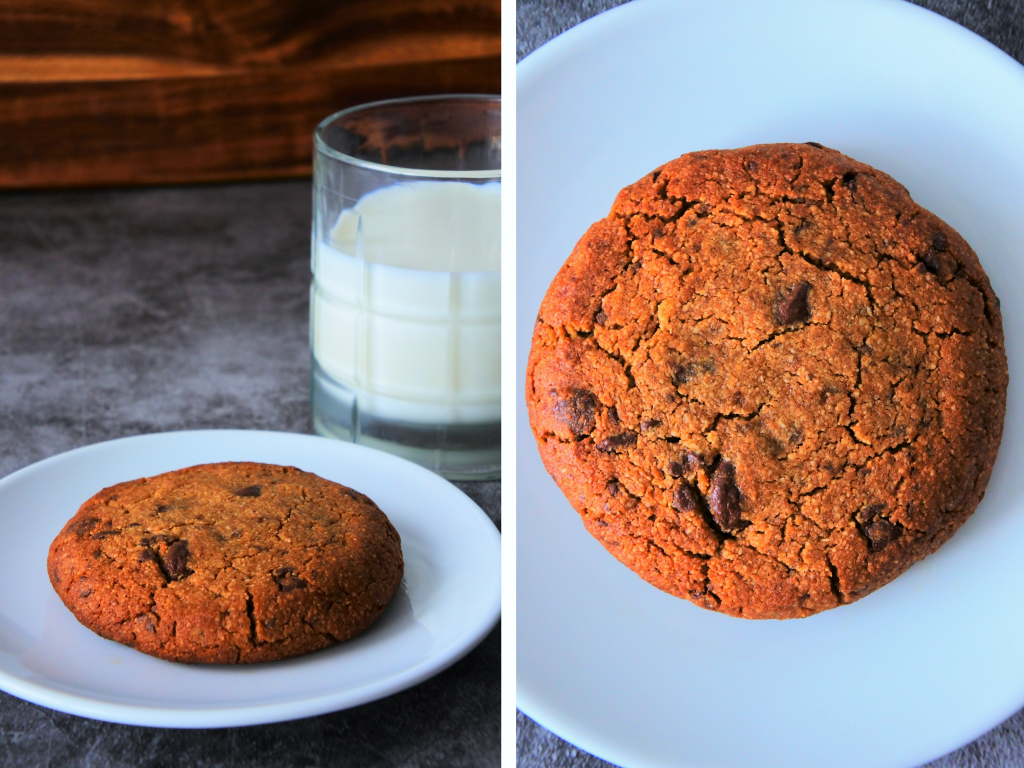
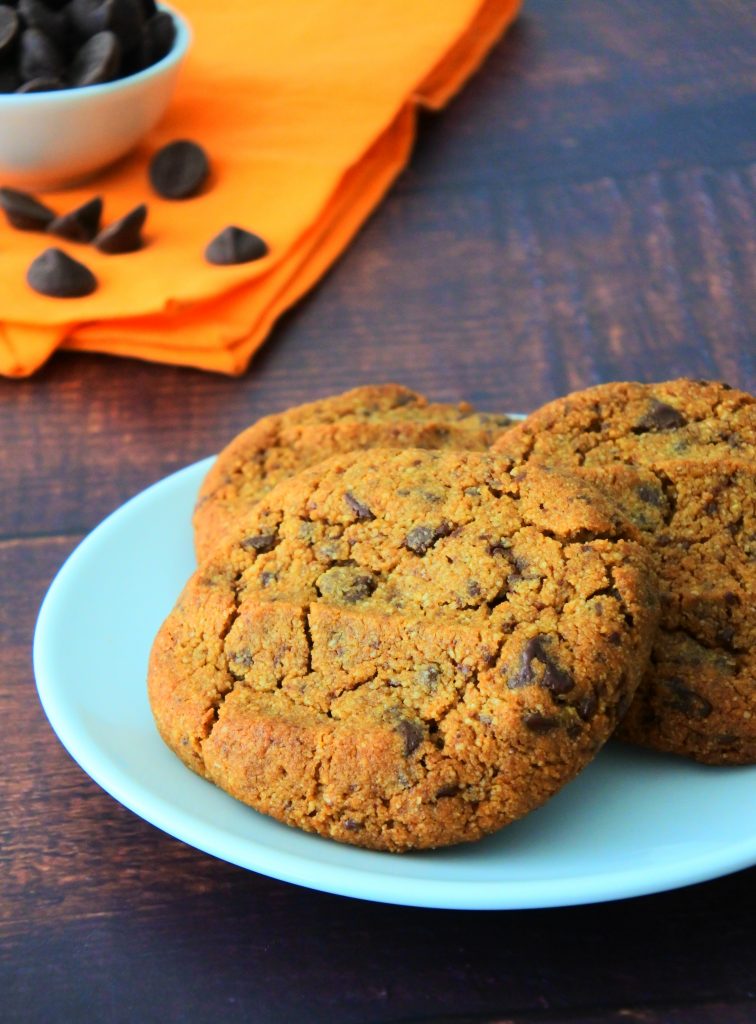
Gluten-free, this cookie recipe still boasts all the wonderful facets of a classic chocolate chip cookie from the chewy and crispy edge to the softer middle and the whole thing is speckled with pockets of chocolate goodness.
I am insanely excited to share this recipe with you guys so you can share in the wonder that are these cookies!
💞 Here’s Why You’ll Love These Cookies:
- They’re clean-eating and gluten-free as well as suitable for lacto-ovo-vegetarians!
- Your cookies will be studded with pockets of warm, gooey chocolate bits.
- You also only need one bowl and one spatula to bring this recipe to life.
- They take just 15-20 minutes to whip up and throw together … the only downside is that it you do need to rest your dough for 24 hours for the best results…but!
- Resting this dough overnight makes all the difference and is a big step towards amazing flavor development and textural bake.
- The dough can be frozen and stashed away so you always have cookie dough on hand that can be baked as needed. Hello fresh baked goodness!

This cookie recipe has been long in the making and with so many batches of cookies tweaked and tested and consumed…except for batch #16…we don’t talk about batch #16!🤣 this recipe is ultimately the love child of two of my (favorite) cookie recipes – namely my Gluten-Free Drop Chocolate Chip Cookies and my Classic Chocolate Chip Cookies (100% Whole Wheat) and the end result is a gloriously classic yet gluten free chocolate chip cookie!
Getting Right Into It, Here’s What You Need to Make These Cookies:
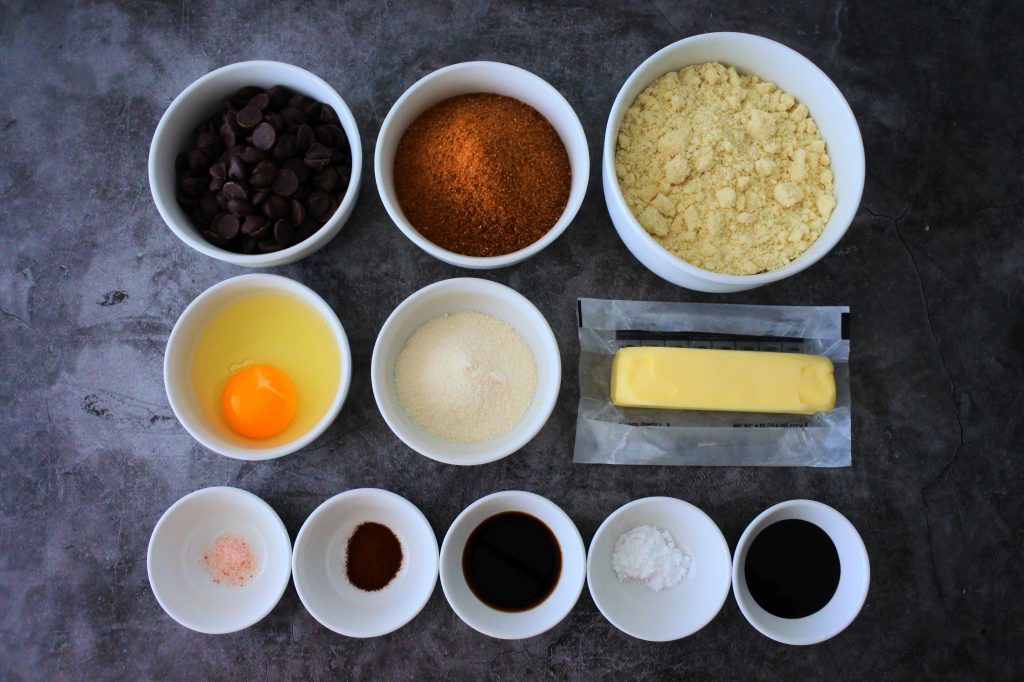
- Chocolate Chips: I’m using a dark chocolate chip but as long as it’s clean eating, you can use any chocolate of your choosing or even mix chocolate/cocoa % for a more varied chocolate flavor!
- Coconut Sugar: This low GI sugar packs a ton of caramel-like flavors that really blends in well with our chocolate studded cookies.
- Almond Flour: Though I prefer using blanched, today I’m using unblanched, you can use either one you prefer.
- Coconut Flour: A small amount of it helps to add a touch of flavor, added fiber and healthy fats and helps our dough to come together. If you want to omit it, you can replace it with 1/3 – 1/2 cup of additional almond flour as needed.
- Egg: Binder, rising agent, and moisture source, this one simple egg is a must.
- Butter: I’m using a stick of melted salted butter. You can also use semi melted butter which will change the texture of the dough
- Salt: Salt is both a flavor addition and a flavor enhancer so don’t skip it or your cookies will be lacking.
- Espresso Powder. Doing so is a great way to amplify the richness of anything containing chocolate. Now, note that this espresso powder is used exclusively for baking and isn’t the same as ground espresso beans used in coffee making.
- Extract: Vanilla extract is honestly one of those ingredients that complement almost all baked goods, like salt, skipping it will lead to your cookies missing *something*. Along with vanilla extract, I’m also using a touch of maple extract for even more flavor but this is optional.
- Baking Powder: Our humble rising agent that gives our cookie its rise and texture.
- Molasses: I’m using an unsulphured variety. The molasses adds great depth of flavor to these cookies that you definitely don’t want to omit.
Now, Let’s Make Our Cookie Dough!
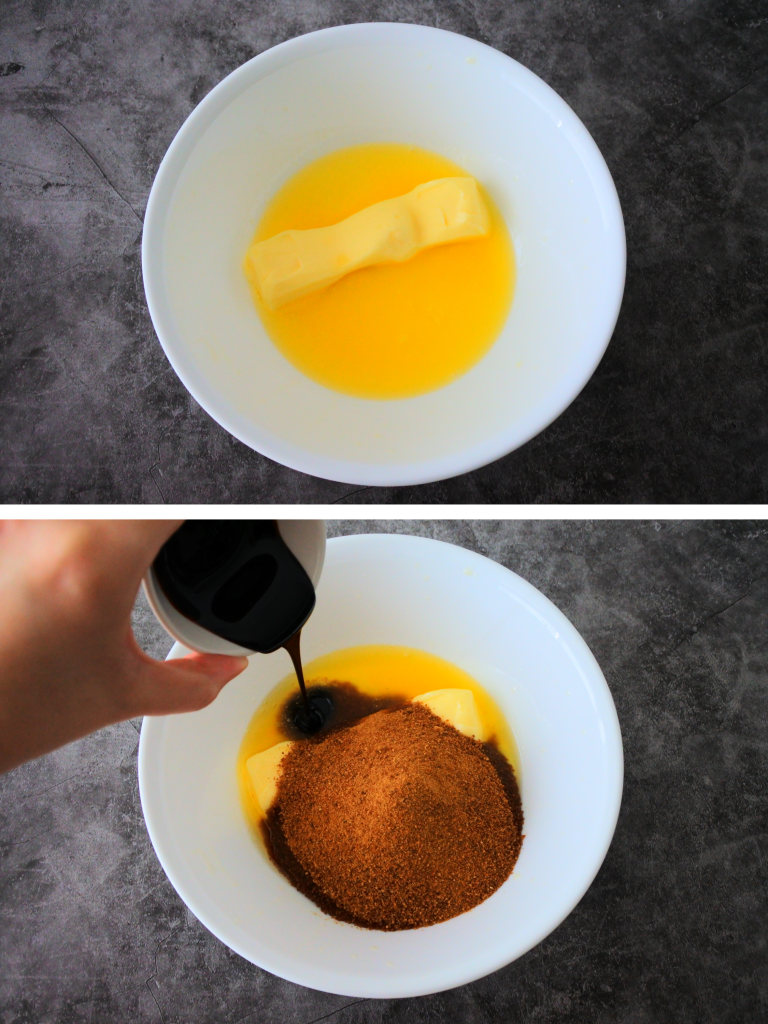
We’ll start by partially melting our butter and adding in our coconut sugar and molasses. Using a spoon or spatula, combine them until it’s all fully incorporated.
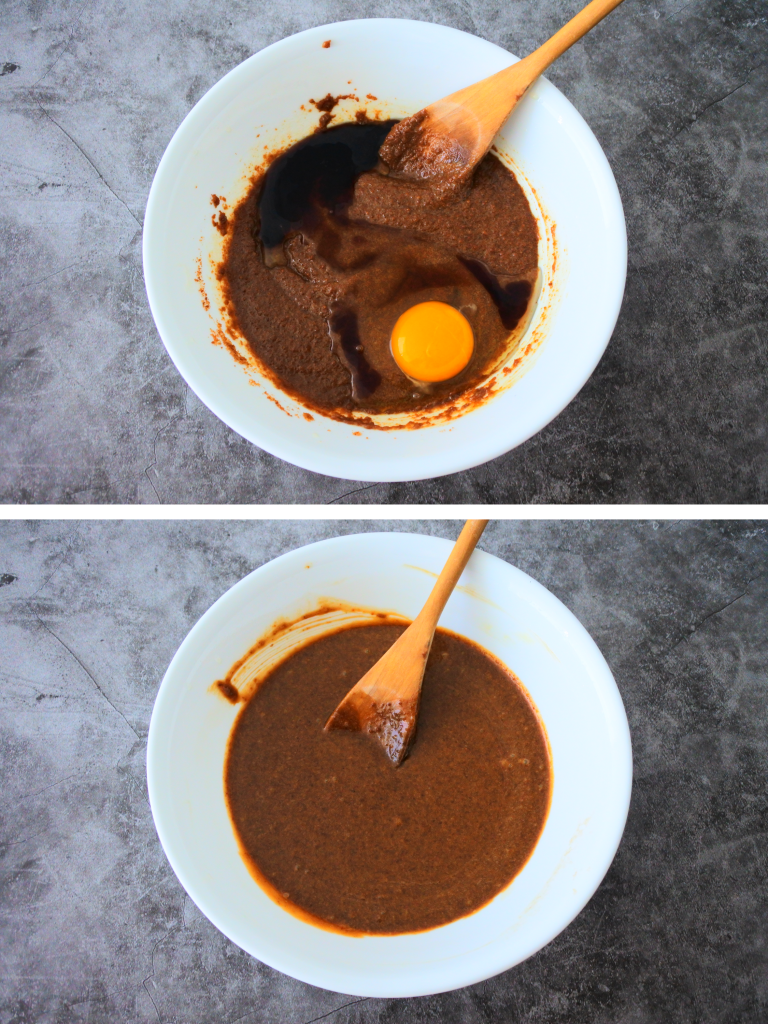
Then, add in your egg and extracts (vanilla, maple, or a combination of the both) and mix it in until you attain a smooth almost caramel-like consistency.
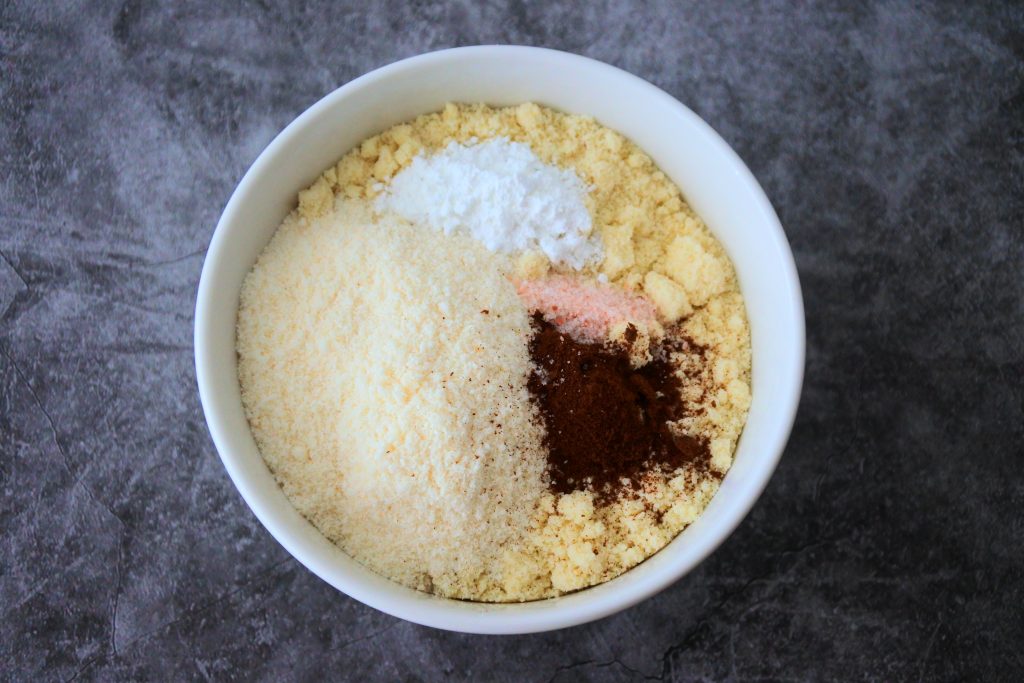
Then we’ll combine and add in all our dry ingredients including the almond flour, coconut flour, salt, baking powder, espresso powder. Honestly you can just add it right into the bowl with your butter and sugar mixture.
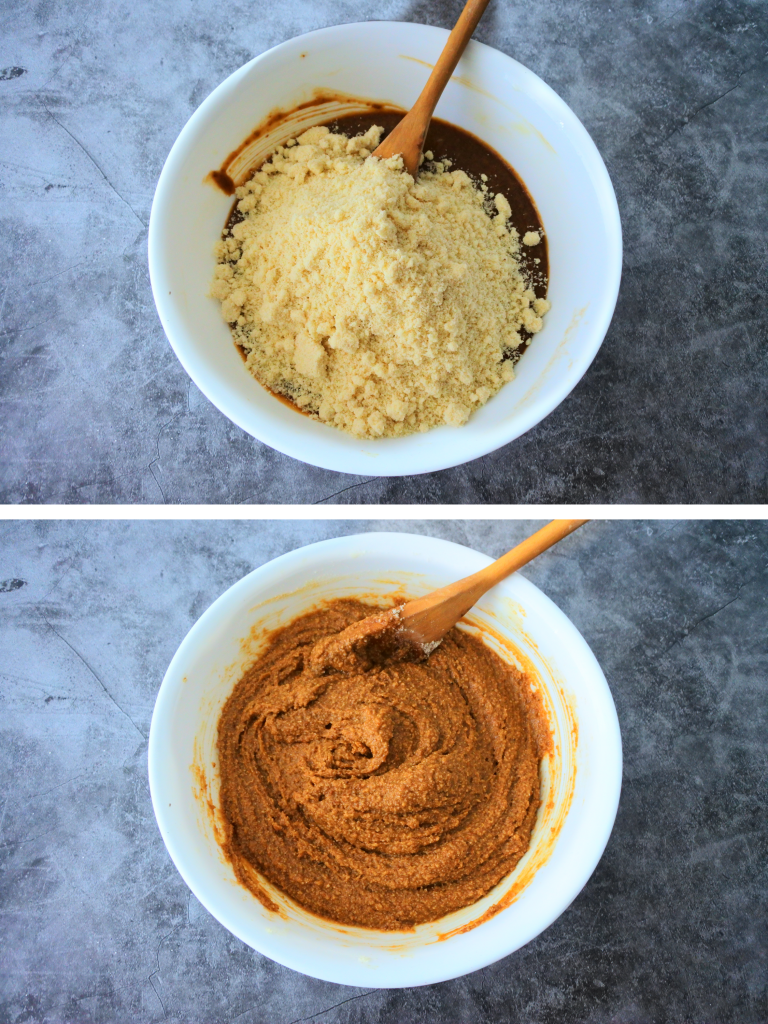
Stir until there are no lumps and everything is fully mixed together. Since this is a gluten-free recipe, you don’t need to worry about overmixing!
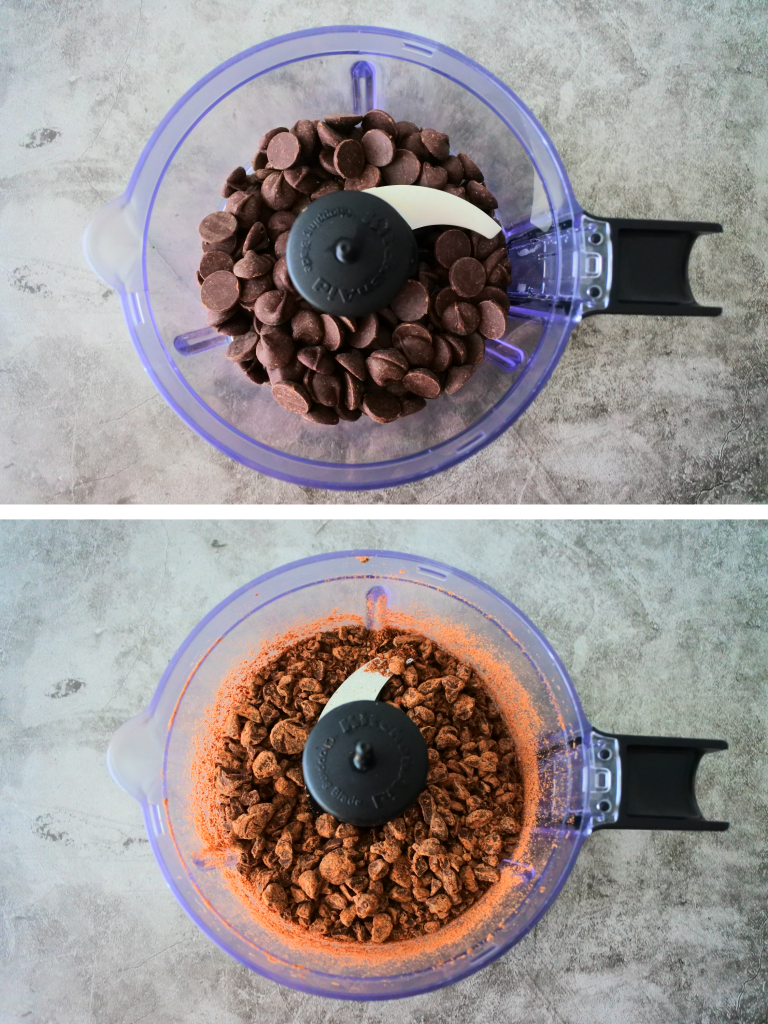
Finally, the chocolate. Now this isn’t strictly necessary, but man you really should try it just once – whether you’re using a chocolate bar or chocolate chips, chop or blitz your chocolate into irregular pieces/shards using a sharp knife or a few pulses of your food processor. I learned this trick from Alvin Zhou and after trying it once I will never look back. The benefit of this step is to create maximum chocolate dispersion so you never have to go looking for a bit of chocolate, but more than that, it allows each bite of your cookie to be a little bit different and unique and that makes for a cookie that’s honestly pretty special!
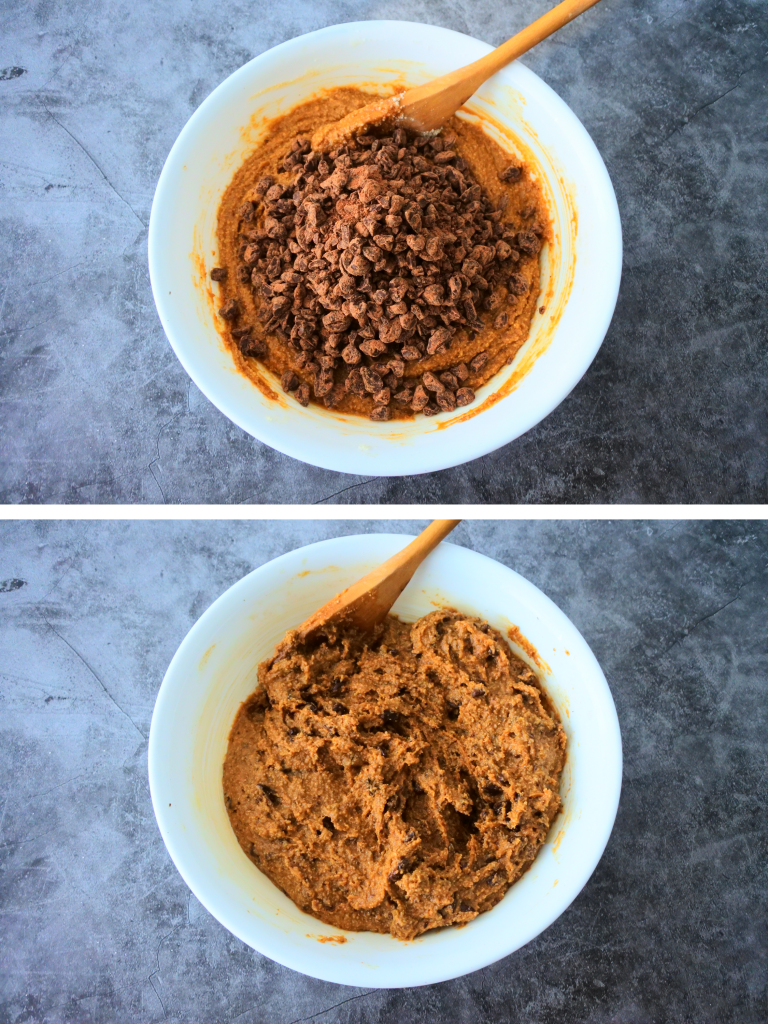
Add in all pieces of your chocolate – from the largest chunk to the most microscopic chocolate dust speck – and incorporate it throughout your dough.
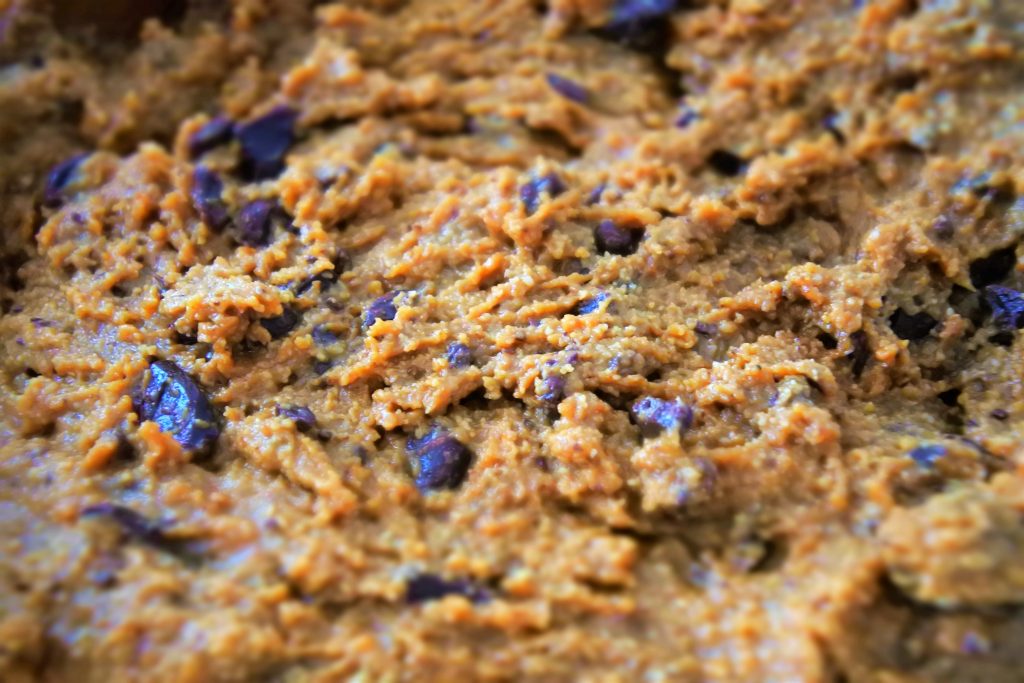
Look at that irregular chocolate chunk dispersion!
Now comes that hardest part since it requires the most patience: we need to cover our dough and let it rest in the fridge for 24-48 hours. Yes, yes, I know it’s not easy… 😩 But trust me, it’s worth it, so stay strong!
So Why Rest The Dough?
Much like with my Classic Chocolate Chip Cookie Recipe, resting the dough is going to allow all of our flavors – in particular our extracts, molasses and espresso – to mingle and mellow out and develop into this harmonious flavor. More to that, this rest and chill will allow our dough to fully hydrate which really helps in the cookie’s final bake from the spread to the cookie’s final bite texture.
Now, can you bake these guys right away? Sure. But neither the flavor nor the texture will be as well developed compared to the rested dough so if you opt to bake them right away, keep that in mind.
And now we wait…
24-Hrs Later…
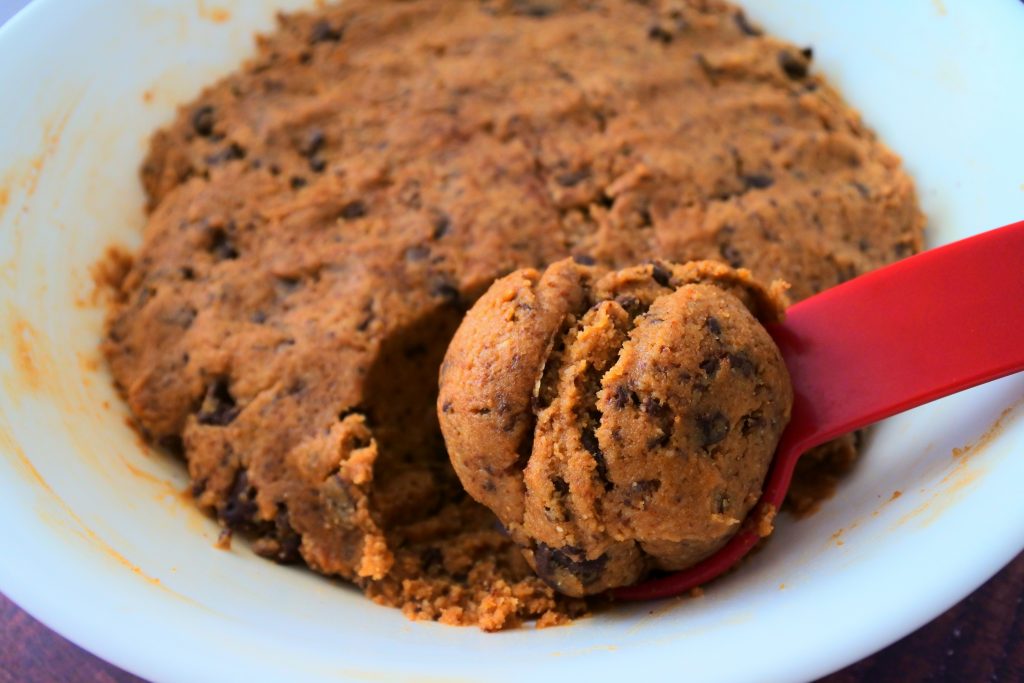
It’s the next day and our dough is fully rested and chilled. Now comes the time where our love and patience will pay off. Using a #30 scoop or a double overfilled tablespoon measure, scoop out evenly portioned balls of dough. This recipe makes about 15 sizable cookies.
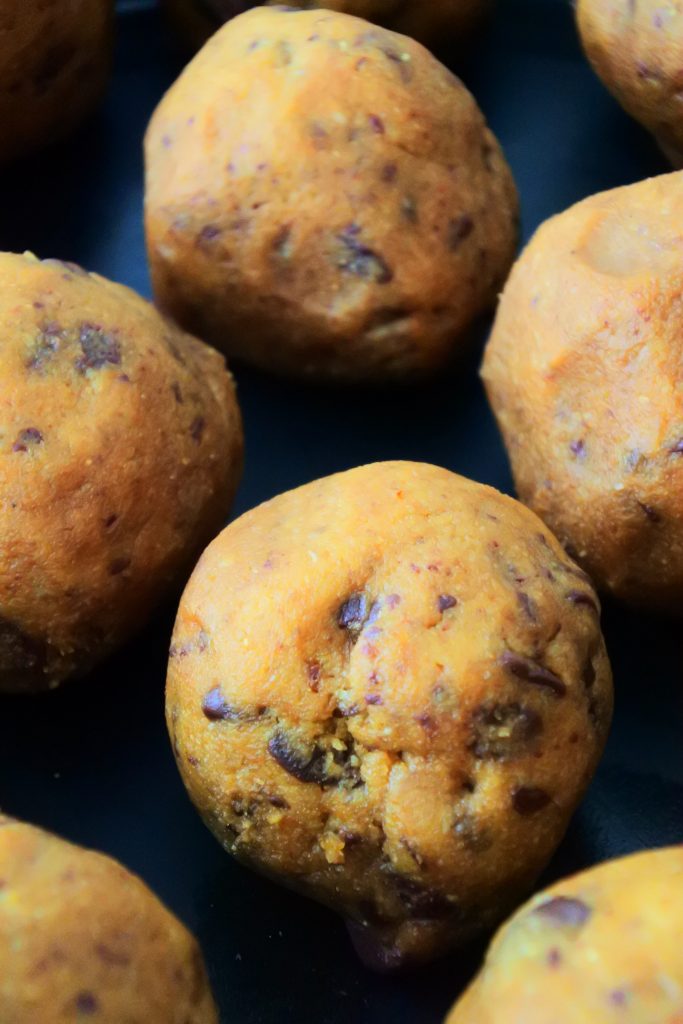
You can roll your cookie dough balls and set them back into the fridge in an air tight container for up to a week so you can grab a few and bake them up as needed (I love doing this for fresh baked goodness and my counter top oven makes it even more convenient to bake small on-demand batches) or you can even pop them into zip-top bags and freeze them for use later on. They will hold in the freezer for up to three months, just be sure to thaw them before baking for the best results.
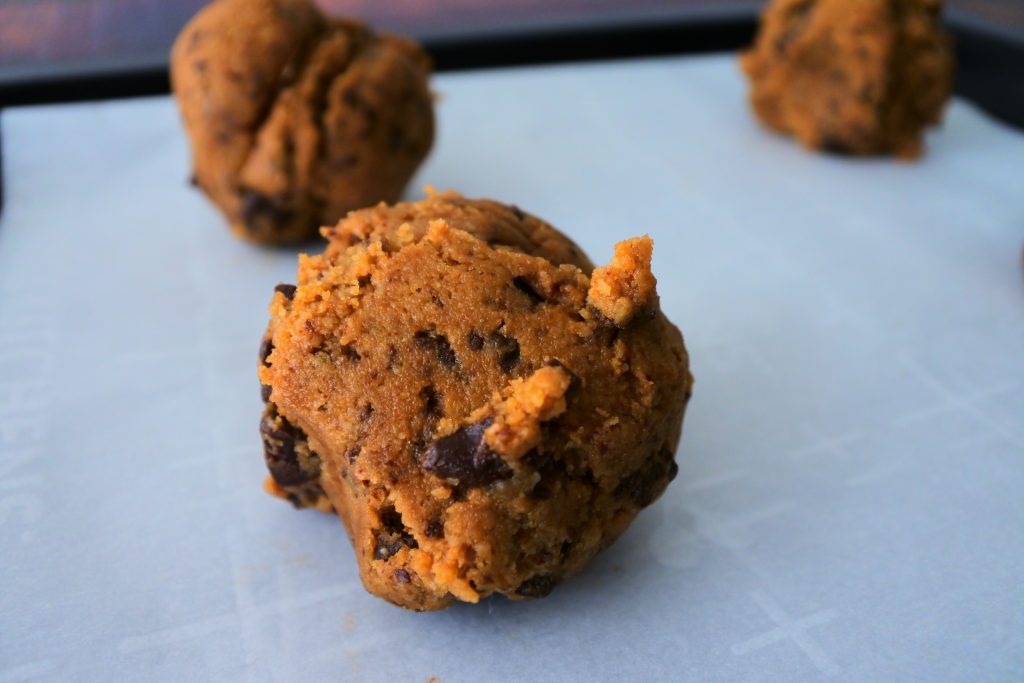
If you’re anything like me though, you’re going to want to enjoy some of these right away, so preheat your oven to 350F and prep a tray by lining it with parchment paper and pop some portions of dough onto the tray.
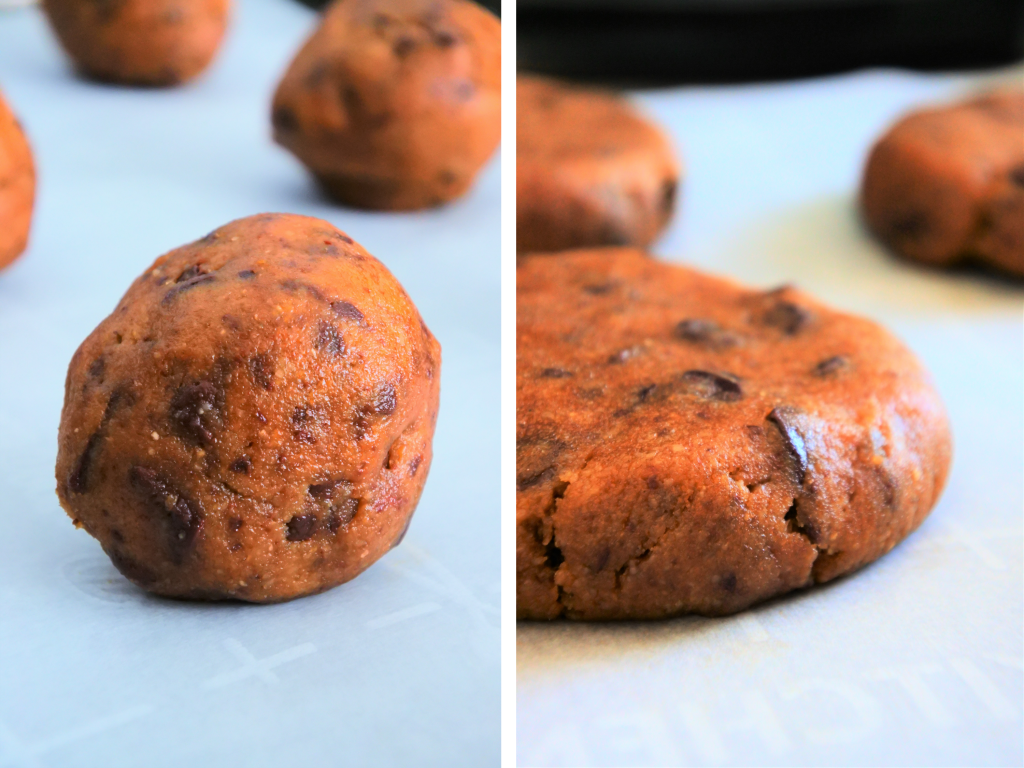
Now, since these cookies are gluten-free, they bake a bit differently than regular wheat-based cookies. So for the best results and the most even bake and spread you’ll want to gently press them down into rounds (if your cookie dough was previously frozen, this step is why a thaw is important) that are about 1/2″ thick and spaced out about 1-1.5″ apart to allow for spreading once baked.
Note: An easier way to circumvent the need to portioning and individually press/shape your cookies is to roll the dough into a 2.5″ thick log and simply cut equal portions of rounds! Also, a log of this cookie dough makes for an amazing gift! Wrap the log in some brown parchment or cellophane and tie the ends with ribbon like a sweet or Christmas cracker!
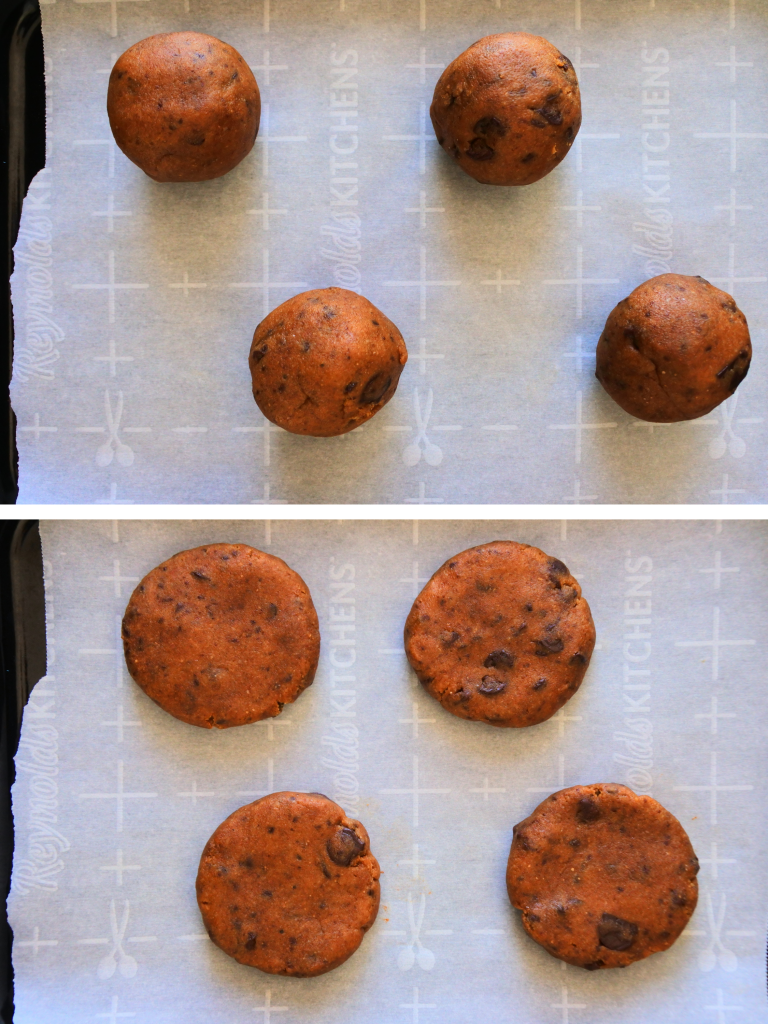
With your cookies pressed into rounds, let them sit on your tray while your oven preheats. This allows the dough to relax and come to temperature a little before baking which helps with the spread. The colder the dough, the less spread you’ll have, so a quick counter top rest while the oven preheats (about 10-15 minutes) ends up working perfectly. With your dough, shaped, rested and ready to go, it’s time to bake your cookies.
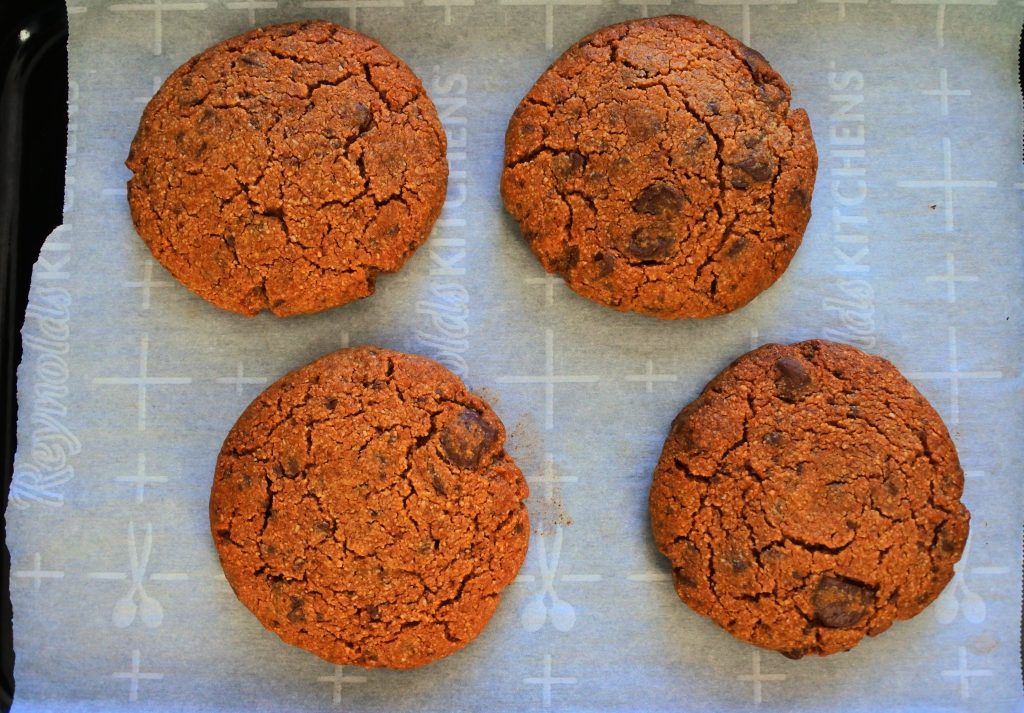
Pop your tray into your oven for 8-10 minutes or until the bottom edge starts to brown. Then, turn off the oven and let your cookies sit in the oven for 1-2 additional minutes. Be sure to keep your eye on them so they don’t brown too much but you essentially want the tops to take on a lovely brown color with the edges being only slightly darker.
Note: If using a convection (fan) oven, crack open the oven door for the 1-2 minutes. If using a conventional oven, you can leave the door closed but keep and eye on them.

With your cookies baked, remove them from the oven and let them rest for 10-15 minute (it’s the last time I’ll make you wait, I promise!)
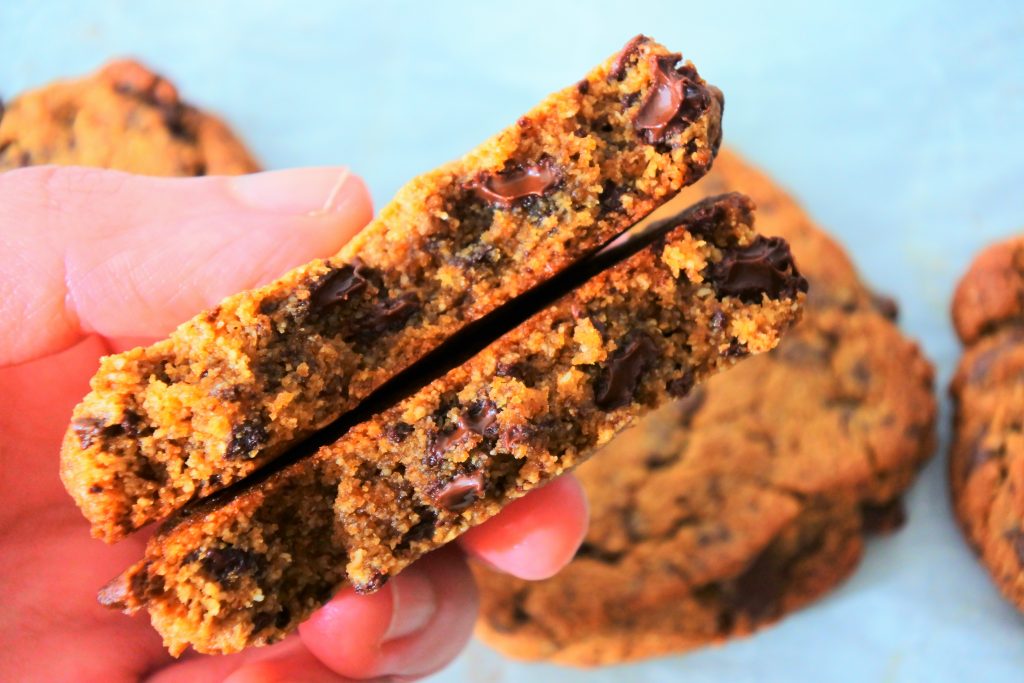
And now, the best time of all, you get to enjoy your cookies! Just look at that chocolate speckled cross-section, you can’t tell me that doesn’t look good! 🤤 And here’s a secret, it tastes even better! The edges are crisp, the inner edge chewy, and the middle is still warm and soft and just set. Paired with a glass of milk there is nothing better!
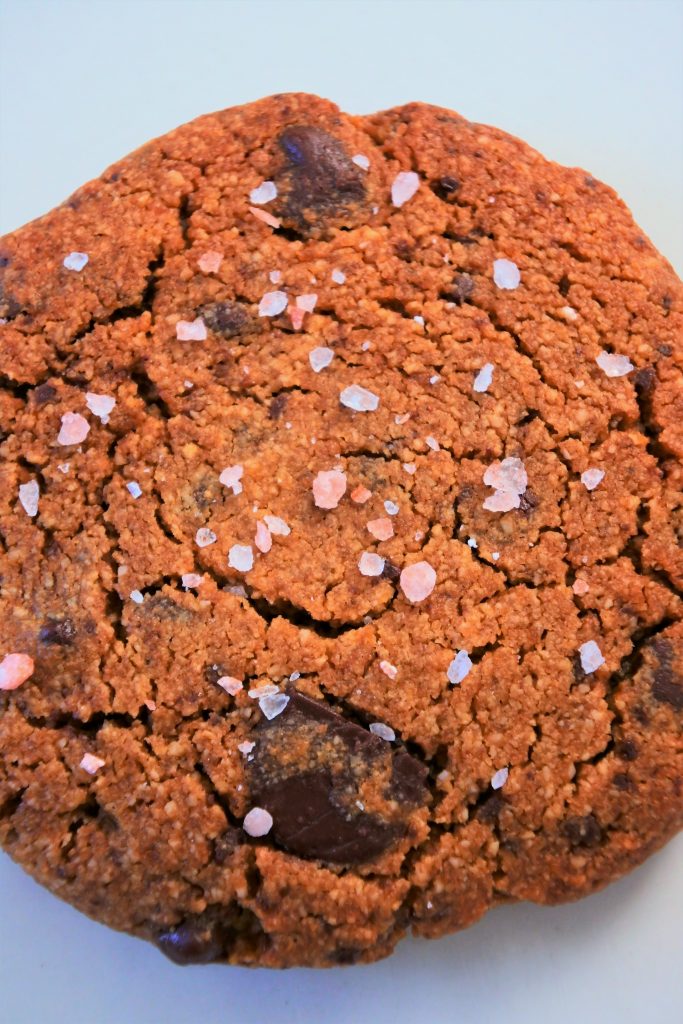
And if you’re a fan of a salted cookie, feel free to sprinkled some flaked sea salt or ground pink Himalayan salt over the top of your cookies when you pull them out the oven!
✅ Here’s a Quick Checklist of Tips That Really Make This Cookie a Guaranteed Win:
- 👊Don’t skip the espresso powder, extract(s) and molasses, the small amount of these three ingredients pack an amazing flavor punch.
- 🍫 Rough chop of blitz your chocolate into irregular pieces for the best dispersion and textural variance.
- ❄️ Let your dough chill/ripen in the fridge for 24-48 hours before using for the best texture and flavor.
- 🟤 Press your portioned cookie balls into evenly flattened rounds to ensure even baking and spread.
- 🌡️ Let your shaped cookie rounds rest on a parchment lined tray on the counter while your oven preheats. This helps with their bake and spread/shape.
- ⏳ Once the edges of your cookies are browned, turn off the oven and let them sit for 1-2 minutes before removing the tray from the oven.
- 🕑 Right out the oven your cookies will be soft. Let them cool for 10-15 minutes so they can set.
I’d really love for you to give it a try and you’ll see for yourself just how good these are. And if you do give them a go, let us know how they turned out! Leave a comment below or reach out to us on social media (@kitrusycleaneat and #kitrusy). Don’t forget to snap and show off your pics by tagging us so we can celebrate your cookie-tastic creations together! 

The Best Gluten-Free Chocolate Chip Cookie
Ingredients
- ½ cup salted butter (semi-melted)
- ¾ cup organic coconut sugar
- 1 tbsp molasses unsulphured
- 1 large egg
- 2 tsp vanilla extract
- 1 tsp maple extract (optional)
- 2 cups blanched almond flour (packed into the measuring cup)
- 2 tbsp organic coconut flour
- ½ tsp baking powder
- ¼ tsp Himalayan salt
- ½ tsp espresso powder (for baking)
- ¾ cup dark chocolate chips
Instructions
- Make the Cookie Dough: In a large bowl, combine semi-melted butter with the coconut sugar and molasses. Then, add in the egg, vanilla extract and maple extract and mix until it has a thick almost caramel-like consistency.
- Add all dry ingredients: Almond flour, coconut flour, baking powder, salt, and baking espresso powder and mix well. The dough will be sticky and look gritty, this is normal.
- Using a mini food processor or a sharp knife, break your chocolate down into irregular chunks. Add all of the blitzed chocolate (dust and all!) to the cookie dough and mix to evenly incorporate it throughout the dough.
- Rest and Ripen: Cover the bowl and let your dough rest in the fridge for 24-48 hours to allow the ingredients to rest and the flavors to fully develop. For the best results, don't skip this step!
- Preheat oven to 350°F and line a cookie sheet with parchment paper.
- Portion your dough: Remove your cookie dough from the fridge and using a #30 scoop (which is about 2 tablespoons) scoop and roll approximately 15 equal portions of dough onto a baking sheet lined with parchment paper.
- Press each ball of dough down into a 1/2" thick round to ensure even baking. Ensure you leave a 1-1.5" space between each round to account for spread.
- Bake at 350°F for 8-10 minutes until the bottom edge starts to turn brown. Turn off the oven and let your cookies sit in the oven for 1-2 additional minutes*. (Keep an eye on them and don't let them burn or brown too much).If using a convection fan oven, open the oven door for the *1-2 minutes. If using a conventional oven, leave the door closed but keep and eye on them.
- Remove tray from the oven and allow your cookies to cool for 10-15 minutes (they will be soft and will set as they cool) before enjoying.
- To Store (Baked): Allow baked cookies to cool completely and store leftovers in an airtight container for up to four days or up to one month in the freezer.To Store (Unbaked): place your portioned scoops of dough into a sealed container or zip lock bag and store in the fridge for up to a week or freeze for up to 3 months. To use frozen dough, let thaw in fridge and shape and bake as directed above.
