
These sushi rolls may not be traditional but they certainly hit the spot!
The first step is to make the rice. Unlike traditional sushi rice we’ll be using brown rice.
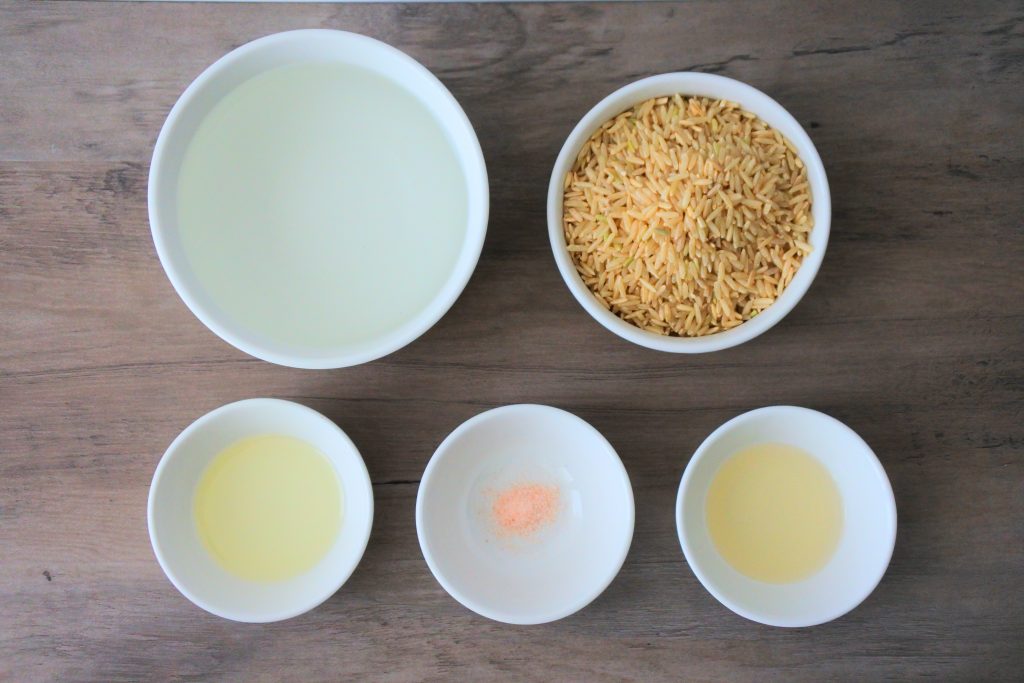
Begin by washing the rice 3-4 times until the water runs clear. Next we’ll cook it. The magic ratio is 1 part rice to 2 parts water, however, since we want the sushi rice to be a bit softer and stickier, add in an extra 1/4 – 1/3 cup of water along with some salt and olive oil and (here’s the real trick) allow it to soak for 20-30 minutes before cooking.
I cook my rice using a rice cooker but you can cook it on the stovetop using a med-high heat to bring it up to a boil before reducing it to a simmer and covering. Once your cooker turns off, quickly fluff your rice and then cover and leave it alone for yet another 20 minutes so that it steams through. Once done, add in your rice vinegar (also known as rice wine vinegar) for that close-to-authentic sushi rice taste. If you want to take it a step further, you can add some sugar and salt to your vinegar!
This recipe can be customized to contain whatever protein you like or you can use all vegetables for a vegan/vegetarian option!
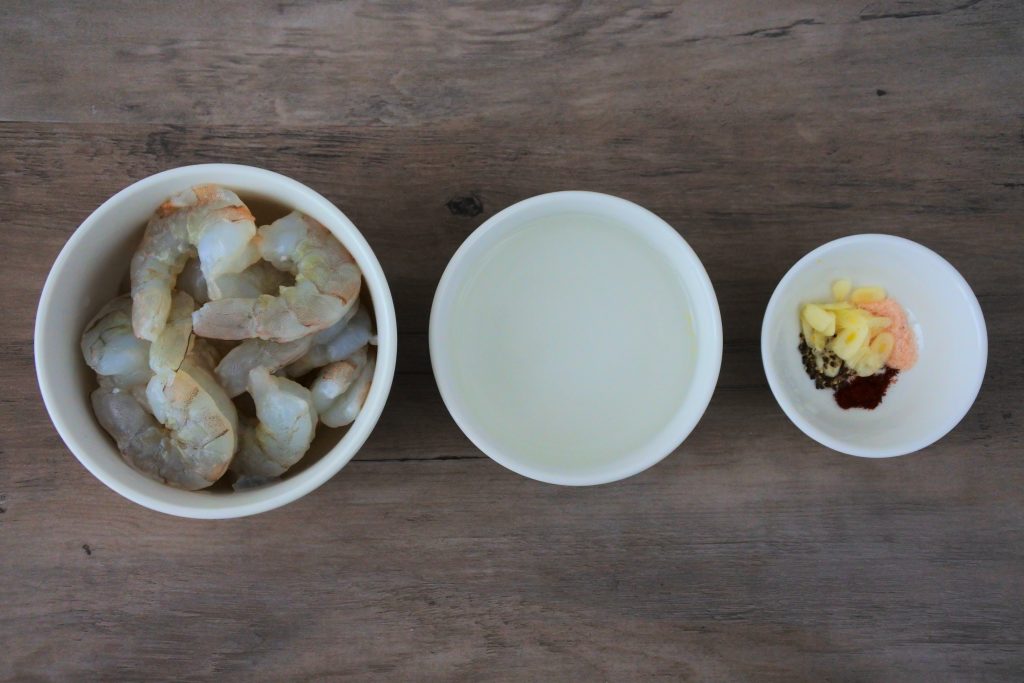
I personally enjoy shrimp. You can make a quick shrimp boil using peeled and deveined shrimp seasoned in boiling water. Or you can use a sumptuous Batter-fried Shrimp like I did for this post!

The choice is yours, but in a pinch or if you want to avoid some carbs or fried foods, a quick and simple shrimp boil is just as delicious and a great way to make this recipe gluten-free and egg-free.
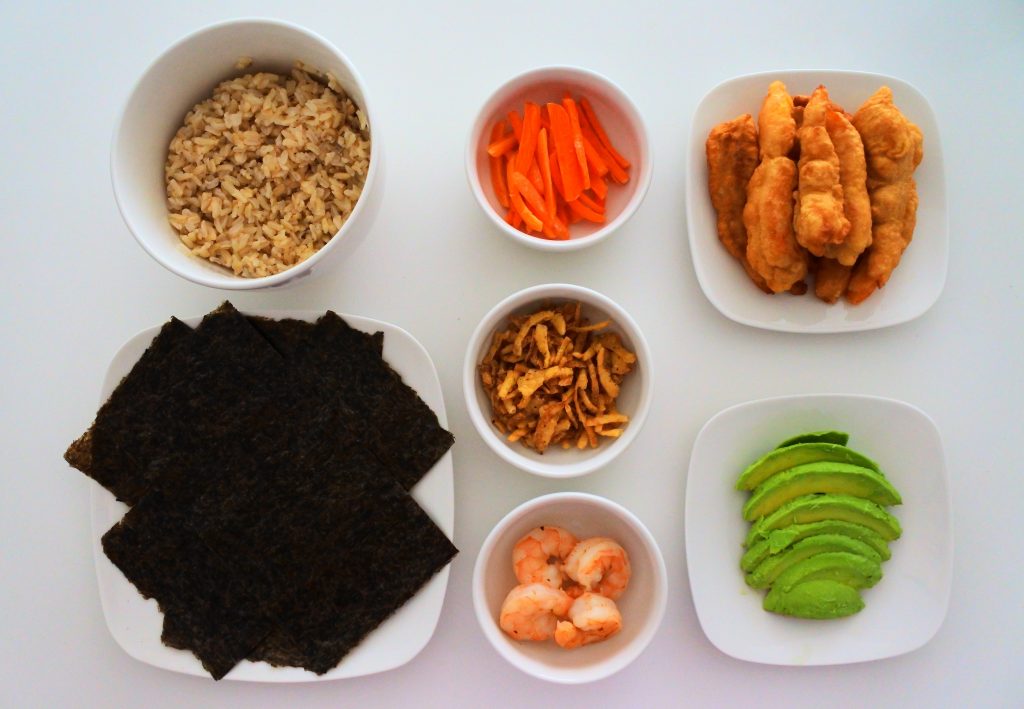
With all your ingredients and fillings together (rice, nori, veggies, and/or protein) you can then build your own sushi roll.

Start with some seaweed (nori). Note that there are two types. One is a thinner type that will fall apart and is really best suited to snacking on, whilst the other is a thicker “premium” type that handles being filled and rolled without tearing. Be sure you get and use the right type for sushi (usually it says it on the pack).

Spread your rice evenly over the rough side of the nori.

Top with fillings of your choice. I enjoy using a shrimp tempura, carrots, and avocado. (I also like using a clean eat cream cheese as well but didn’t have any on hand.)
Fun fact: though avocado is typical of an Americanized sushi roll (like the California Roll) it was supplemented by a Japanese chef in place of the traditional taro since it has a similar mouth feel.
You can also top with other things of your choosing including cucumber, salmon, tuna, asparagus, baby corn, fish roe, etc.
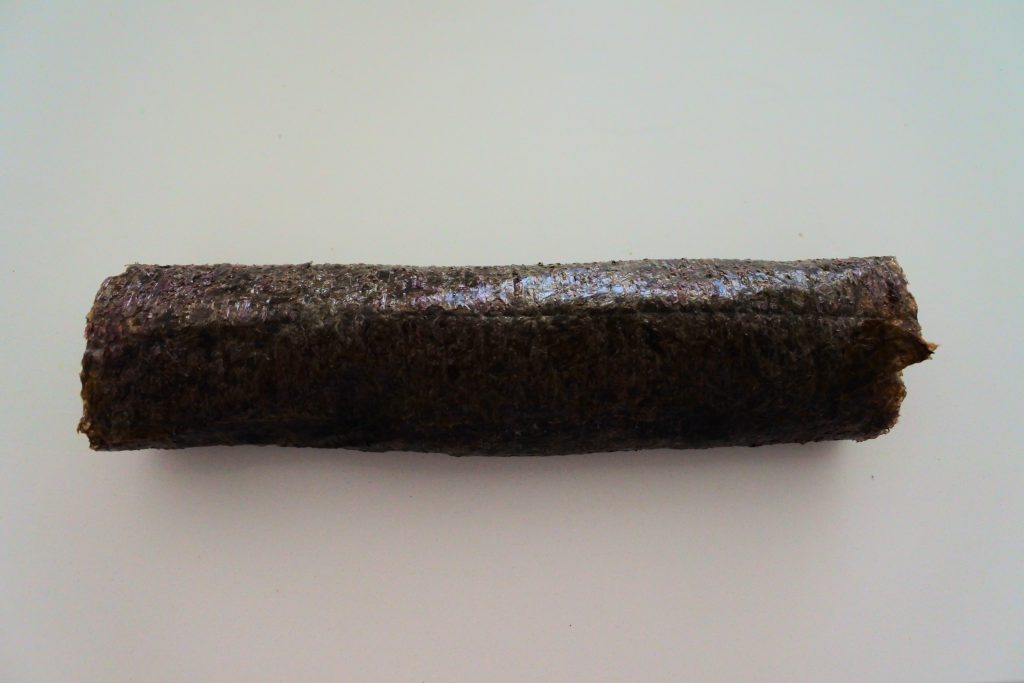
Roll your sushi up as tightly as possible. You can do this by hand, by using a bamboo mat, or by using plastic wrap. Since we’re using a brown rice that is slightly less sticky than traditional sushi rice I’m opting for a Maki roll (rice on the inside) VS an Uramaki roll (rice on the outside).
Be sure that you allow the ends of nori to touch and overlap slightly once you roll your sushi so that it can seal.
Allow your roll to rest seam-side down for a few minutes before you attempt to cut it into slices. This helps the nori to soften up and makes cutting it so much easier.

If your nori sheets are on the shorter side (half-sheets) you can always double it by overlapping two sheets. Just be sure to apply a thin smear of water to the overlap so that it “sticks” together.

Or you can simply turn the sheet sideways and roll a shorter roll. The choice is yours.

Once your rolled sushi has rested for a few minutes, use a sharp knife to cut the sushi into 1″ – 1.5″ slices.

Serve with additional condiments including preserved ginger, wasabi paste, and soy sauce.
An unagi sauce made by reducing sake, mirin, sugar, and soy sauce into a thick sweet-savory sauce is also a very quite delicious condiment to use!

Clean Eat Brown Rice Sushi
Ingredients
For the Rice:
- 1 cup brown rice (short grain)
- 2 1/4 - 2 1/2 cup water
- 1/2 tbsp extra light olive oil
- 1/2 tsp Himalayan salt
- 1 - 1 1/2 tbsp rice vinegar
For the Quick Shrimp Boil:
- 8 extra large shrimp (peeled and deveined)
- 1 cup water
- 1 grain fresh garlic
- 1/2 tsp Himalayan salt
- 1/2 tsp ground black pepper
- 1/2 tsp Chipotle Powder
To Assemble the Roll:
- 8 half-sheets sushi nori (seaweed) (or 4 whole sheets)
- 1/2 cup carrots (cut in matchstick)
- 1 Haas avocados (sliced)
To serve: wasabi paste, pickled ginger, soy sauce
Instructions
- Prepare the rice by washing 3-4 times until the water runs clear. Add the water, oil, and salt and set the rice to soak for 20 minutes.
- Allow the rice to cook until all the water is absorbed. Fluff the rice and allow to sit without heat for 20 minutes so it can steam through.
- Once the rice is cooked through, fold in the rice vinegar to disperse it.
- Prepare the roll by placing the nori onto a clean flat surface or onto a bamboo mat or even a sheet of plastic.
- Cover the surface of the nori with a thin, even layer of rice. Ensure that you place the rice on the rough side and that the shiny side is facing downwards.
- Place your fillings of choice onto the rice in horizontally layered lines.
- Roll the nori tightly and allow it to rest seam-side down for a few minutes.
- Using a clean, sharp knife, cut the sushi log into bite-sized 1"-1½" rolls.
- Serve with optional condiments such as wasabi, pickled ginger, and soy sauce.
Notes
- Keep an eye on your rice, if you hear it start to "fry" check to ensure that the bottom isn't burning and add more water as needed.
- This recipe can be customized to suit your personal taste and preferences. Any fish (cooked or raw though be aware of all warnings when consuming raw meat) or cooked meat can be used.
- You can easily make a vegetarian option by omitting the protein in favor of any vegetable of your choice. Prime options include carrots, avocado, cucumber, green peppers, radishes, etc.
- To make your own pickled ginger, slice ginger into thin slices. I find using a mandoline is best for this. Salt the ginger and set aside for 30-45 minutes before drying the slices on a paper towel and placing in a sterile,heat resistant jar. Boil rice wine vinegar (a good ratio is 1 part ginger to 1.5 parts rice wine vinegar) and a touch of honey on low until the sharp vinegar smell has dissipated. Pour the rice wine vinegar into the jar with the ginger and cover tightly. Refrigerate for up to eight months.
- If you like your ginger to be pink like some commercial sushi ginger, you can add a few drops of beet root juice to the rice wine vinegar before you pour it into the jar.
