Disclosure: This post may contain affiliate links.
Healthy fried chicken sounds like a contradiction, like words you tell yourself because it’s healthier than the fast food version but at the core of it you know it’s really not…until now!
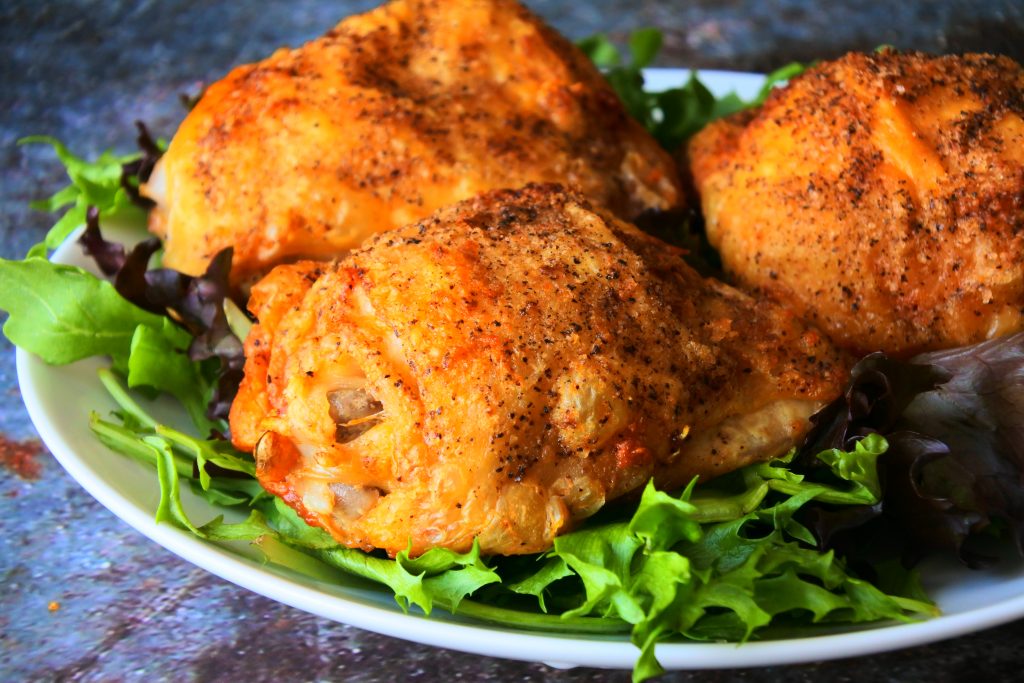
Juicy meat and a crispy, crunchy skin makes this easy hassle-free recipe addictively good!
Is Air-Fried Chicken Healthy?
This recipe certainly is! We’re relying on the natural oils and juices of the skin on, bone in thighs to help our chicken fry. Using an air fryer requires no additional oils and uses circulating hot air to cook and crisp up our chicken and the use of the basket fryer allows any excess oils to drip off and collect in the basket tray. Even better, this recipe requires no additional breading, batter or anything else aside from a simple salt and pepper seasoning!
💕 Here’s why you’ll love this recipe:
- It only takes 3 wholesome ingredients and 30-minutes to make!! Seriously, this recipe is hassle free.
- It’s clean eating, gluten-free, and keto-friendly.
- This dish is high in protein and omega-6 fatty acids, and essential vitamins and minerals and is low in saturated fats.
- It requires NO breading and no additional oils.
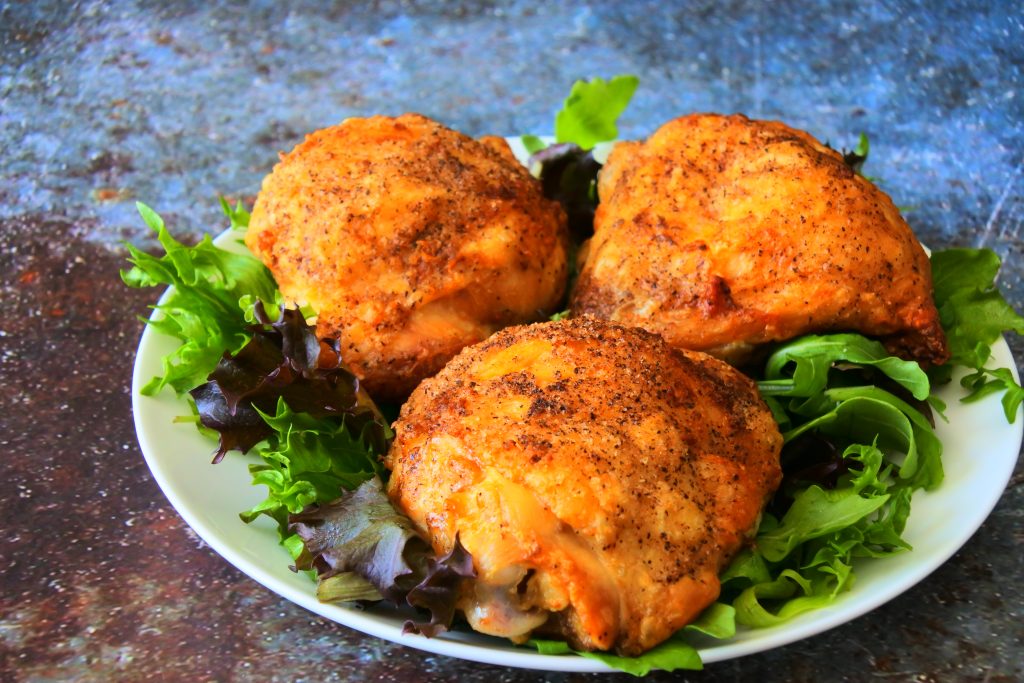
- This fried chicken has a crispy, crunchy skin and the meat is juicy and flavorful.
- It is the perfect protein side for any entrée or veggie side.
- If there are any leftovers, a quick “refry” in the airfryer to reheat it will crisp the skin right up again.
You’ll need the following 3-ingredients to make this dish:
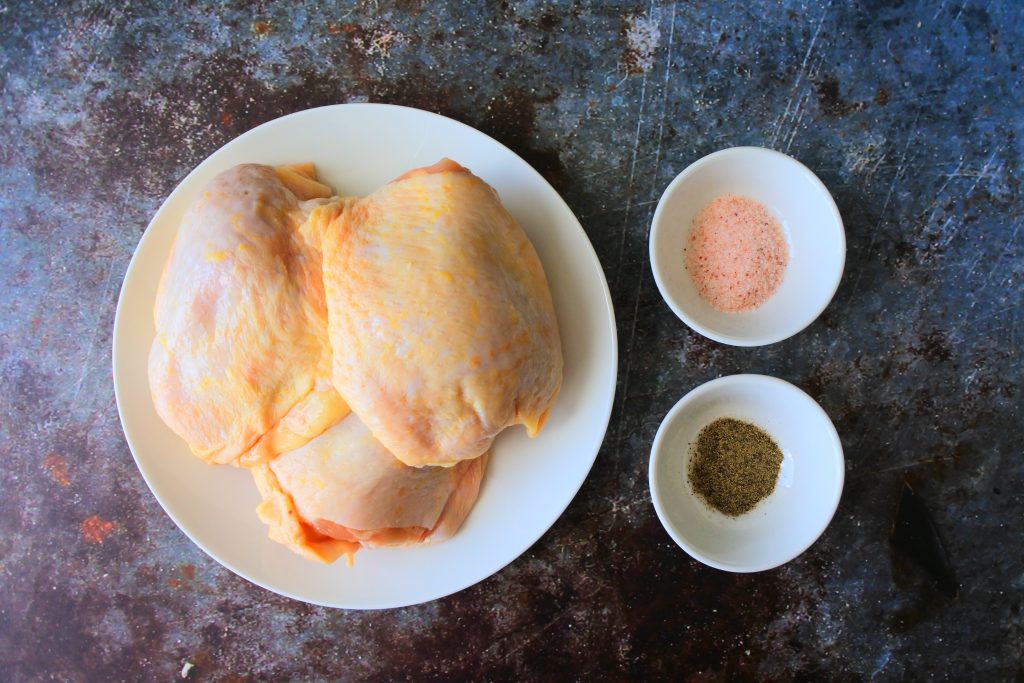
- Chicken: I’m using a bone in, skin on chicken thigh. You can also use, bone in skin on chicken drumstick, leg or breast if preferred.
- Salt: I’m using pink Himalayan salt, but you can also use sea salt.
- Pepper: Pre-ground or fresh ground black pepper can be used.
Here’s how to make this simple fried chicken (and two “secrets” for success):
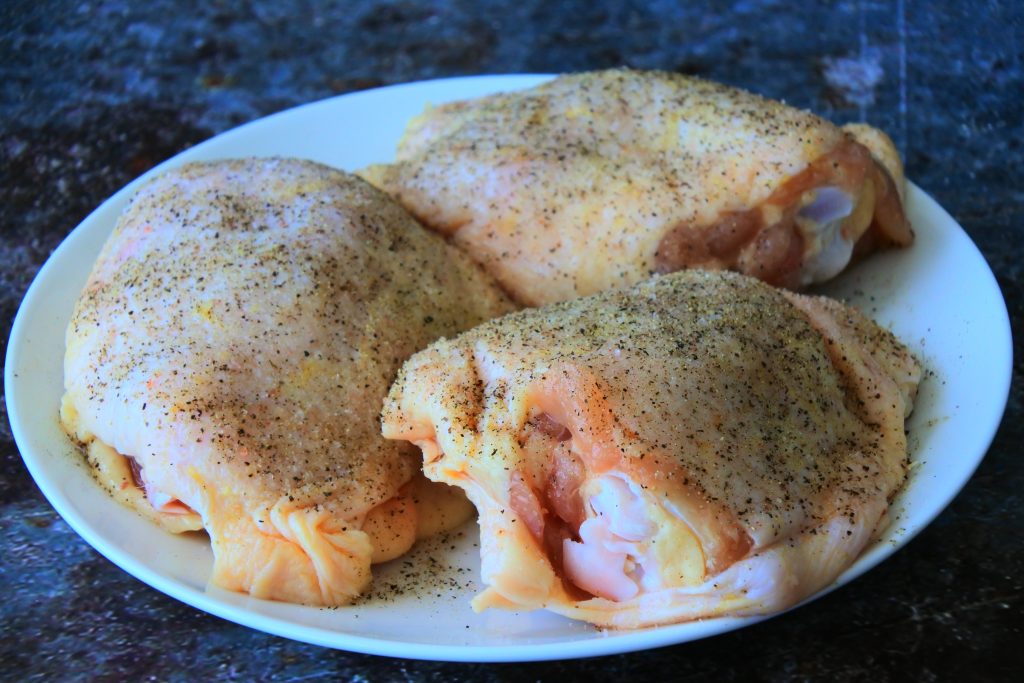
Preheat your airfryer to 400F. While it’s preheating, prep your chicken by ensuring that it is defrosted, patted dry with a paper towel, and then generously sprinkled a layer of salt and black pepper to cover all sides. That’s it!
The salt on top of the skin is also going to help draw moisture out of the skin and help the skin to crisp up nicely. You do not need to salt under the skin.
The “secret” to attaining the best results is twofold:
- Opt to use a bone in, skin on chicken. – Since we’re air frying and not using any added oil, we’re relying on the natural fats and oils from the chicken skin to help our chicken “fry” when we air fry it so you need to use skin on chicken, this is what will replace the breading in a sense and give us a crispy and crunchy outside. More to that, since we’re airfrying for 21-24 minutes in total, I highly recommend using a bone in piece of meat as this is what will help the meat to be and remain ridiculously juicy and deliciously flavorful.
- A pod-shaped airfryer (the kind with a basket) – I recommend using this above all other types of airfriers. With the basket-style airfryer the meat is in the basket which is suspended above the bottom of the tray basket so that the hot air is able to circulate freely and this allows the excess oil and juices to drip into the tray basket and collect without touching the chicken. More to that, the pod shaped air-fryer is a smaller unit that is able to concentrate the flow of the hot air far better than a convection oven is able to do. I’ve tried this recipe in a countertop convection oven and it just didn’t work for me. The skin never crisped up and it took far longer to cook.

Place your salt-and-pepper seasoned chicken thighs into the fry basket, skin side up. It’s okay if they touch but don’t allow them to stack or overlap. Air fry them for 7-8 minutes.

At the 8 minute mark, pull out the basket, and using a pair of tongs, flip each piece of chicken over. Slide the basket back in and continue to air fry for another 8 minutes.

At the 16 minute mark, slide the basket out once more and flip the pieces over (so the skin side is back up) and let fry for the final 8 minutes.

Once done, slide the basket out and let your chicken cool for 1-2 minutes before serving so that the skin can fully crisp up and set into a perfect crunch.
And there you have it, 3 ingredient, healthy fried chicken. No breading, no oil, no hassle! Things don’t get easier than this.
As for what to pair your “fried” chicken with, here are some suggestions…
- Insanely Easy Skillet Fried Potatoes or Fries. Pair it with some Creamy Coleslaw for a healthier homemade take on a “KFC” meal! 😉
- Gluten-Free Gooey Mac and Cheese.
- 3-Ingredient Potato Gnocchi paired with some Pesto.
- Twice Baked Potatoes with Leeks.
- Cuban Congri (aka Moros)
- Roasted Garlic Parmesan Mashed Potatoes or for a lower carb option, a serving of Cauliflower Mash will do the trick!
- Green Banana Pie
- Simple Coconut Saffron Rice
- Simple Sautéed (Rainbow) Chard.
- Smoky Charred Skillet Green Beans or even a more decadent Green Bean Casserole.
- Parmesan Creamed Spinach
- Honey-Glazed Carrots
- Or use it as your protein addition to any salad (Cobb Salad anyone??👀) or your greens. I love using homemade dressings such as Caesar Dressing, Simple Mustard Vinaigrette or a Thousand Island Dressing for my salads!

Easy Crispy (Air) Fried Chicken Thighs
Ingredients
- 4 med chicken thighs (bone in, skin on)
- Himalayan salt
- ground black pepper
Instructions
- Preheat your pod-shaped airfryer to 400°F.
- Prep - 1 minute: Gently pat your bone in, skin on, chicken thighs dry to remove any excess moisture (ensure your thighs are fully defrosted) and generously sprinkle all sides of each piece of chicken with salt and pepper.
- Cook - 7-8 minutes: Place each piece of seasoned chicken thighs into the fryer basket, skin side up (ensure they're not stacked or overlapping, but touching on the sides is okay) and slide your basket into the air fryer and let it fry at 400°F for 7-8 minutes.
- Cook - 7-8 additional minutes: At the 7-8 minute mark, slide your air fryer open and flip each piece over and air fry for an additional 7-8 minutes.
- Cook - final 7-8 minutes: Finally, slide open the air fryer, flip the pieces over once more (skin side up once again) and air fry for a final 7-8 minutes.
- Rest - 5 minutes: Once done, open your air fryer and allow the chicken thighs to rest for 5 minutes. This allows the skin to set in it's crispness and the juices to settle back into the meat.
- Serve and enjoy. To Store Leftovers: If there are any leftovers, refrigerate them in an airtight container for up to 4 days. To Reheat: preheat your air fryer to 400°F and place the cold leftover pieces of chicken into the fryer basket and air fry for 7 minutes to heat it through and recrisp the skin.
Notes
- 1 regular, medium-sized chicken thigh is calculated to be a serving.
- Ensure you're using a bone in, skin on, chicken thigh, this ensures that the chicken is moist, juicy and the skin is crispy.
- Ensure you're using a pod-shaped basket air-fryer for the best results. I haven't had the same degree of success using countertop convection (fan) ovens or even the paddle type air fryer.
- The amount of salt and pepper used on each piece of chicken depends on the size of the chicken, but it's okay to be generous with it as most of it will drip into the tray basket and the salt will also help the chicken skin to crisp up properly.
Nutrition
