Disclosure: This post may contain affiliate links.

Step aside Ben and Jerry, this simple homemade chocolate ice cream is made from 6 wholesome, clean eating ingredients and requires no special equipment except a mini food processor.
How Can This Ice Cream Work Without an Ice Cream Maker?
In order to achieve a soft, creamy, and scoopable ice cream texture we’re going to apply 3 key theories that are all focused on the same goal – disrupting the formation of ice crystals.
- Fat: Fat plays a huge roll in ensuring our ice cream stays nice and soft and has a smooth and creamy texture in our mouth. A heavier fat content will disrupt the formation of ice crystals by creating microscopic bubbles of air between the water/liquid in the ice cream’s base. This also helps our ice cream’s melting point as well as amplifies our chocolate flavor.
- A Frozen Base: For this recipe we’re not churning our ice cream while it freezes, instead we will freeze our base into a solid mass and then break it up into chunks and process it.
- Aeration: This will be our version of churning. When we process our frozen ice cream base in our food processor we will create a thick, frozen base that will be aerated so that when we refreeze/leave it in the freezer to set, it maintains a scoopable and creamy texture.
This may all sound complicated but trust me when I tell you it isn’t. Let me show you how easy this recipe is:
First We’ll Gather Our Ingredients:

- Coconut Milk: Ensure you’re using the full fat coconut milk because the fat content matters. This rich and silky milk goes a long way in helping our ice cream’s final texture, and because chocolate is strong flavor, don’t worry about the coconut flavor coming through, you will hardly notice it.
- Milk: Opt to use whole milk for this recipe.
- Sugar: I’m using raw cane sugar that’s been finely blended into a powder to help it dissolve quickly. You can also use a granulated sugar if preferred.
- Cocoa Powder: Use a high quality, unsweetened cocoa powder for the best results and flavor.
- Vanilla Extract: A small touch of vanilla extract helps to amplify our chocolate flavor.
- Mascarpone Cheese: This ingredient is our secret weapon. Mascarpone cheese is incredibly rich and silky smooth, and has the flavor of fresh cream (think unsweetened whipped cream). It is 45-55% fat compared to cream cheese which is 33% fat. If you don’t have it on hand or can’t find it at your grocery store, you can replace half the milk in the recipe with heavy cream, (just ensure it’s a clean eating heavy cream that is free of stabilizers or additives).
Let’s Make Our Base:
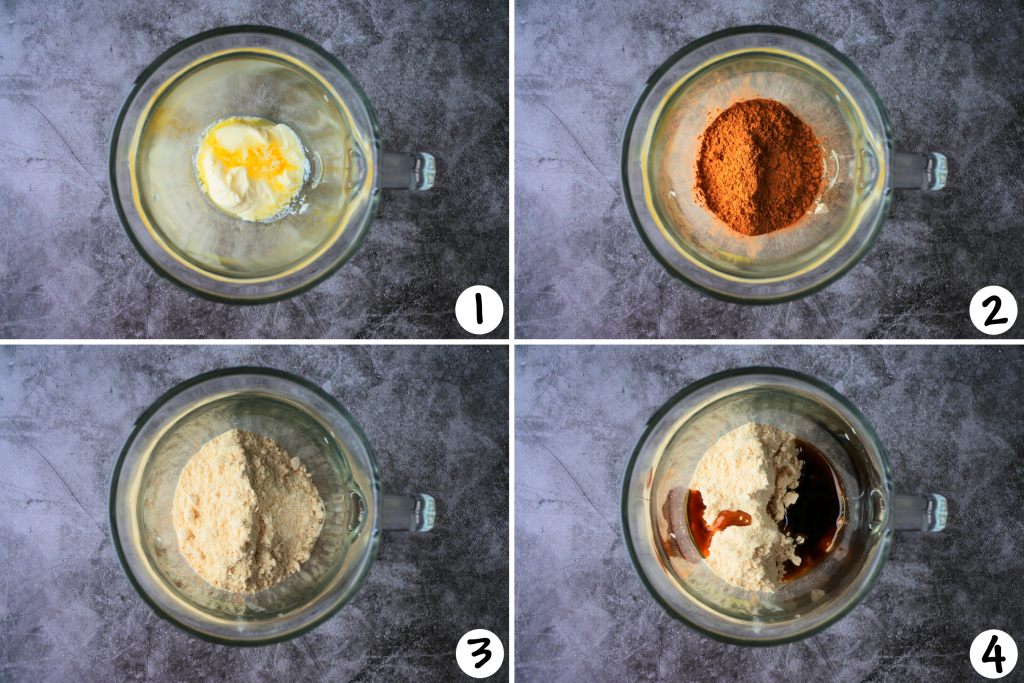
We’ll start by heating our mascarpone just a little bit to soften it (1). Then we’ll add in our cocoa powder, sugar and vanilla extract (2,3 &4).
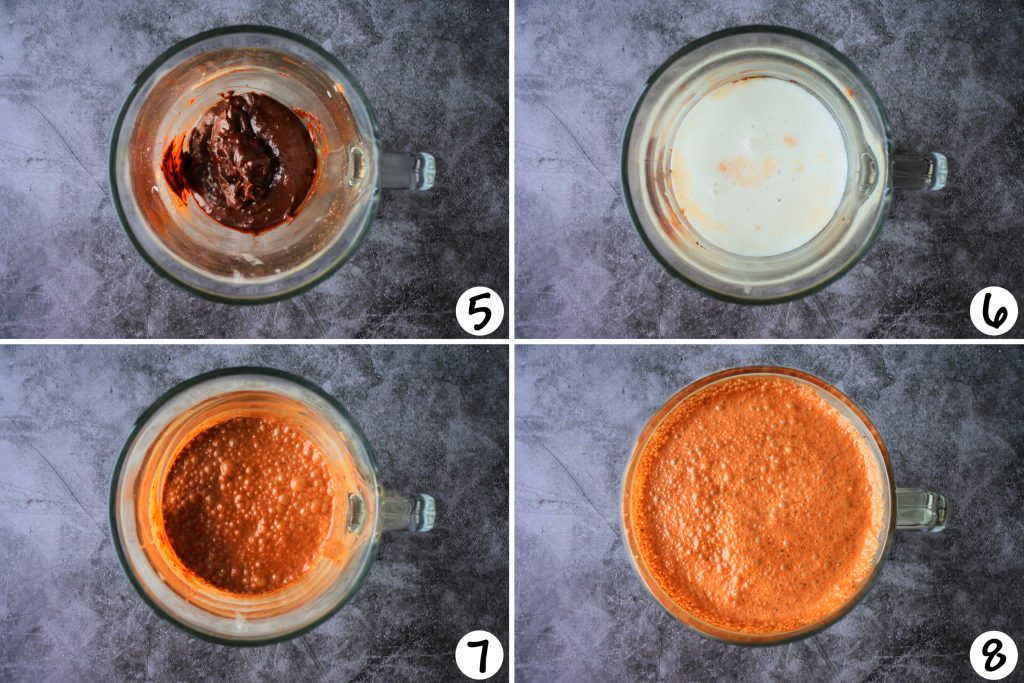
We’ll mix it all into a thick frosting-like paste (5) and then add our full fat coconut milk and fully blend it in (6 & 7) and finally we’ll add in our milk and fully mix it through (8).
If you like you can use a stick blender or immersion blender to fully emulsify and blend everything together to make things easier. Or if you have a personal blender (like a bullet blender) you can add all ingredients in and pulse it until fully combined.
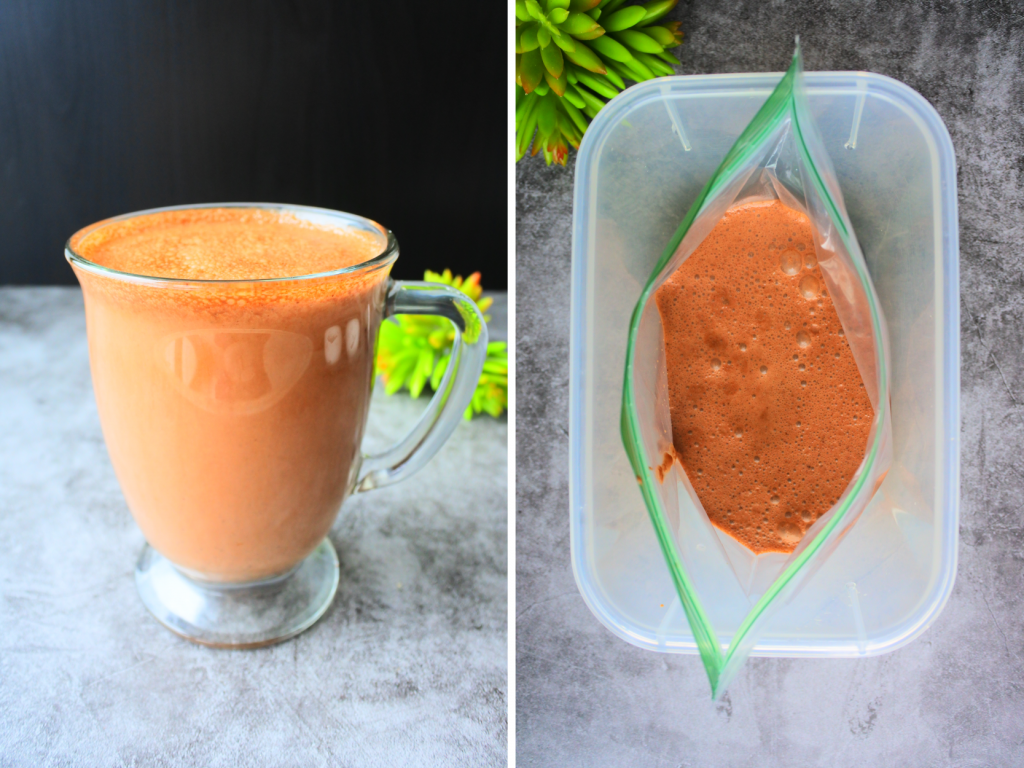
With our base made, we’ll pour it into a freezer-safe zip bag.
Fun story: During one of my batches, my bag, halfway through pouring, decided to roll over and play dead and I had to make a split second decision to stop the sudden tsunami of chocolate ice cream base that was moving towards the edge of my counter. Not having much time to react, I staunched the flood with…my belly. Yup. Just jammed my belly into the counter’s edge… And while it saved my floor and the sides of my cupboard from being a sticky chocolaty mess, my poor apron was not as fortunate 😅 So the moral of the lesson here is, ensure your bag is held securely before, during and after pouring your base and ensure it’s properly sealed too!

With our base in the bag and the bag sealed (and our apron washed!) set it flat (this is important) in the freezer for a few hours until it it completely frozen. Laying the bag flat helps the mix to freeze into a thin enough sheet for the next step.
Ice Ice Baby!

Once the mixture is frozen solid, remove it from the bag and break it up into chunks. Do you see in the image above the icy shards that have formed? We’re going to “disrupt” that by processing and aerating the frozen mixture.

Place the chunks into your mini food processor (not blender) and begin to break it down. It’s not necessary to add any liquid. You can pulse until the pieces are small enough to start moving around on their own and within a couple of minutes it will break down into a smooth and creamy soft serve texture.
Once that texture is achieved you have 3 options:
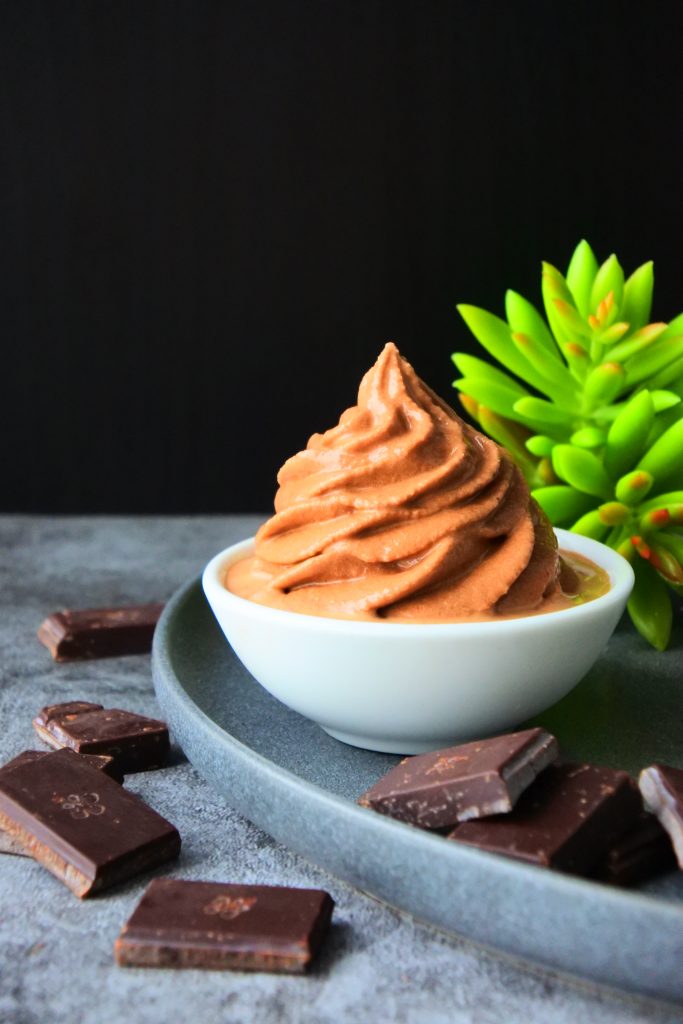
1. Enjoy it right away as a delicious soft serve.
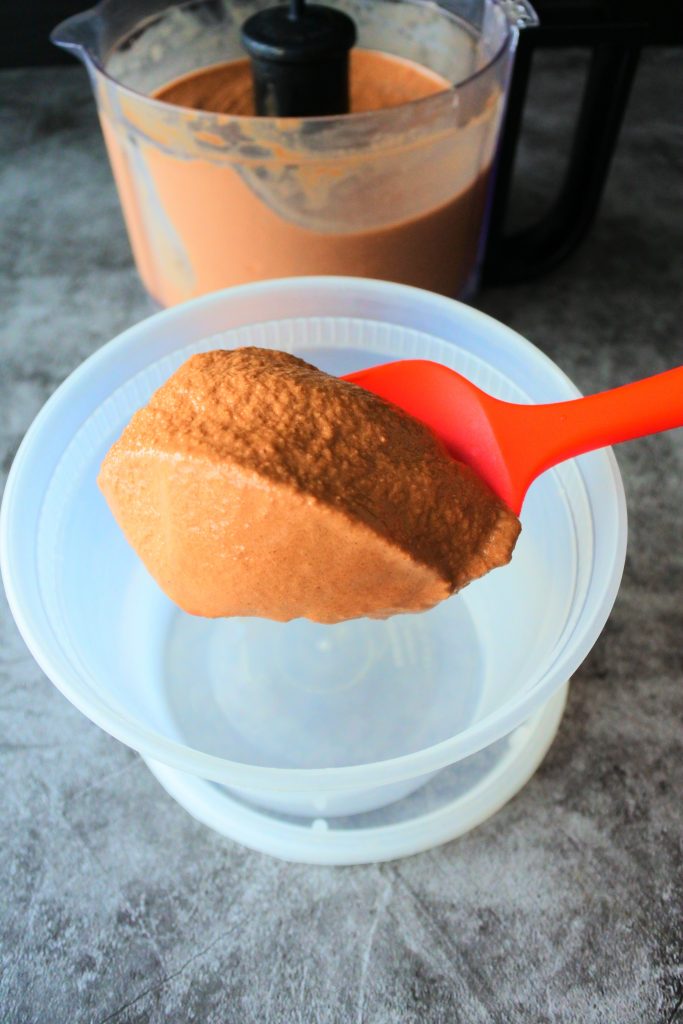
2. Scoop it into a container and set it in the freezer to set into a more dense and solid ice cream texture.
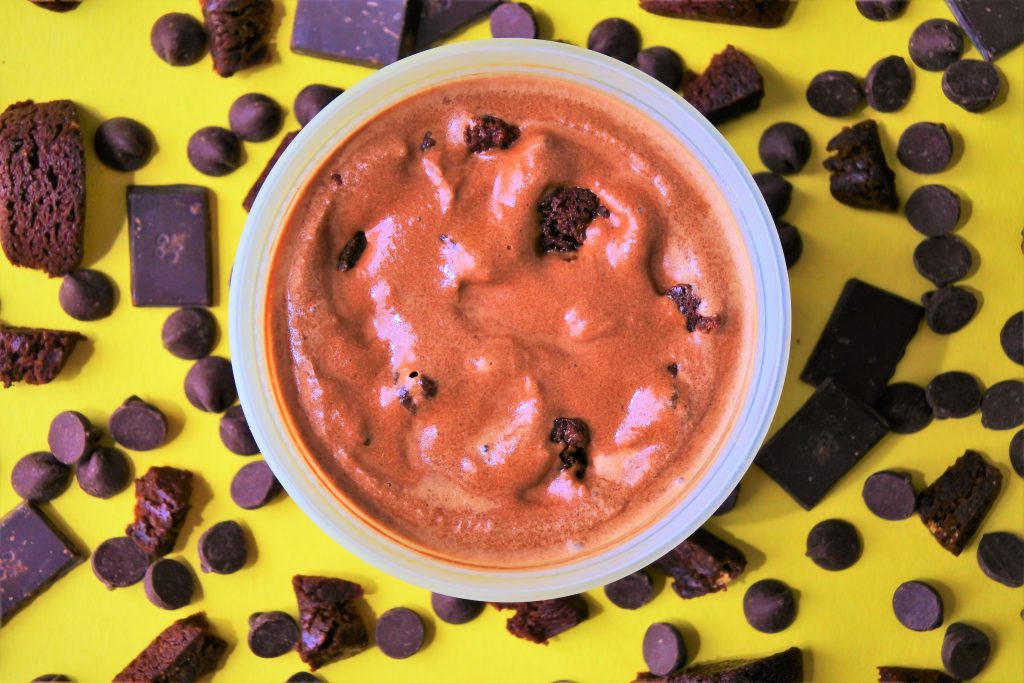
3. Fold in some mix-ins to create a customized and indulgent ice cream mix. My personal favorite are bites of my gluten-free chew brownies (with the chocolate chips omitted). Once the brownies are baked, I cut them into little chunks and freeze them before folding them into the soft-serve textured ice cream base and then setting it to freeze for a few hours until frozen.
Pro-tip: Just before putting your ice cream into the freezer (and to store any leftovers), place a piece of plastic wrap directly onto the surface as a skin to minimize and exposure to air which will reduce the formation of ice crystals and keep our ice cream nice and creamy.
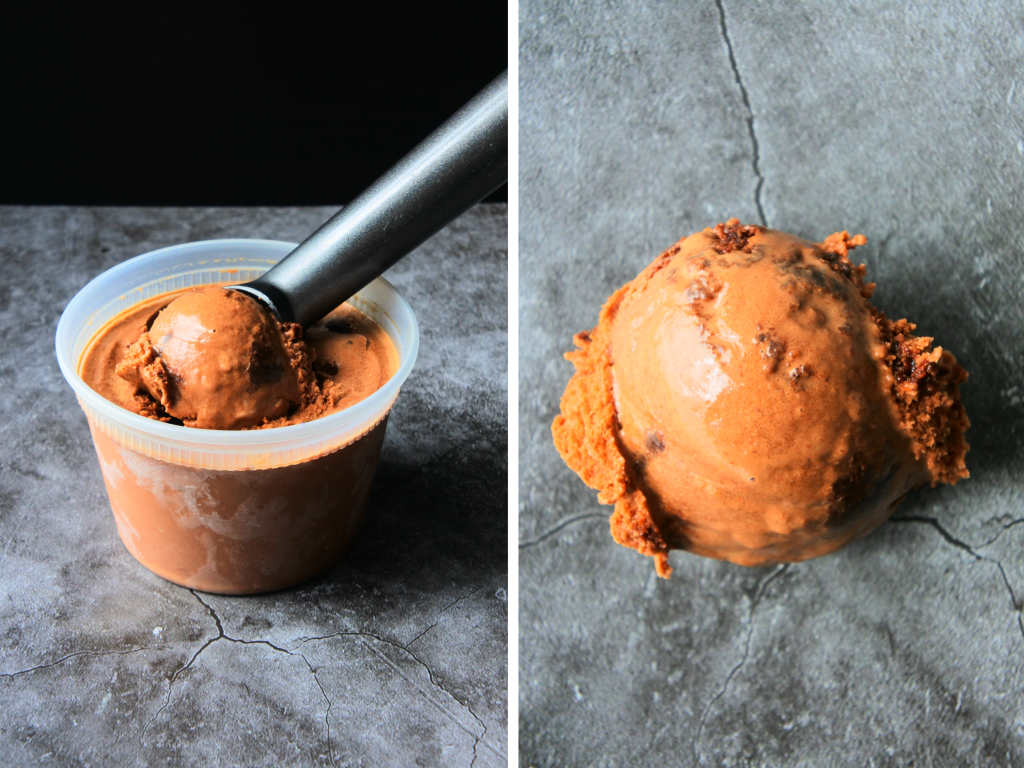
Once your ice cream is frozen and set, scooping it is as simple as letting it sit at room temp for a couple minutes and then scooping yourself a portion. Easy and simple, clean eating and wholesome, you’ll definitely want to whip yourself up a batch of this ice cream in the near future and when you do, I hope you enjoy it as much as we do!
Looking to Beat the Summer Heat in Other Ways? Try These Frozen Treats:
- One Ingredient Peach Sorbet
- 6-Ingredient Neapolitan Milkshake
- Soft and Fruity Pineapple Popsicles
- Easy Banana “Nice” Cream
- Refreshing Summery Limeade
- Iced Coffee Frappe
Chocolate Ice Cream (Easy, No Churn)
Ingredients
- 2 tbsp mascarpone cheese softened
- 2½ tbsp cocoa powder
- 2 tsp vanilla extract
- ⅓ cup raw cane sugar finely blended
- ¾ cup coconut milk full fat
- 1 cup Whole Milk
Instructions
- Warm mascarpone for 5 seconds in the microwave to soften it, add the cocoa powder, vanilla extract and sugar and mix thoroughly until it is thick and the consistency of frosting.
- Add in your coconut milk and whole milk and mix until smooth. (tip: use a stick blender to make this step easy)
- Pour the mixture into a zip bag and place flat. Freeze the base until solid.
- Once frozen, break into shards and put into a mini food processor and process until smooth.
- (If including any add-ins, fold them in now - see notes) Enjoy right away as a soft serve or place into a 16oz container and freeze until set to desired consistency.
- To store, keep frozen in an airtight container with a piece of plastic wrap pressed over the surface to discourage the formation of any ice crystals which will make your ice cream hard and icy.
Notes
- You can fold in any number of things to your blended ice cream including nuts, dried fruit, mini chocolate chips or chunks, or swirl in some ribbons of peanut butter or my personal favorite, fold in some frozen gluten-free chewy brownie bits to create a mock Ben and Jerry's Chocolate Fudge Brownie.
- This recipe makes 16 oz of ice cream.
- For the best results keep stored with a piece of plastic wrap pressed over the ice cream's surface like a skin. To serve from fully frozen, let your container sit on the countertop at room temp for a couple minutes before scooping to allow it to thaw slightly.

