Disclosure: This post may contain affiliate links.

This is a simple way to cook fresh greens that results in a wholesome side dish bursting with deep flavor that will have you going back for seconds.
What is Ohitashi?
Japanese in origin, ohitashi is a cooking method that dates back to the Sengoku era where it was also known as hitashi or hitashimono. It originally called for the ingredient (usually a leafy green but sometimes abalone or sea cucumbers) to be soaked in a soup base/stock known as dashi. In later years, the process was simplified by tossing boiled and blanched greens with a soy sauce marinade.
Ohitashi -vs- Oshitashi??
In doing research for this post I’ve come across both spellings and based on what the feedback is from my Japanese friend, the “correct” term is ohitashi (written as お浸し). As to where the term oshitashi came from, my understanding is that it is simply a regional/dialect pronunciation that also became accepted as the term for the dish. However you make it or pronounce it, ohitashi is a simple, fresh, flavorful and wholesome side dish that many continue to enjoy daily.
To Make This Side We’ll Need the Following:

- Swiss Chard: Fresh leaves of Swiss chard are the star of this dish. I’m using a rainbow chard but any chard or green (such as spinach!) works great.
- Soy Sauce/Tamari: I’m using tamari but you can also use soy sauce as there are gluten free varieties available. If gluten isn’t an issue for you, regular soy sauce works just fine. The use of the soy sauce complements the herbs and spices and the almost smoky flavor that the chard will get and imparts a great umami.
- Oil: Light olive oil or peanut oil can be used or any preferred clean eating oil of your choosing.
- Chili Oil: Opt to use your favorite chili/hot oil. Made using a blend of chilis and other spices that are steeped in hot oil and left to blend together and infuse their flavor, chili oil is a wonderful condiment that is very popular in Asian cuisine. For this recipe, using one that contains onion and garlic adds an amazing flavor to the ohitashi.
- Butter: Salted or unsalted, the choice is yours. This small touch of butter adds great richness and flavor to the greens.
- Dried Garlic: I’ve made this recipe using both dried and fresh garlic and I prefer the dried over the fresh because it doesn’t burn as easily and the flavor of it is much milder than the potent raw garlic so it blends much better into this dish.
Let’s Cook Some Ohitashi!
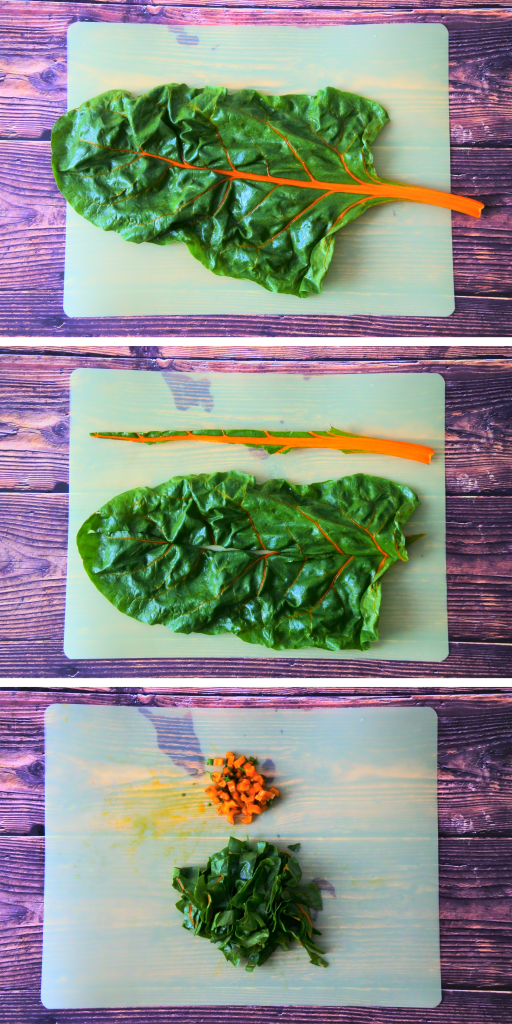
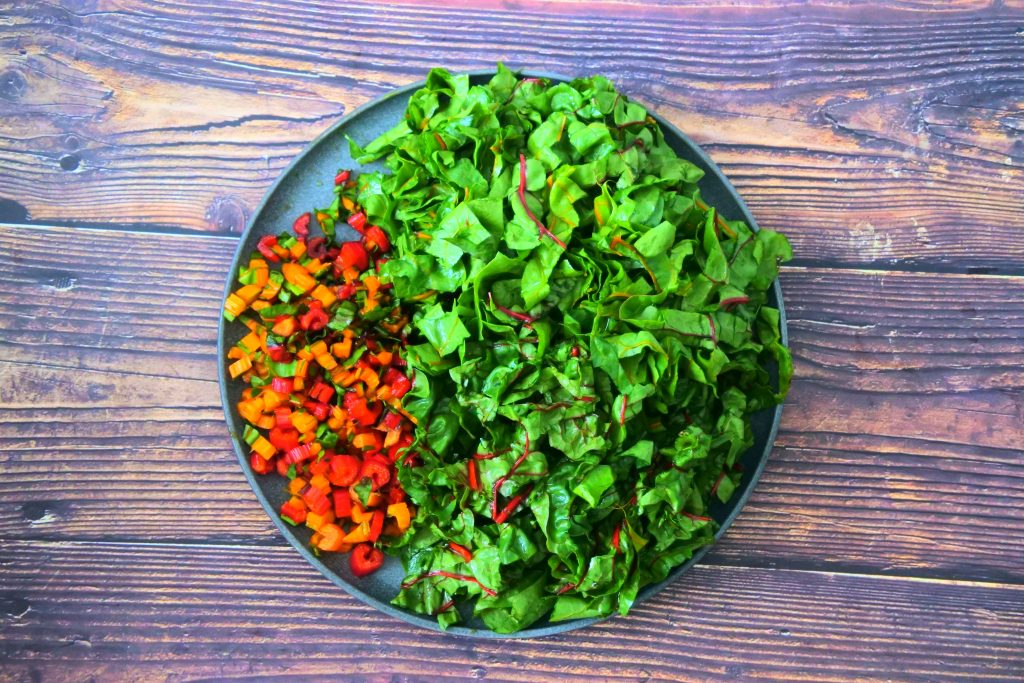
We’ll start by prepping our greens. You can use any leafy green you enjoy such as spinach, kale, collard greens or, like I’m using today, swiss chard. After washing each leaf and patting them dry, we’ll break each leaf down by removing the stem in the middle and rough chopping the leafy green and the stem.
Look at how fresh and pretty our greens are! I’m using a rainbow chard so it’s vibrant and colorful and we need to treat our greens right which brings us to the question…
To Blanch or not to Blanch?

Take a look at the image above. On the top is a Swiss chard ohitashi that’s been cooked by adding the raw, unblanched chard directly into the frying spices. The color is dark and dull and the flavor is a lot more muddled. It takes longer to cook and produces more liquid that keeps the dish soggy.
Now, take a look at the Swiss chard ohitashi below that. Its been prepared by first blanching the greens. The final product is a bright, colorful dish that cooks up in minutes and has a much more tender bite and a fresh and distinct flavor with a wonderful smokiness to it. Wouldn’t you rather eat this version? I know I would! 👍
So to blanch or not to blanch? The answer is 100% to blanch. It may seem like extra work but trust me it’s worth it, blanch your greens!

Blanching your greens is as simple as adding them to a pot of boiling water for 2-3 minutes…

And then draining them off and getting them into an ice bath immediately to stop the cooking process.
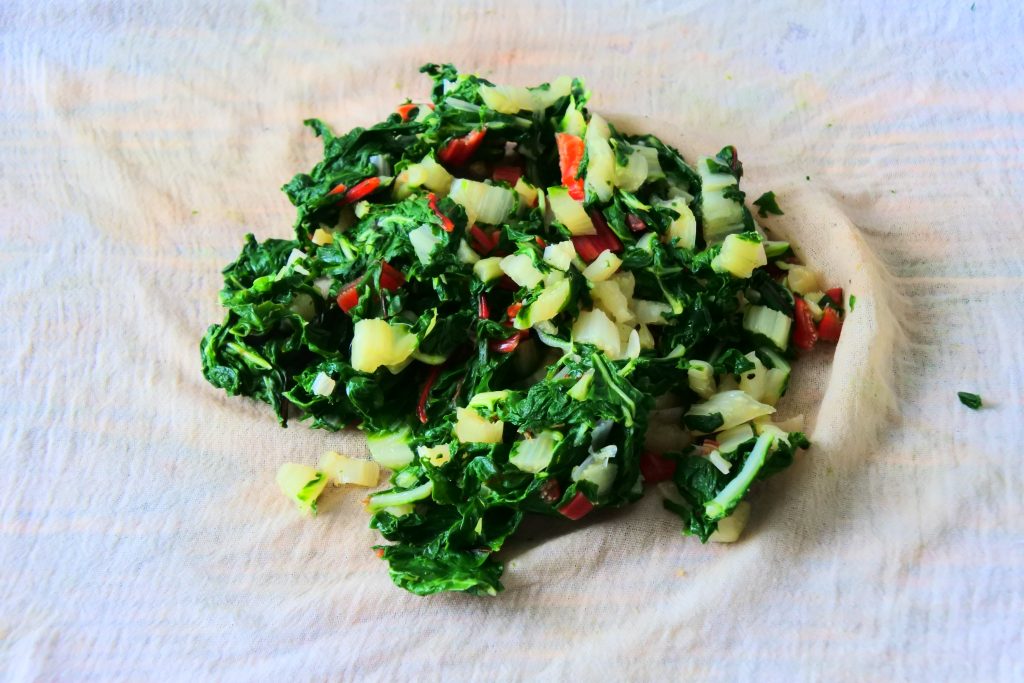
Once your greens have cooled down in the ice bath, strain them and then using a cheese cloth or clean kitchen towel, squeeze as much of the water out of them as you can. This is important.

In a cold skillet we’ll add our oil, butter, dried garlic and chili oil. Set the pan on high heat until the butter is melted and bubbling and your seasonings are frying and fragrant.
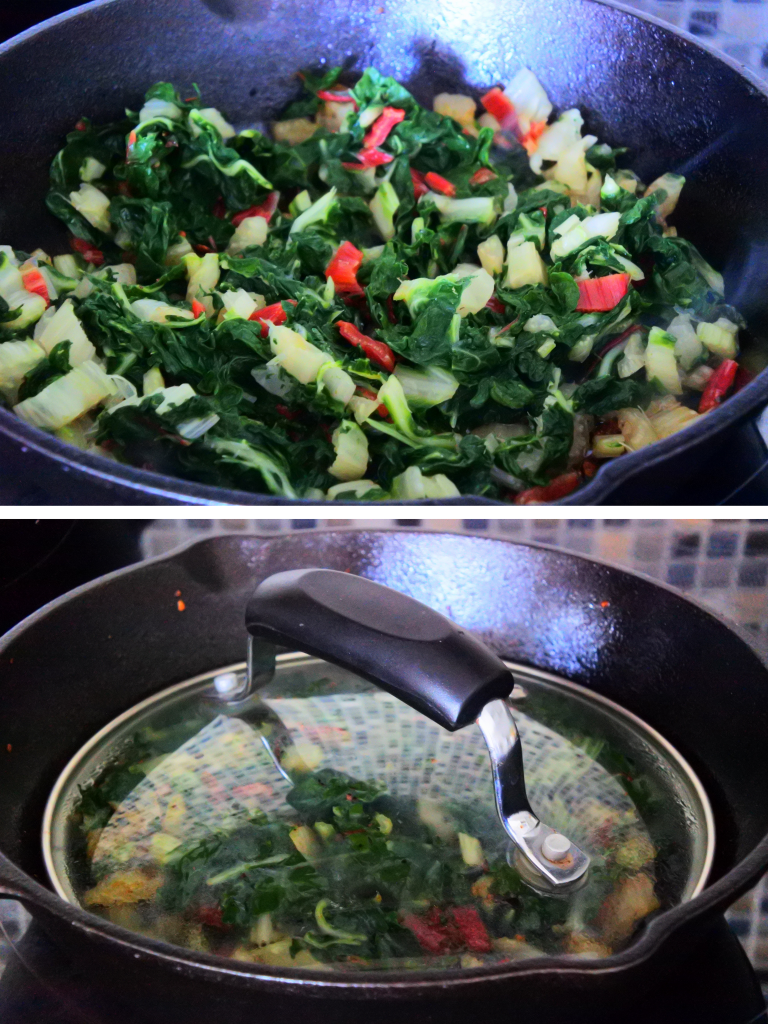
Lower your heat to med-high and add in your greens. Toss them to coat them in the seasoning, and then cover your greens and allow them to cook for 2-3 minutes. Covering them allows them to be enveloped in the steam and smoke created by the heat of the pan and any moisture on the greens. Too much moisture and you won’t achieve that smoky flavor so this is why it’s so important to remove as much water from your blanched greens as possible.
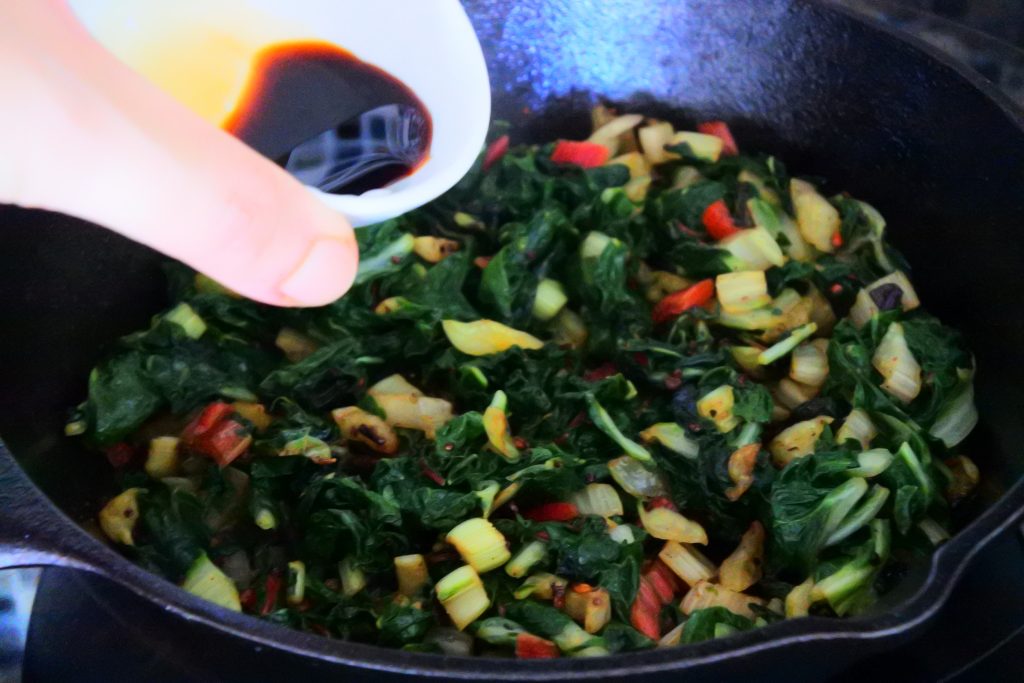
After your 2-3 minutes are up, remove your pan from the heat and add in your soy sauce/tamari. Toss your greens to coat them in the sauce and you are done!

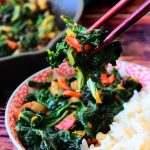
The perfect balance of smokiness, spice, salt and umami that intermingles with the fresh and vibrant greens gives you a bite that just hits on all the right notes. Serve your greens alongside any of your favorite dishes or keep it simple and enjoy it with a side of steamed rice and maybe some pan fried chicken for a complete and wholesome meal. Bon appétit 🤤
Swiss Chard Ohitashi
Ingredients
- 2 bundles Swiss Chard or any fresh raw green (see notes)
- 1 tbsp extra light olive oil or peanut oil
- 2 tbsp chili oil I highly recommend using one with onion and garlic in it.
- 1 tbsp dried garlic
- 1 tbsp salted butter
- 2-3 tsp tamari or soy sauce (if gluten isn't an issue)
Instructions
- Prep the Chard: Wash the swiss chard and pat each leaf dry. Remove the middle/stem from the leaves and chop both the stems and leaves into small pieces.
- Blanch: Place the chopped chard it into boiling water for 3-4 min. Drain and place the Swiss chard into ice cold water for a few minutes.Drain and squeeze the boiled chard to remove as much water as possible (using a cheese cloth or clean kitchen towel makes this step easier).
- Sauté the Chard: Add the oil, butter, dried garlic, and hot oil into a cold skillet. Place over high heat until the butter is melted and bubbling and just starting to brown and the garlic and chili oil are frying and fragrant. Reduce the heat to med-high and add the squeeze-dried chard and toss to coat. Cover the chard and allow to cook for 2-3 minutes. Remove the pan from the heat, uncover, add the tamari/soy sauce and toss to coat.
- Serve immediately. If there are any leftovers, bring to room temperature and store in a covered container in the fridge for up to 5 days.
Notes
- This recipe is great for any leafy green including spinach, kale, collard greens, bok choy, turnip greens etc.
