
Garlic is possibly one of my favorite ingredients to use, and, along with onions, often serve as the base for many of my savory dishes. Used in almost every culture dating back to ancient times, this common kitchen staple is packed with nutritional and health benefits ranging from heart healthy properties to boosting your immune system and even being able to reduce blood pressure.
Did you know that garlic is a member of the lily family (along with onions, shallots and leeks)? And since its bulbs are grown underground, it can actually be classified as a root vegetable! But whether you call it a vegetable, an herb, or a spice, no one can deny how amazingly aromatic it smells when chopped and sautéed in a bit of oil, or how fresh and pungently flavorful it can be when being freshly grated. However, raw garlic is often sharp with an almost peppery bite to it. This is due to the sulfur-containing phytochemical compounds (namely alliin) which, much like onions, are emitted when the cells of the garlic are cut.
Roasting your own garlic is a great way to cook this ingredient and eliminate the sharpness that you typically get from raw garlic. In just a few easy steps the end result is a soft, caramelized clove that is bursting with bright umami flavor that will elevate any and all of your savory dishes. Now, tell me that doesn’t sound amazing.😍
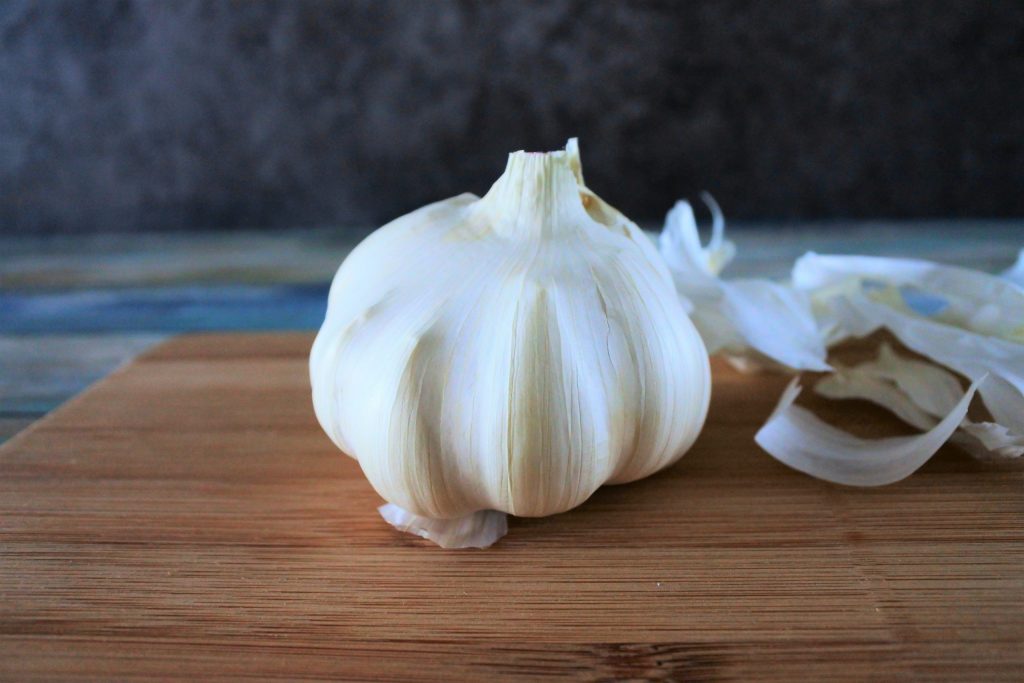
To make our roasted garlic, we’ll begin by peeling off the excess papery layers from a whole head of garlic but leave one or two layers so that the head remains intact.
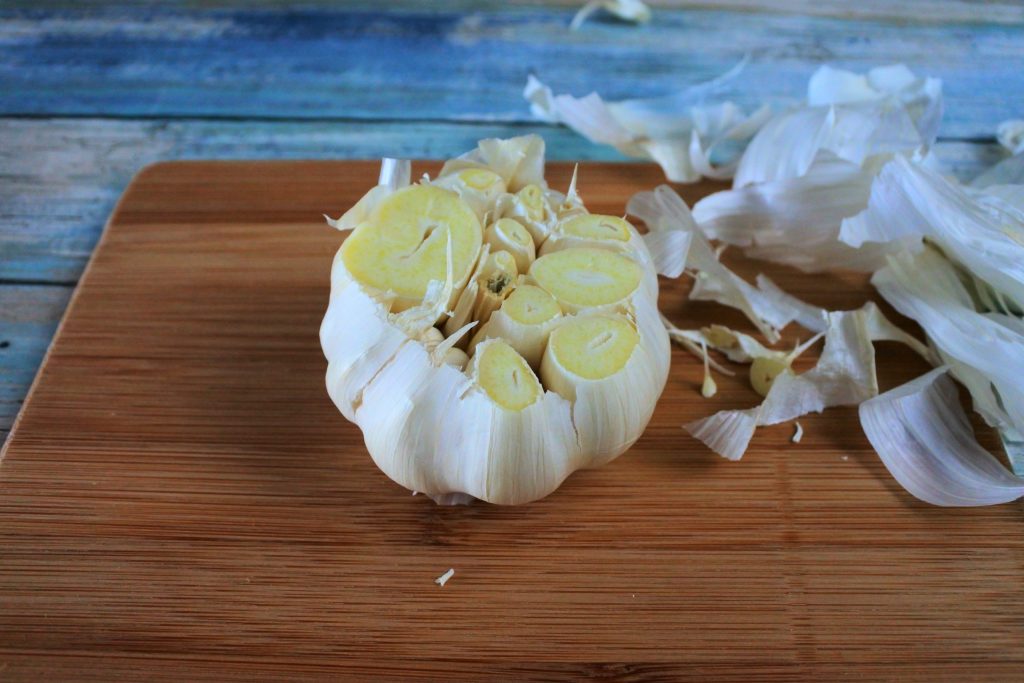
Next you’re going to want to slice off about 1/4 inch of the top to expose the grains. Depending on how evenly your grains are arranged you might end up cutting some deeper than others.
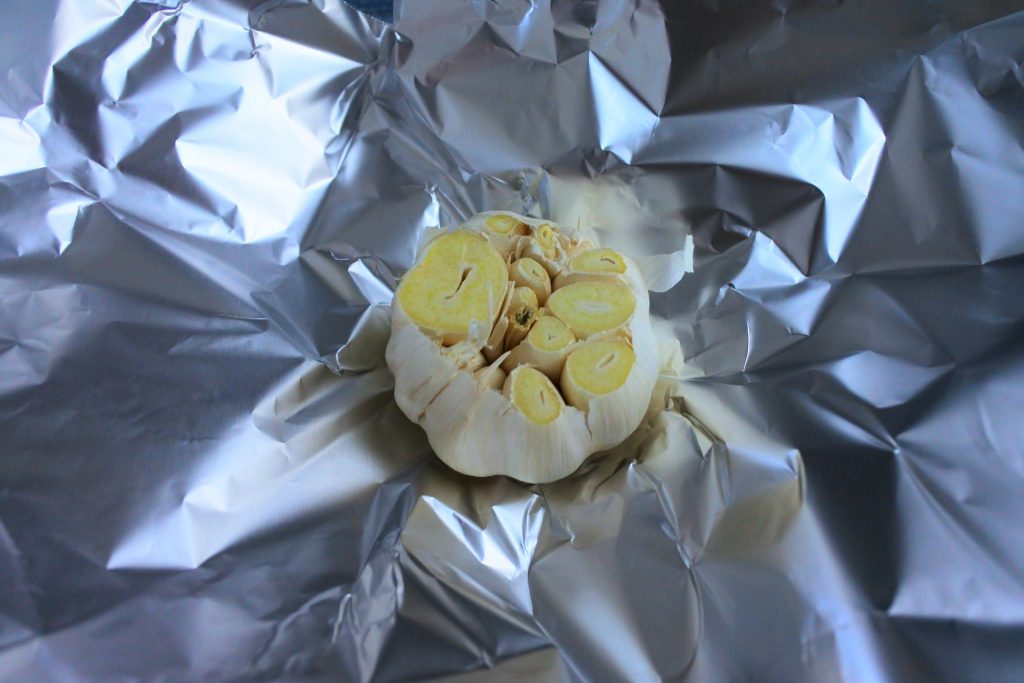
Place the cut head of garlic onto a sheet of foil paper (you can do several at a time on the same sheet if you prefer) and drizzle some neutral oil over the grains. It’s recommended that you rub the oil in so that each grain is oiled and the excess is able to seep down into the grain and into the skin surrounding the cloves.
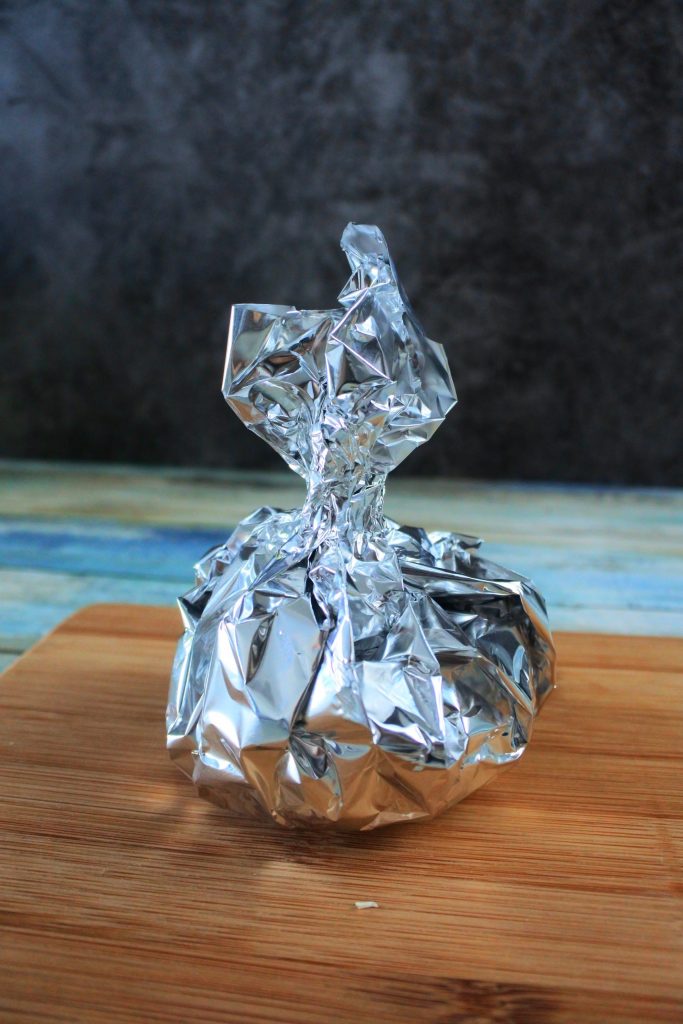
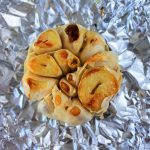
Once done, wrap up your garlic into a neat little package and pop it into a preheated oven or air fryer (at 400F) for 30-40 minutes until the cloves are nicely browned and aromatic.

The oils help the cloves brown and the foil helps the grains to almost steam so that you end up with these wonderfully caramelized cloves that are soft and tender and ready to amplify the flavors of your savory dishes.
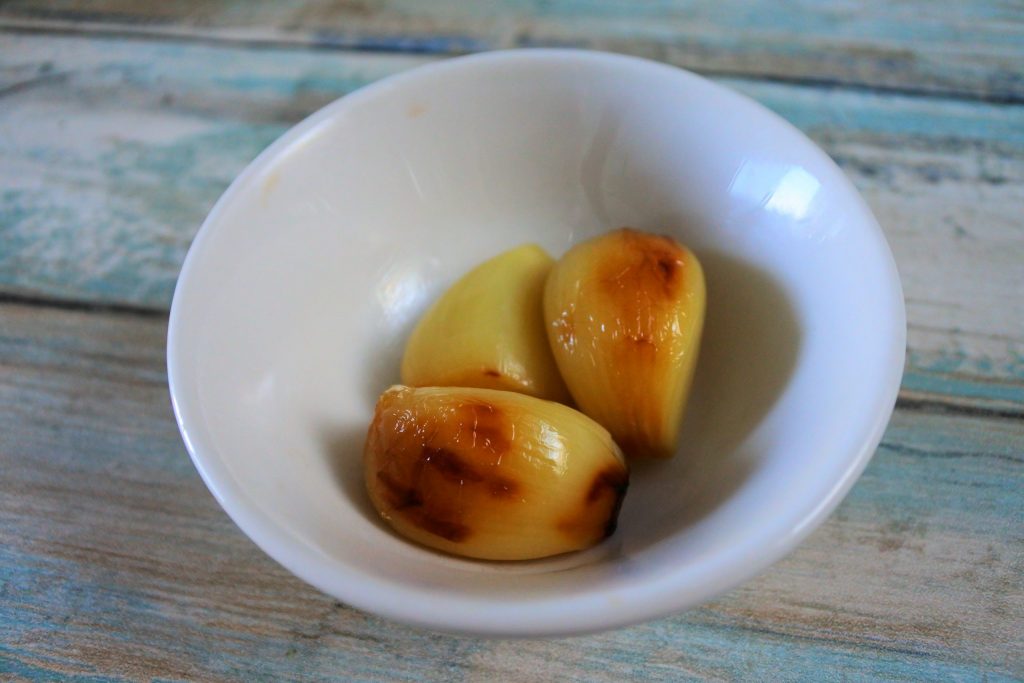
Once roasted, the cloves should slip right out of their skins with little to no effort. Now all that’s left to do is add them to your favorite dishes and enjoy the amazingly aromatic and flavorful boost that these perfectly roasted cloves provide. Whether you mash it and add some salt and use it as a spread or you add it to your pasta sauces, dips, meats, or use it in these Roasted Garlic Parmesan Mashed Potatoes the options are endless for this simple kitchen staple.
How to Roast Garlic
Ingredients
- 1 head fresh garlic (whole)
- 1 tbsp extra light olive oil
Instructions
- Preheat oven or airfryer to 400°F
- Peel off the excess papery layers around the whole head of garlic, being sure to leave 1-2 layers intact.
- Slice off ¼ inch off the top of the garlic to expose the cloves.
- Place the garlic onto a sheet of foil paper and drizzle 1tbsp of oil over the exposed and cut cloves.
- Wrap the foil around the head and pinch the top to seal it.
- Place your wrapped garlic head into the basket of your airfryer or onto a baking tray and roast for 30-40 minutes until the grains of garlic have caramelized, are cooked through, and are aromatic.
- To store, place the whole head or the cloves (still in their outer skins) into an airtight container or Ziploc bag and store in the fridge for up to 4 days or peel each grain and place into a container and add enough oil to fully cover the grains. Store in the fridge for up to a week.
Notes
- To remove the roasted garlic from the skin, simply break off each grain and gently squeeze the uncut end and the clove should slide right out of the skin.
- Another way you can try, particularly if you're roasting more than one head in the oven, is to the place the head of garlic into a muffin tin, drizzle the oil over it and then using a small piece of foil cover the top and tuck the excess ends down around the sides of the garlic.
