
Coconut milk is derived from extracting the creamy and fatty richness of the flesh of the coconut. The end result is a deliciously thick and creamy “milk” that can effectively be used in place of dairy milk or as it’s own ingredient in anything from soups to curries (like my Red Thai Curry or Green Thai Curry) to shakes or even to make your own vegan-friendly Coconut Whipped Cream!
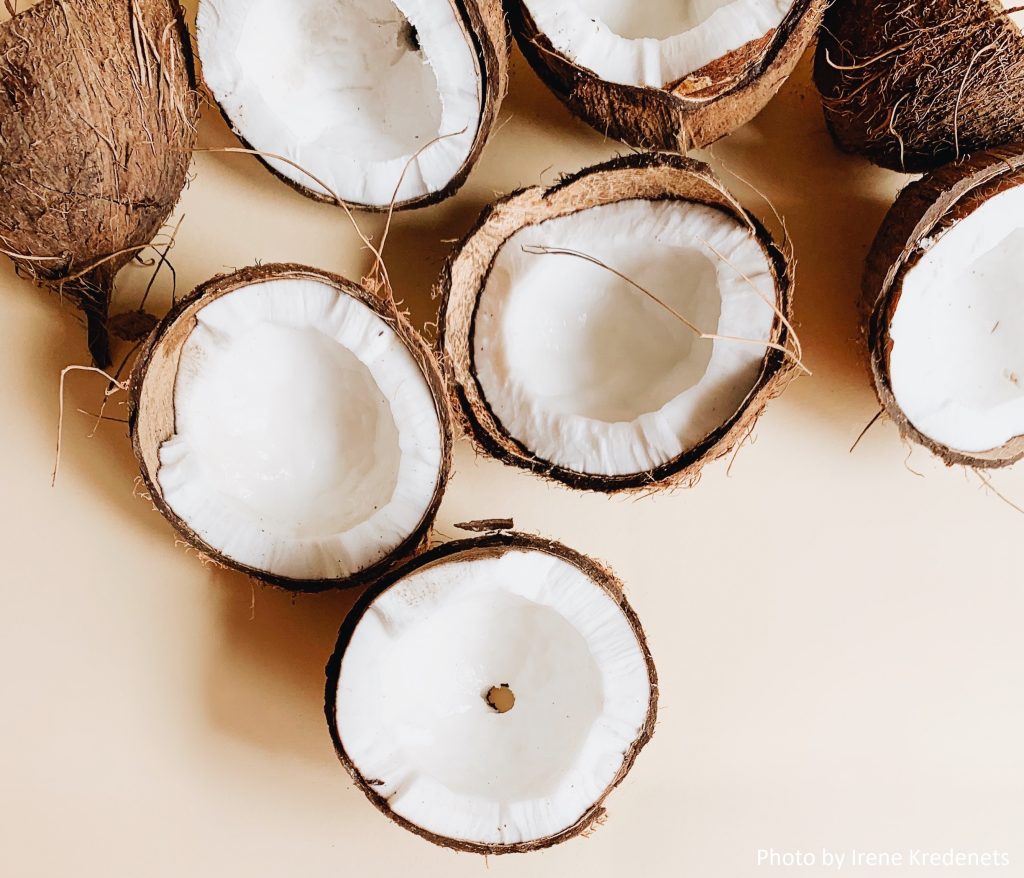
Coconuts are all you need for this recipe and you can use either freshly grated dry coconuts (simply split the dry coconut’s shell in half and pry the flesh out in chunks before grating on a box grater, Food Network has a simple tutorial on how to do get the coconut flesh out of the shell) or prepackaged unsweetened shredded coconut, the end result will be the same.

Making it is as simple as having some (unsweetened) shredded coconut, hot (but not boiling) water, and a cheese cloth for training the milk from the pulp. You can also use a nut bag or even a clean cotton t-shirt to strain the milk in lieu of a cheese cloth.
Also it’s important to note that the ratio of coconut to water will in turn affect the thickness, richness and flavor strength of your coconut milk so be sure to adjust it to suit both your and the dish’s requirements! Use a 1:1 ratio for a lighter coconut milk or a 4:1 ratio for a heavier coconut cream. For this recipe I am sitting right in the middle with a 1:2 ratio of shredded coconut to water.
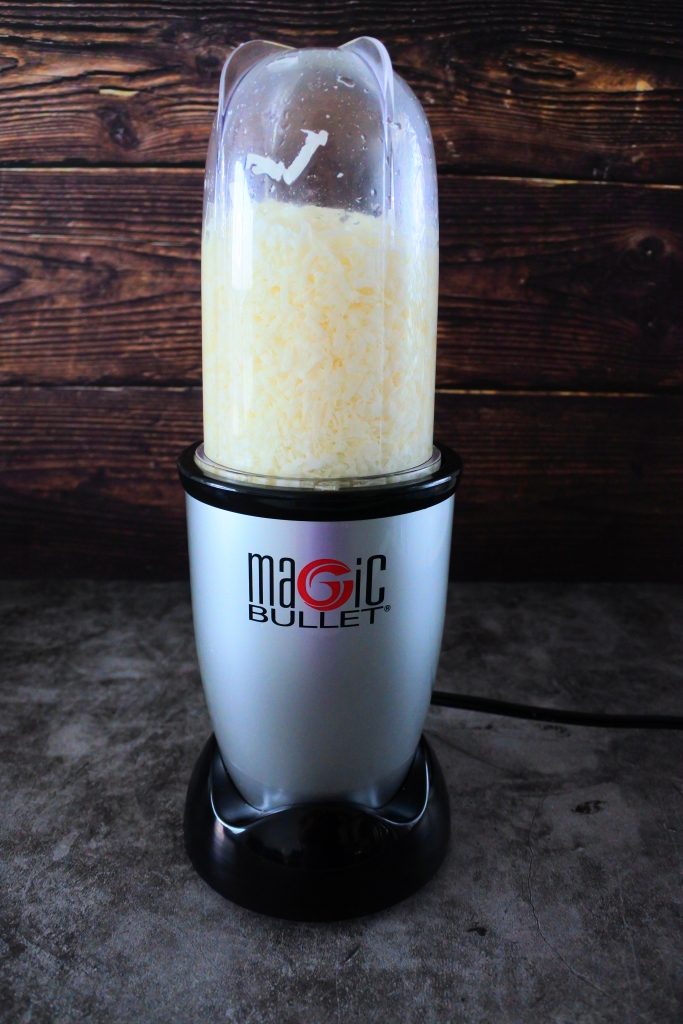
Add the shredded coconut and the hot water to the blender’s jug…

And letting it process for 2-3 minutes.
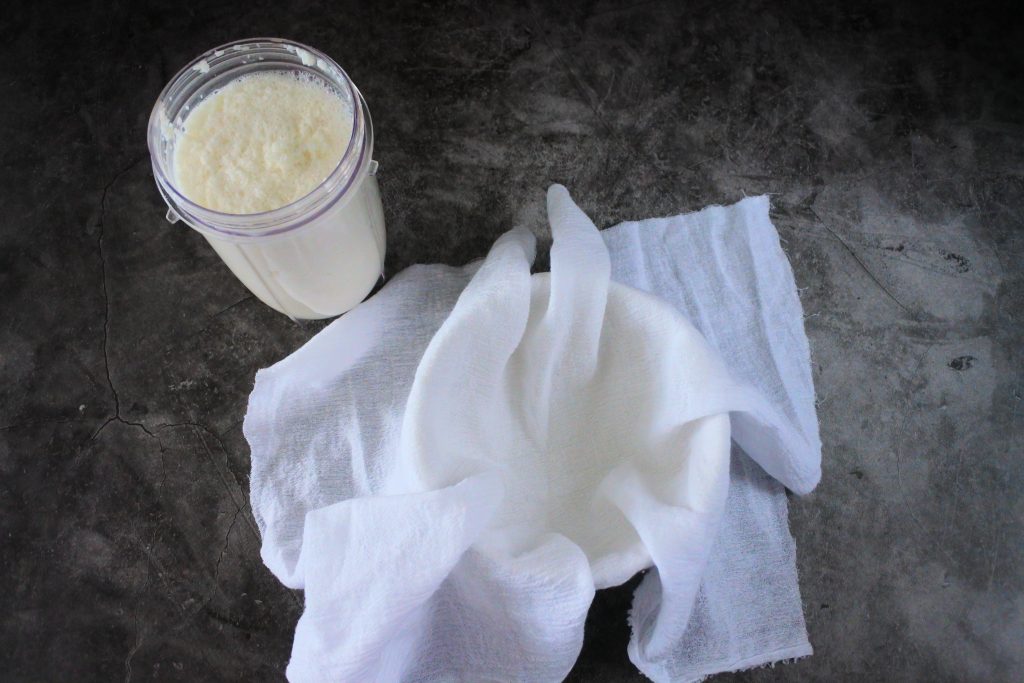
Next, line a bowl or container with the cheese cloth…

And pour the coconut/water mixture into the cheese cloth.

The next step is to simply gather the edges and make a pouch and squeeze as much of the liquid out as possible. Note that the last bit tends to be the thickest and creamiest. That’s the part you really want.

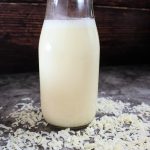
And there you have it! Combine, blend, strain, and you end up with an easy homemade coconut milk that contains no artificial anything or stabilizers like many of the canned versions do! Do note that it is quite normal for the cream to separate from the liquid due to the lack of said added stabilizers. Simply shake or stir well to incorporate it once more.

How to make coconut milk
Equipment
- High speed blender
- Cheese cloth
Ingredients
- 2 cups shredded coconut (unsweetened)
- 4 cups water (very warm)
Instructions
- In your (high-powered) blender, add the shredded coconut and hot water. Ensure that the water is not boiling hot.
- Blend the coconut and water together for 3 minutes
- Cover a bowl with your cheese cloth and pour the coconut and water mixture into it. Gather the ends of the cloth together and, ensuring that none of the coconut pulp spills out, gently squeeze the towel to extract as much of the coconut milk as you can.
- This coconut milk is best if used immediately or pour your coconut milk into a bottle and seal and store it in the refrigerator for up to four days.
- Note that the absence of any emulsifiers will allow the coconut milk to separate and hardened coconut cream will settle to the top. Simply allow the milk to come to room temperature and blend the milk to reincorporate the cream into the liquid.
Notes
- You can use both fresh coconut flesh from a dried coconut or pre-shredded in a package (just be sure that the only ingredient on the package is "coconuts")
- If you don't have a cheese cloth you can use a piece of cotton or even a clean t-shirt.
- Using a coconut to water ratio you can change the richness of your coconut milk. Use a 1:1 ratio for a lighter coconut milk or a 4:1 ratio for a heavier coconut cream
- If your coconut milk looks to be a bit too "thin" you can put the pulp and milk back into the blender and process it a second time.
- Feel free to sweeten your coconut milk with maple syrup or honey.
- You can also flavor your coconut milk with vanilla extract or fruits.
