Disclosure: This post may contain affiliate links.
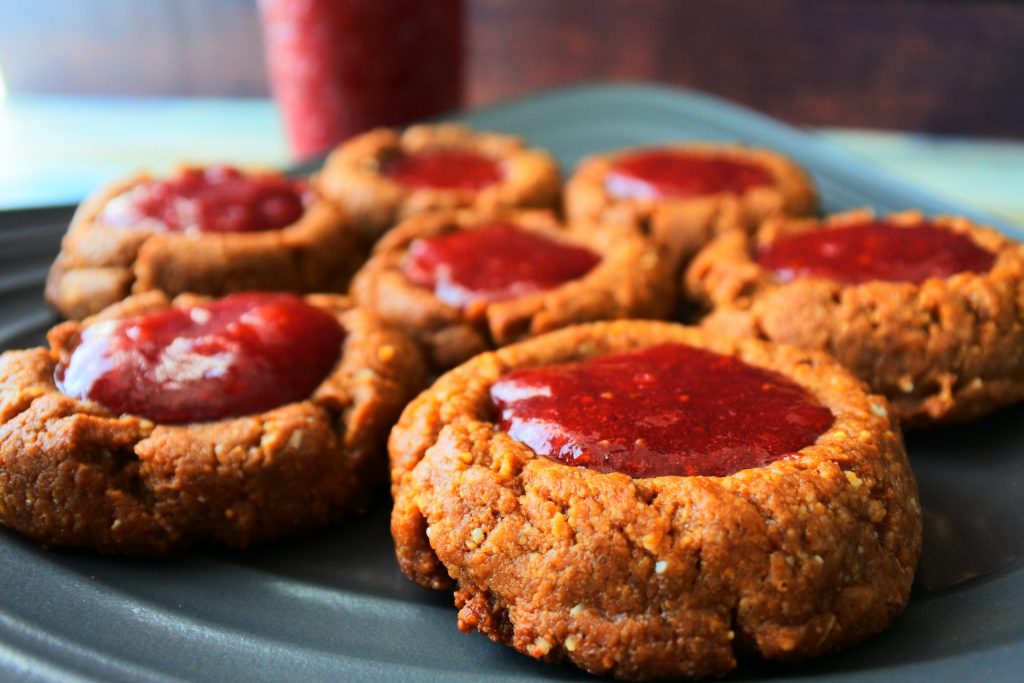
Thumbprint cookies, also known as hallongrotta in Sweden, are these gorgeously indented, jam-filled sugar cookies. While typically filled with raspberry jam, (the name hallongrotta actually translates to mean “raspberry cave”) you can use any jam you prefer (I used a homemade strawberry jam) and the end result is sure to be delicious.
While making a batch of Gluten-Free Peanut Butter Cookies I opened my fridge to retrieve my bag of almond flour and spotted the jar of homemade jam I’d made a couple days before. Since peanut butter and jam are arguably one of the most iconic pairings, I decided to make myself some thumbprint PB&J cookies which resulted in a very much indulgent “breakfast cookie”…are those a thing? If they’re not they should be, or rather I should say, they are now!
To Make Our Pb&J Thumbprint Cookies We’ll Need the Following:
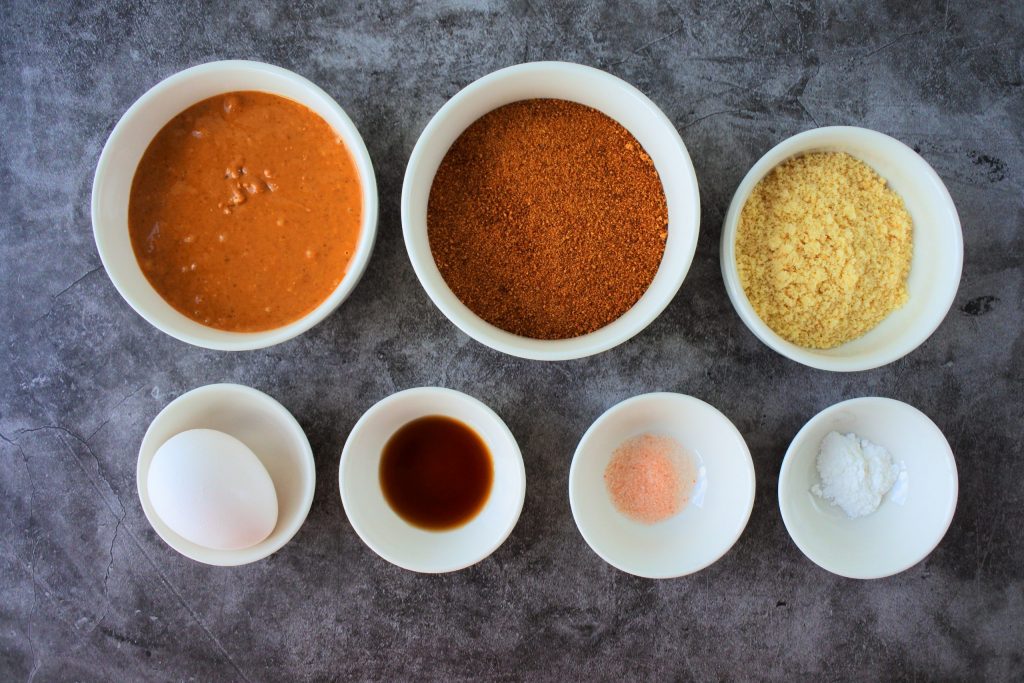
- Natural peanut butter: ie- peanut butter that only contains peanut and possibly a touch of salt but nothing else.
- Coconut Sugar: this low GI sweetener adds a great undertone of caramel notes to the cookie.
- Blanched almond flour.
- Egg: cold or room temp works just fine.
- Vanilla extract.
- Salt: I’m using a Pink Himalayan but you can also use sea salt.
- Baking powder.
- Jam: you can use whichever flavor you enjoy.
The base of this recipe is the same as my Gluten-Free Peanut Butter Cookies the only difference being that they’re shaped differently and filled with jam. Since the dough is firm, it lends itself perfectly to being shaped to house the jam without worry about it spreading or the jam leaking out.
Now, Here’s How to Make These Cookies:

Into a large bowl goes our peanut butter, coconut sugar, salt and vanilla extract. Mix it together until all ingredients are combined.
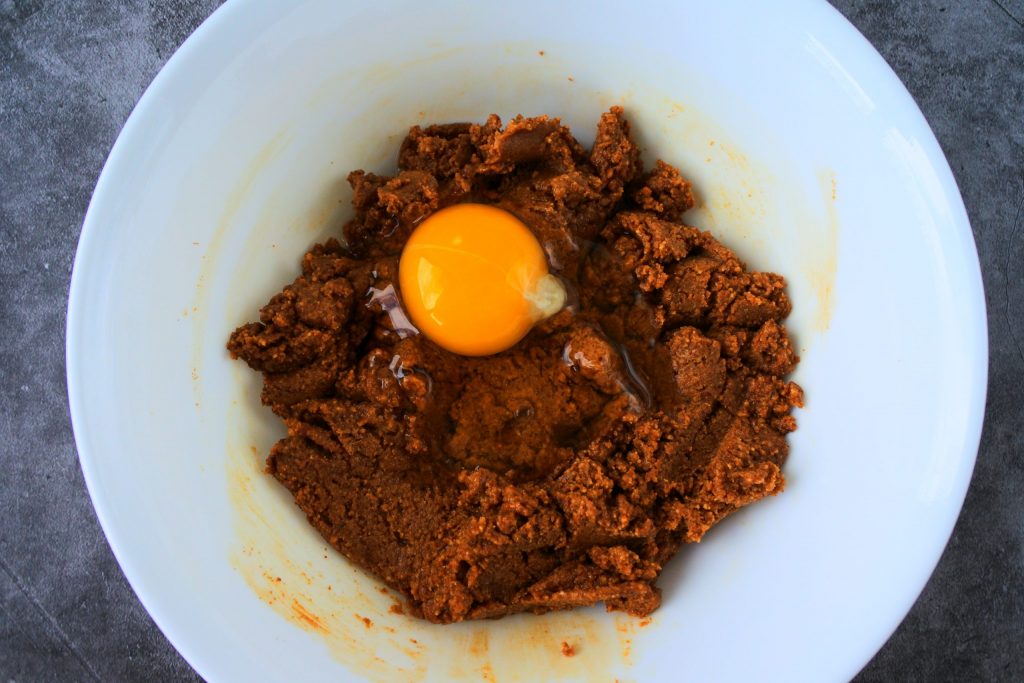
Then add your egg, being sure that no bits of egg are left whole or visible. Using the back of your spatula to smear and break down any bits of egg into the dough works really well for this step! You can also whisk your egg in a separate bowl before adding it to the dough to ensure that it is fully blended together.
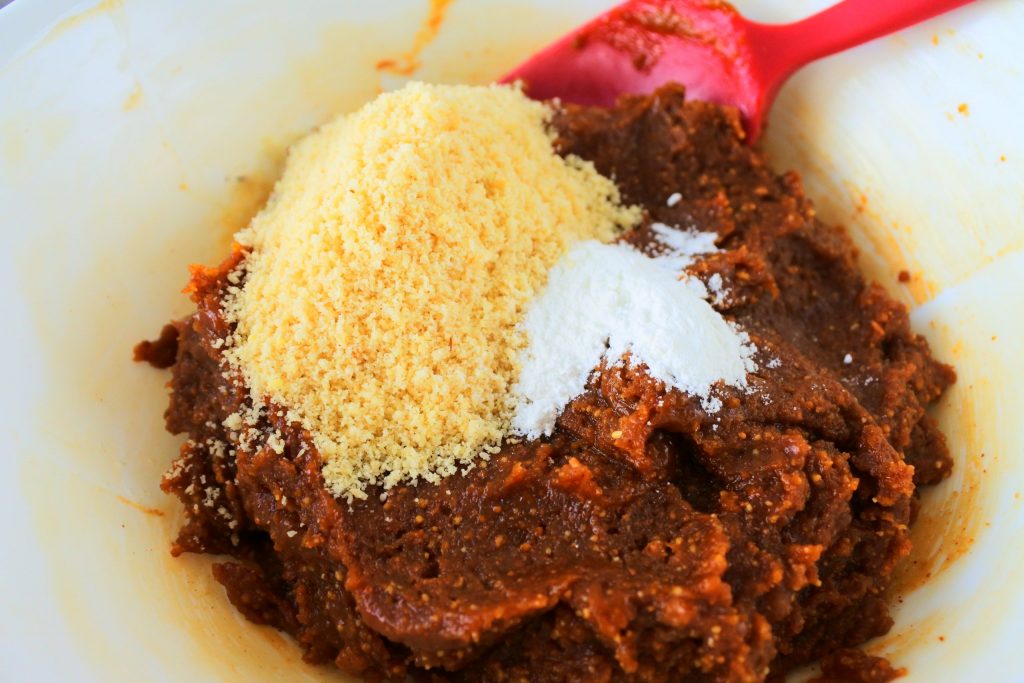
Add in your almond flour and baking powder. As a substitute, you can also use coconut flour in place of almond flour if you enjoy the texture and flavor of it. If subbing coconut flour for almond flour, use half the amount called for in the recipe.
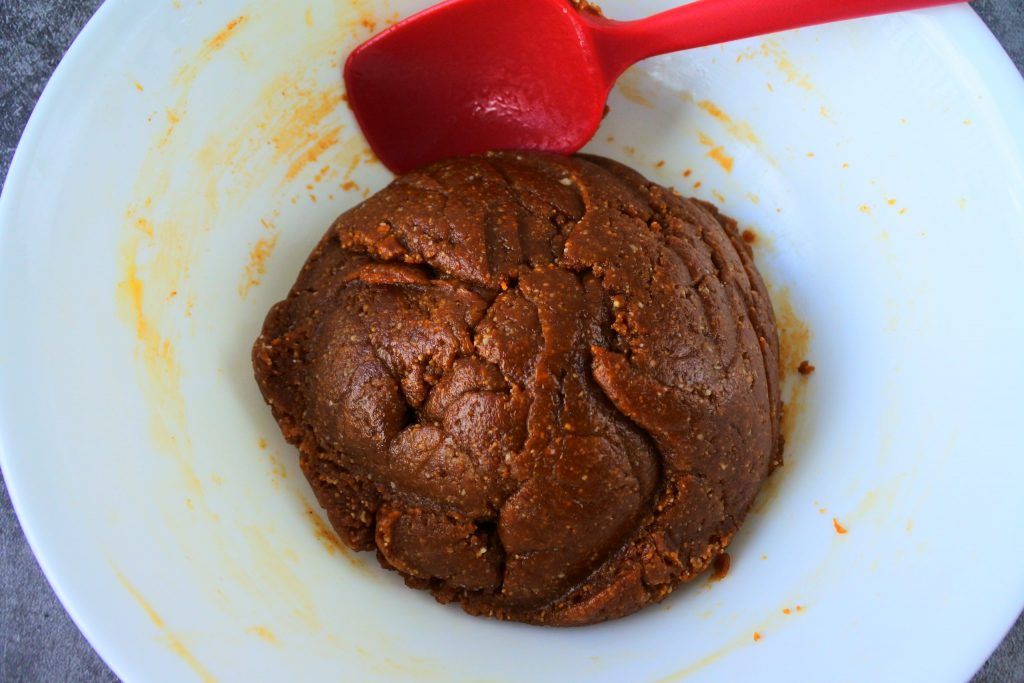
As you can see in the image above, the dough is firm, and because of that it doesn’t need to be chilled which means that you can go right into the next step.
Portioning, Shaping, Filling, and Baking Your Cookies!
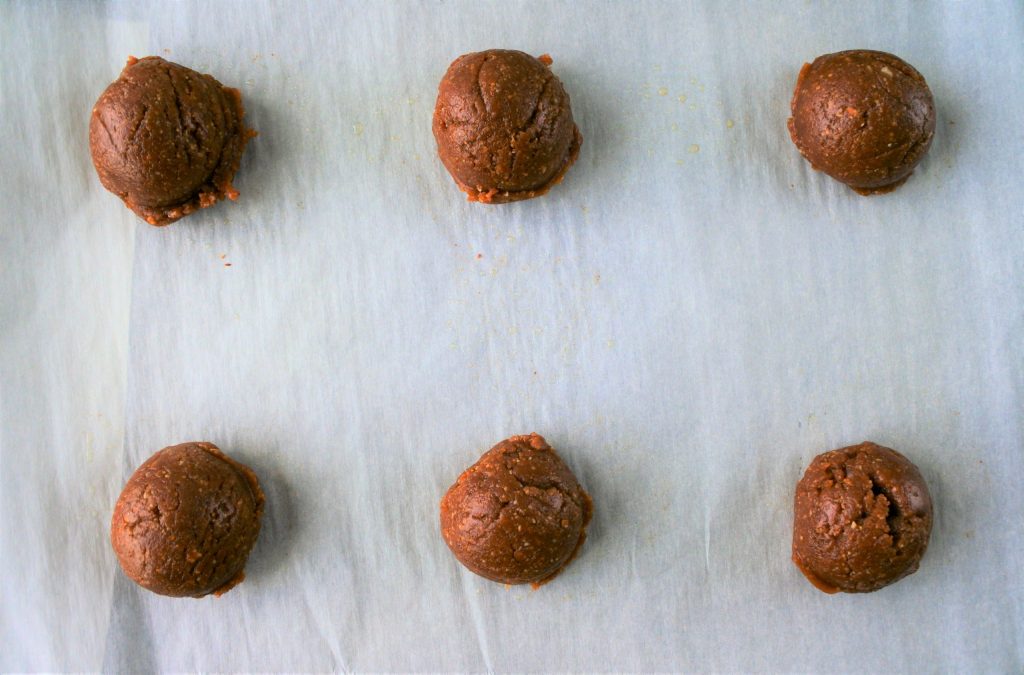
Using a tablespoon measure, scoop out equal portions of your dough onto a parchment-lined baking tray. You should get between 12-14 cookie mounds. I really recommend using parchment paper or a baking mat since it will keep the bottoms from browning (or burning) too quickly while the top and middle are still uncooked.
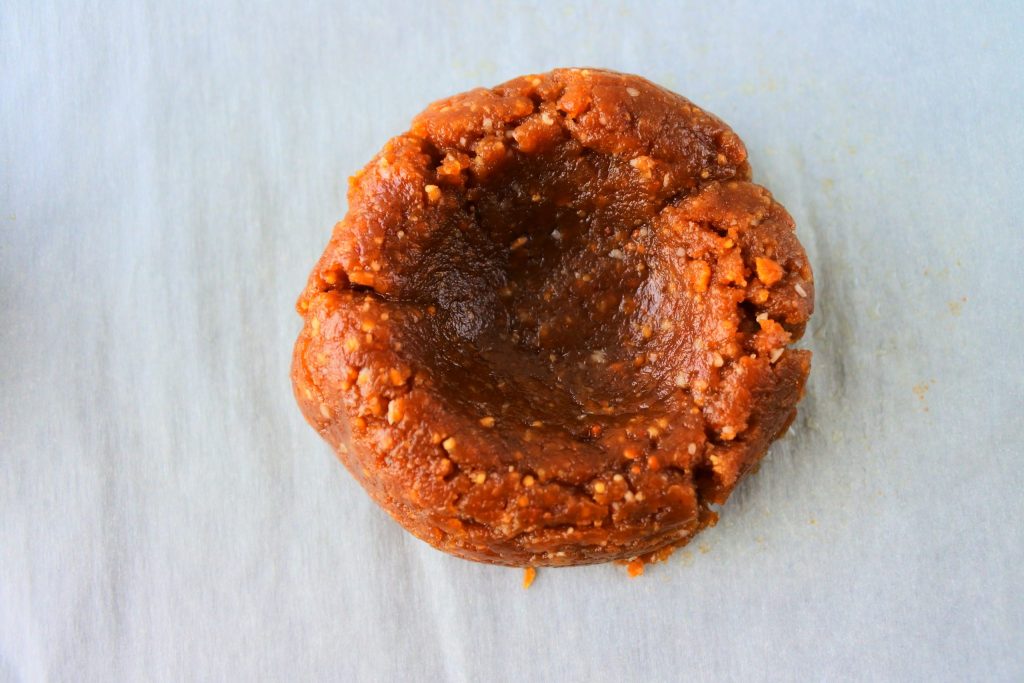
Now comes the fun part, shaping (and filling) your cookies. If your nails are short then your thumb or fingertip is going to be perfect to create the indent in your cookie. You can also use the back end of a rubber spatula or the cylindrical-shaped end handle of a wooden spoon, or really any item that has a blunt or rounded shape (similar to your fingertip!). Just be sure to not go so deep that you make a hole and expose the parchment below.
Once shaped, pop your cookies (filled or unfilled, we’ll get to your options below) into your preheated oven for 10-12 minutes.
Since they’re a bit darker in color it might be difficult to tell when they’re done especially since they bake up soft but harden as they cool. You can however check them by gently prodding the edge, if it’s soft to the point of leaving an indent they’re not ready yet, if however, they seem firm and you might even be able to notice if the edges are slightly browned then they’re good to go.
Another sort-of indicator is going to be your nose. Usually once my kitchen fills up with the smell of the cookies I know they’re almost done and just need a few more minutes. Nonetheless, keep an eye on them once you’re nearing that ten minute mark, they can go from done to burned very quickly so don’t walk away!
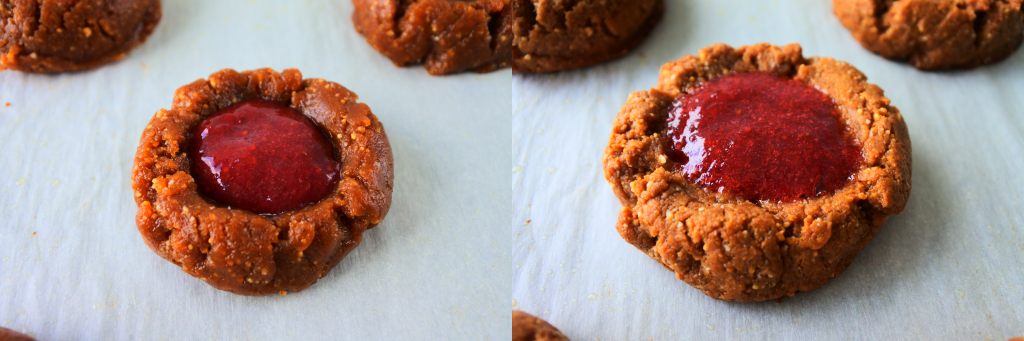
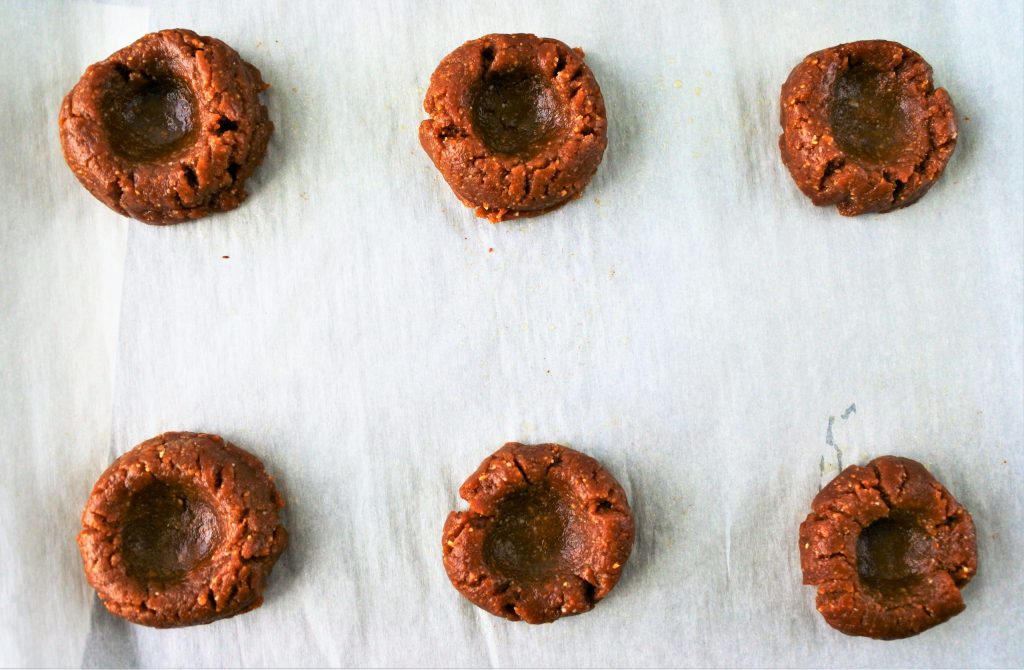
Now when it comes to filling the cookie you have two options, you can fill the unbaked shaped cookie dough and bake it with the jam in the middle and the end result looks like the above right half image. The jam will lose some of its moisture as it cooks down, but in doing do it becomes slightly tacky and ends up being a part of the cookie itself.
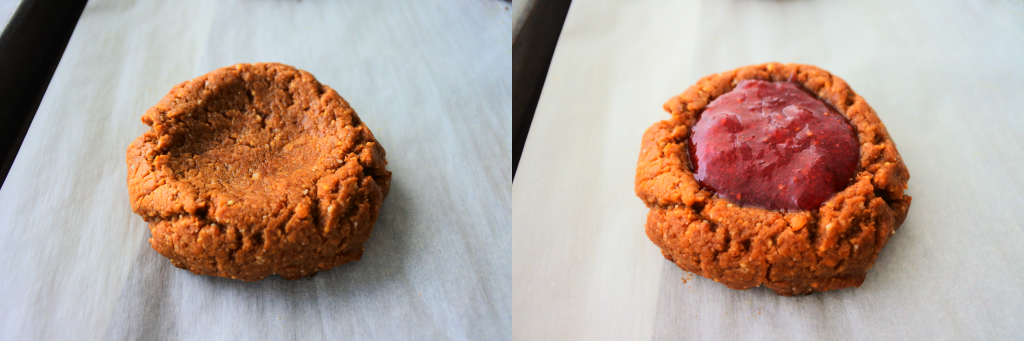
Another option is to bake your indented cookies without filling them (as seen in the above left side of the image) and fill them after they’ve come out the oven and cooled. Do note though that your cookies might puff up a bit in the middle while baking, and if you think they’ve puffed up a bit too much then you can use the back of a spoon (or your fingertip, though be careful it will be hot!) to gently press down the indent thus making more room for jam…that’s never a bad thing, is it?
The option of filling after your cookies are baked works great if you want to make your cookies ahead of time and don’t want them to potentially be soggy. Plus it also preserves the texture and consistency of the jam.
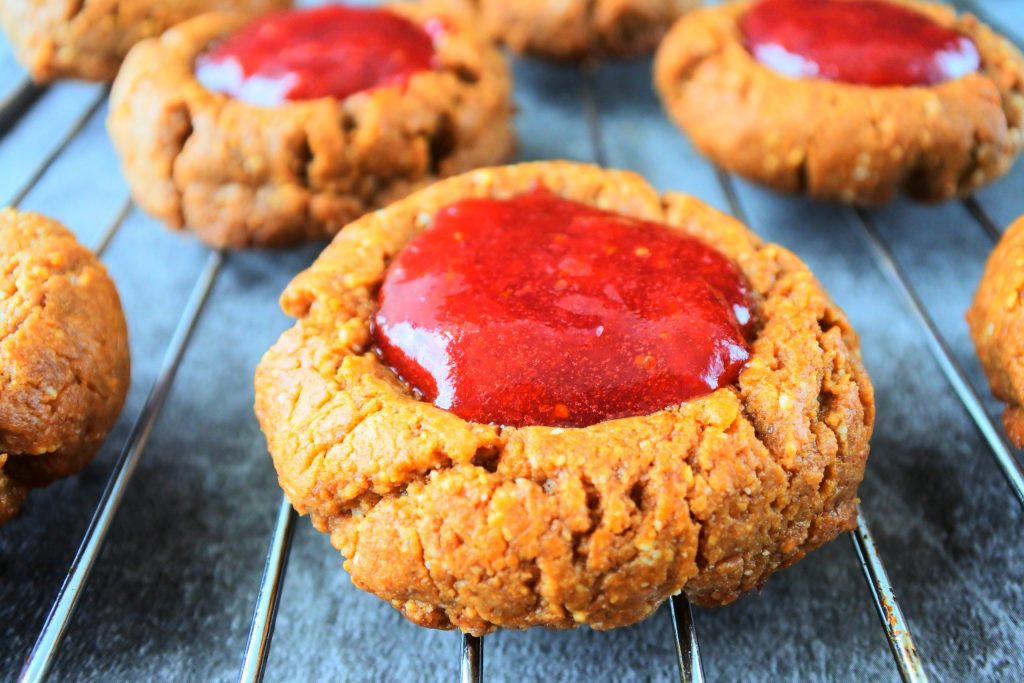
Regardless of pre-filled or unfilled, your cookies will be soft when they come out of the oven, so be sure to leave them on the tray to cool and harden for a few minutes before trying to move or pick them up. Whichever way you choose to bake and fill your cookies the end result is a heavenly marriage of an iconic breakfast combination in a dessert package and it’s one that I hope you really enjoy.
Did you try this recipe? If you did why share your pics with us by tagging us on social media (@kitrusycleaneat or #kitrusy) so we can fawn over them together! 
Gluten-Free Peanut Butter and Jam Thumbprint Cookies
Ingredients
- ¾ cup natural peanut butter
- ¾ cup organic coconut sugar
- ¼ tsp Himalayan salt
- 1 tsp vanilla extract
- 1 large egg
- ½ tsp baking powder
- ¼ cup blanched almond flour
- ¼ cup homemade jam (more if needed)
Instructions
- Preheat oven to 350°F.
- In a large bowl combine the peanut butter, coconut sugar, salt and vanilla extract together.
- Add the egg and mix thoroughly to incorporate it (ensuring there are no clots or blobs of egg visible, alternatively you can whisk the egg in a separate bowl before adding it to the dough).
- Add your finely ground blanched almond flour and baking powder and combine to form a firm dough.
- Roll your dough into balls or scoop your dough by the tablespoonful onto a baking tray lined with parchment paper into 12-14 portions, and, using the tips of your fingers, make an indent in the middle of each cookie dough and work outwards to create an indent or "thumbprint".
- Option 1: Fill each of the cookie indents with a spoonful of jam being sure to not overfill them.
- Bake in your preheated oven for 10-12 minutes. Remove from oven and let cool. Note that the cookies will be soft when removed from the oven, they will harden as they cool.
- Option 2: After baking and cooling slightly, fill each indent with a spoonful of jam.
- Enjoy by themselves or with a cold glass of your favorite milk! Store any leftovers in an airtight container in your fridge for up to a week. If left unfilled, you can freeze your cookies for up to 3 months.
Notes
- The use of coconut sugar is recommended since it will not make your cookie overbearingly sweet like other sugars will plus it adds an almost caramelized flavor to your cookie in addition to being a low GI sugar.
- You can also substitute 2 tbsp of coconut flour in place of the almond flour but note that the coconut flour will impart a wonderfully coconut flavor.
- Parchment paper or a baking mat is recommended as it will keep the bottoms of your cookies from burning or cooking faster than the tops.
- If you didn't fill your cookies prior to baking they might puff up a bit which reduces the depth of your indent. If that happens you can gently press down on the indent using the back of a spoon once they're out of the oven (but before they've cooled).
- The benefits of filling your cookies before baking are that the jam gets baked into the cookie and since some moisture is removed it can be handled without the risk of filling leaking out.
- The benefits of filling your cookies after you've baked them is that you can fill them just prior to eating them which reduces the risk of a soggy cookie and extends the cookie's lifespan as well as makes them easier to store.
