Disclosure: This post may contain affiliate links.

This pumpkin pie is made entirely from scratch, from the gluten-free Almond Flour Pie Crust (that tastes almost like a cookie!), to the oven roasted sugar pumpkins used in the Pumpkin Puree that goes into our dairy-free filling. The pie that emerges from the oven is a fragrantly homemade and delicious bite of autumnal heaven.
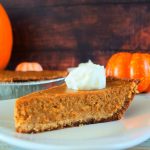
Now, truth be told, I’m generally not a huge fan of pumpkin pie. It’s a dessert that I could take or leave, but with this pie I went back for seconds! Topped with a delicious Homemade Coconut Whipped Cream, you’re going to want to give this one a try!
To Make It You’ll Need The Following:
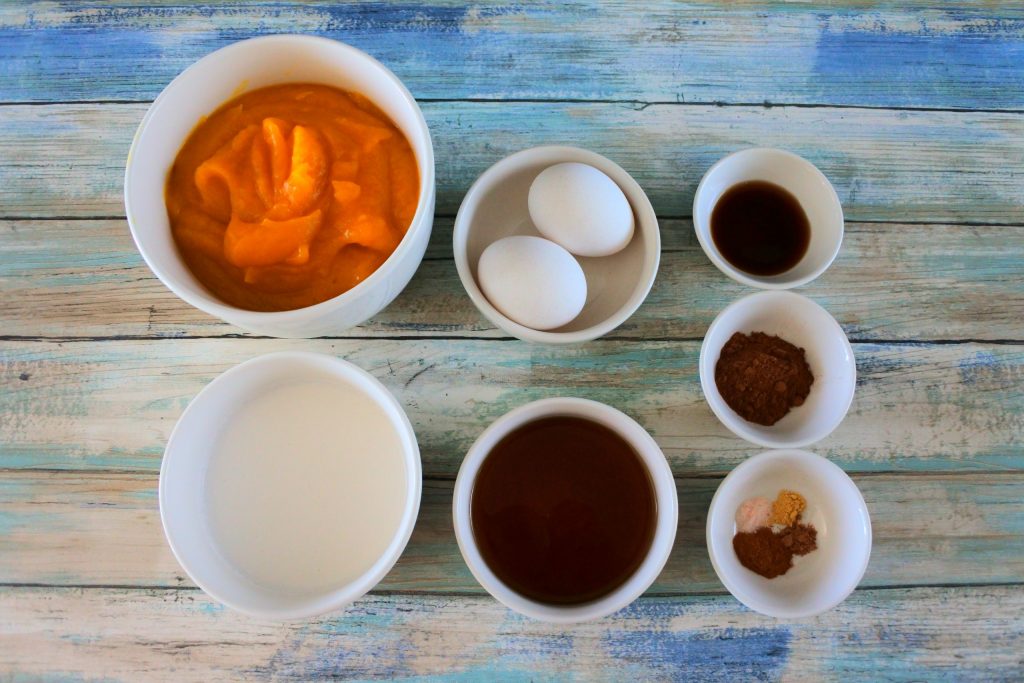
- Pumpkin Puree: You can opt for homemade pumpkin puree, or a good quality canned puree.
- Coconut Milk: Use a full-fat coconut milk (not light) for the best bake and results. The full fat will give you a rich and creamy custard filling and a great set once baked and cooled.
- Eggs: I’m using two US standard whole large eggs.
- Maple Syrup: Our main sweetener, pure maple syrup gives great flavor to our filling and perfectly complements the spices.
- Vanilla Extract: A touch of vanilla adds great flavor and enhances all the other flavors of our pie.
- Pumpkin Spice: A blend of cinnamon, nutmeg, ginger and clove, pumpkin spice is the iconic flavor of pumpkin pies!
- Ground Spices: For extra flavor we’ll be adding an extra bump of ground cinnamon, nutmeg and ginger.
- Salt: You can use sea salt or a pink Himalayan salt.
- 1 pre-baked Almond Flour Pie Crust.
Making The Filling Is As Easy As:

All ingredients but the eggs are added into a bowl…

And mix together to form a nice thick filling. At this point you can test your filling for sweetness and spice level and adjust accordingly to suit your personal taste and preference.

To this filling, we’ll add our eggs one at a time and mix them in. The eggs will thin out the filling but once it bakes, the eggs are the element that will help our pumpkin custard to set.
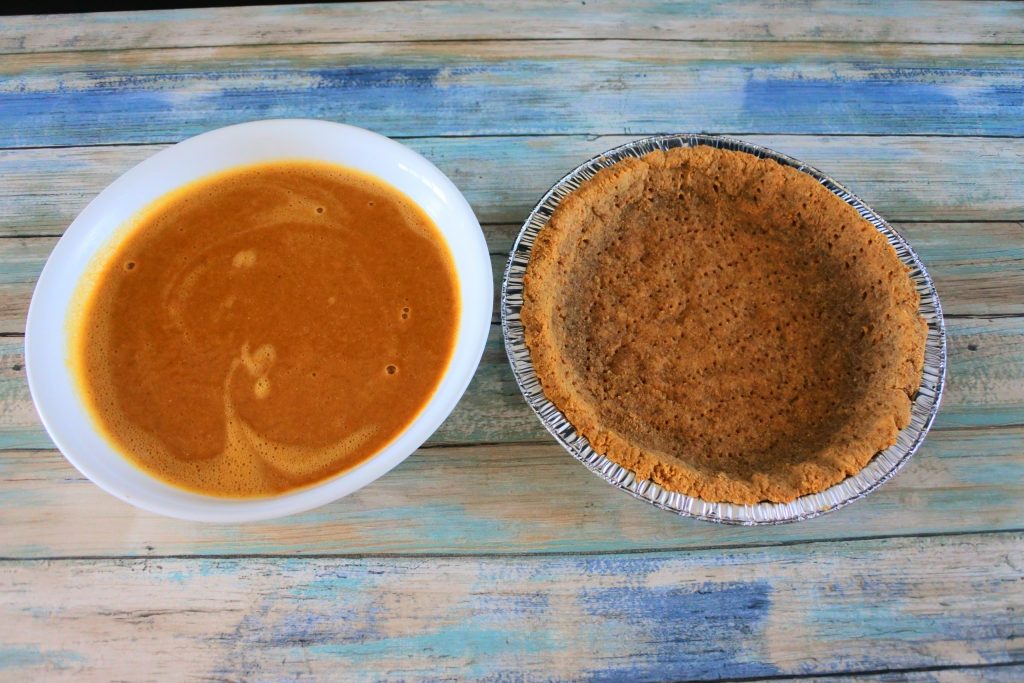
Once mixed, we’re going to need to get our pre-baked 9″ pie crust…

…And pour the filling into the crust. (If there is any leftover filling you can pour it into ramekins and bake them as their own custard!)
The final step is to bake your pie but this is honestly the trickiest part. If you overcook your pie, your custard can develop cracks once it cools or even while it’s in the oven, but an undercooked custard can also be disastrous in that it doesn’t set or firm up so once cut the filling doesn’t hold up on it’s own.
To prevent this I recommend doing a few things:
- Set your pie to bake on a lower rack in your oven.
- Keep an eye on it 5-10 minutes before the time is up.
- Give it a gentle shake to test the wobble when it is nearing the end of the bake time. If only the center is slightly wobbly you can remove your pie from the oven and it will finish cooking due to the residual heat and once cooled will set up perfectly.
- You can also gently insert a clean thin knife into the middle and if the knife is clean when removed then the pie is set.
- Pies can sometimes crack if they are cooled too quickly, to prevent this you can turn off the oven and open the oven door 2-3 minutes before the cook time is up and let the pie sit in the oven for the first 5 minutes (with the oven door open) before removing it and setting it on the countertop to cool.

And on that note, it’s now time for you to go forth and bake your own delicious pumpkin pies! 🥧
Homemade Pumpkin Pie (Clean Eating, Gluten-Free, Paleo)
Ingredients
- 1½ cups pumpkin puree (canned or make your own)
- ½ cup coconut milk (full fat)
- ¼ cup maple syrup
- 2 tsp vanilla extract
- ½ tbsp pumpkin pie spice (to taste)
- ¼ tsp cinnamon powder (optional)
- ⅛ tsp Ground Nutmeg (optional)
- ⅛ tsp ground ginger (optional)
- ¼ tsp Himalayan salt
- 2 large eggs
- 1 Prebaked Pie Crust (I use my Almond Flour Pie Crust)
Instructions
- Preheat oven to 350°F.
- In a large bowl mix together the pumpkin puree, coconut milk, maple syrup, vanilla, spices and salt until smooth. (You can use an immersion blender to get a perfectly smooth and creamy blend or use a whisk).
- Add in the eggs one at a time. Mixing each into the pumpkin mixture before adding the next.
- Pour your filling into a pre-baked pie crust and bake for 40-45 minutes or until set. (If the middle is slightly jiggly that is perfectly fine but you don't want a significant wobble or jiggle to be present especially around the edges, this means the pie has not cooked and isn't set.)
- Remove your pie from the oven and let cool completely before attempting to cut.
- Top slices with a dollop of coconut whipped cream and store and leftovers in the refrigerator for up to a week.
Notes
- Taste test your pie filling for sweetness before adding in the eggs and adjust to suit.
- If your pie is still a bit jiggly in the middle once you remove it from the oven that is fine. It will continue to cook due to the residual heat. As it cools as the filling will set.
- To prevent cracking you can try baking it on a low rack in the oven.
- If while baking the edges of your crust begin to burn tent your pie with foil or wrap a strip around the edge of the pie dish (being careful to not disturb the filling).
- To get a clean cut on your filling, allow the pie to cool to room temperature (this prevents cracking) before putting it into the refrigerator to chill. Once chilled cut with a clean knife, wiping the blade after each cut.
- The approximated nutritional value of a single slice of pie is calculated using the values for both the filling and my Almond Flour Pie Crust.
