Disclosure: This post may contain affiliate links.

Got an hour to spare? If you do then these easy and heavenly soft freshly baked dinner rolls are yours. And here’s a secret, they’re made from 100% whole wheat!
💕 Here’s why you’ll love these rolls:
- They take 1 hour to make from start to finish!
- They are made using 100% whole wheat.
- These rolls are soft and fluffy with a great crumb texture.
- They are great by themselves or used for sliders or sandwiches (Helllooooo pulled pork sliders!).
- They make your house smell amazing as they bake up.
- They can be frozen for later use and reheat beautifully.
Here’s what you’ll need to make these pillowy dinner rolls:
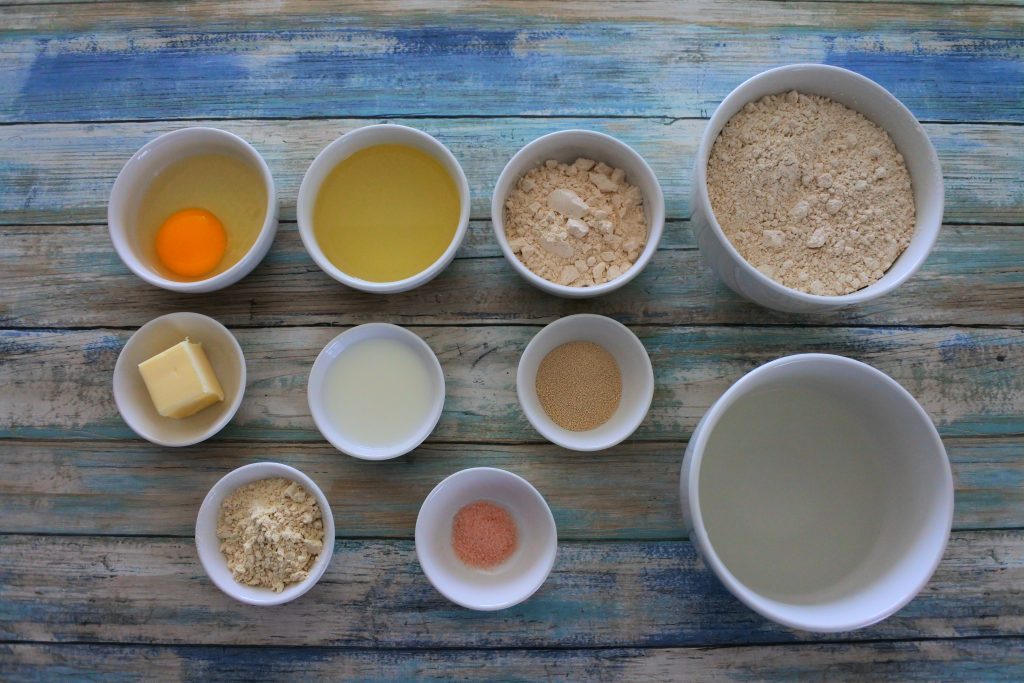
- Whole Wheat Pastry Flour: I like the finer texture of this type of whole wheat flour. All the benefit of whole wheat but because of the white winter wheat the flavor is milder and the wheat itself is softer which leads to our rolls being light and fluffy!
- Raw Cane Sugar: Used to flavor our rolls and help feed our yeast. I finely blend my cane sugar which have naturally larger grains so that it is easier to incorporate and melts faster.
- Extra Light Olive Oil: Or any other neutral flavored clean label oil of your choosing works well.
- An Egg: This simple ingredient is triple purpose, it hydrates, enriches and aids in the rolls rise!
- Butter: Texture and flavor. Who doesn’t love a buttery roll?
- Milk: We’re just using a splash but milk will help our bread’s softness, richness and it also helps with the browning process.
- Yeast: We’re using a healthy dose of yeast here but these quick rolls need it! I’m using active dry yeast but you can use instant if you prefer.
- Vital Wheat Gluten: This is a crucial ingredient. Whole wheat by nature has less gluten and gluten is what gives our bread texture, chew, crust, rise…it’s quite frankly the glue that helps our bread form and hold it’s shape.
- Salt: I’m using a Pink Himalayan but a sea salt works as well. Salt is also important for our bread’s structure as it plays well with the gluten and helps our dough to hold onto any gas bubbles that form which leads to a lighter bread.
- Water: The main ingredient, we need our water to be warm (between 110F-115F). Yeast likes warm temperatures as does our whole wheat flour for absorption purposes.
Let’s get to making these pillowy dinner rolls!
To start making our rolls we’ll first activate our yeast. I don’t skip this step because I like knowing with certainty that my yeast is alive and well fed. There’s nothing more disappointing than making bread with old yeast that has no rise to it.
To bloom our yeast we’ll add 1/2 of our warm water along with a tbsp of sugar and the yeast. Stir to dissolve everything together and then set aside for 8-10 minutes. If your yeast doesn’t bloom then…. *red alert! 🚨🚨🚨 * That’s a no-go. Do not proceed until you have yeast that is alive and happy.

While our yeast blooms we’ll prep our dry ingredients. Into a large bowl sift your flour along with your salt, remaining sugar and the vital wheat gluten.

We have a few minutes left for our yeast so let’s prep the rest of the wet ingredients. Into a bowl whisk together the remaining water, egg, oil, melted butter and milk.
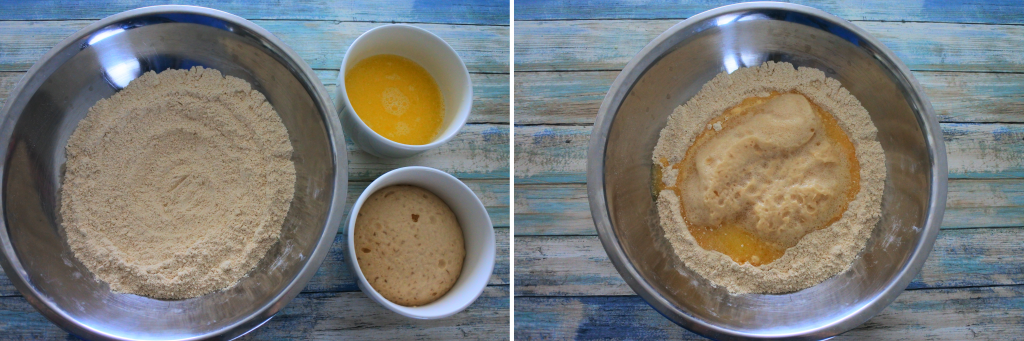
With all ingredients prepped and our yeast frothy, bubbly and happy, add all wet ingredients to the dry ingredients…

And mix it together until a rough dough forms.
Knead and shape your rolls:
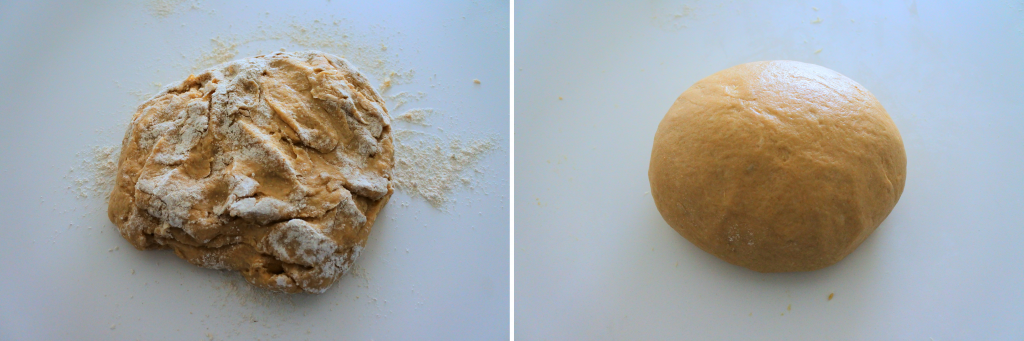
Turn your dough out onto a lightly floured surface and start kneading. Aim for about 7 minutes here. If the dough is too wet add more flour a tbsp at a time. Try to not add too much and keep working your dough, with whole wheat it takes a bit to hydrate. The more flour you add the denser your rolls will be. You want a dough that is tacky but doesn’t stick to your hands or tear as you knead it. It takes a while, be patient here.
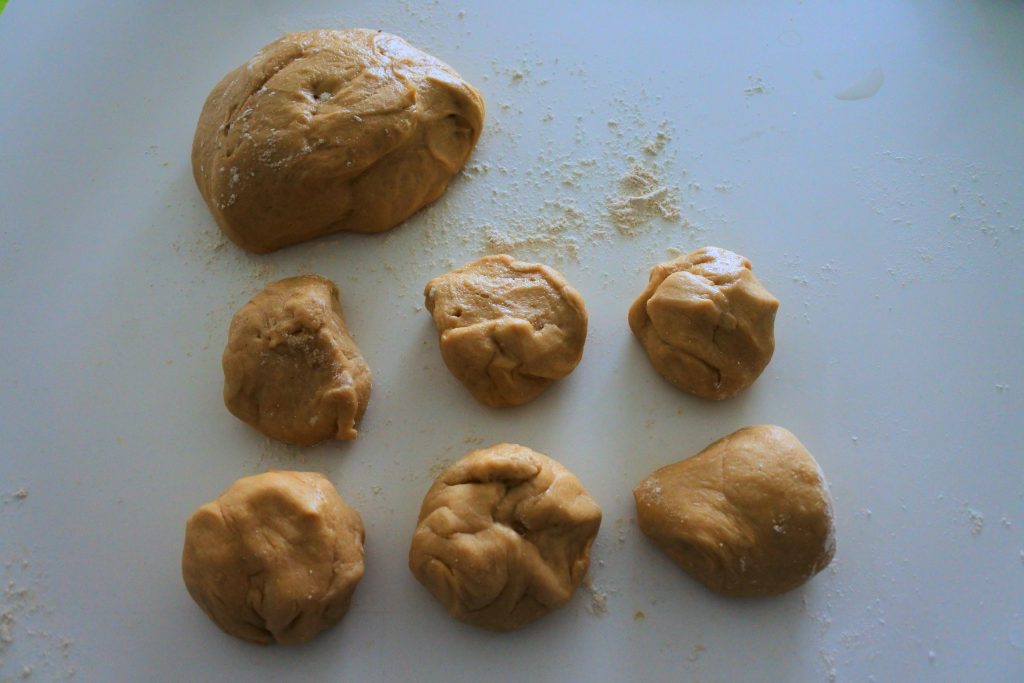
With our dough kneaded divide it into 12 equal portions. Notice that the dough is smooth and elastic but still a bit soft? I’m using dusting flour sparingly at this stage. Roll each of your dough portions into a smooth ball.
To do this I place the dough into the palm of my cupped hand and, using the fingertips of my other hand, I grab at 5 points of the edge of the dough ball and pinch my fingers together towards the middle, pulling the sides towards the center (the dough looks like a teardrop) I then push the tip back down into the dough. I keep repeating this motion, rotating the dough in my cupped hand each time until a smooth ball is formed. The top with the sides pinched into a tip becomes the bottom of the roll.
Another method is to place your cupped hand over the portion of dough and gently roll the dough on the counter-top by making circular motions with your hand and allowing the dough to roll and rotate within your cupped palm until it is smooth all around. It takes some practice to perfect either method but do whichever works best for you!
Rest, Rise, and Bake to pillowy perfection:
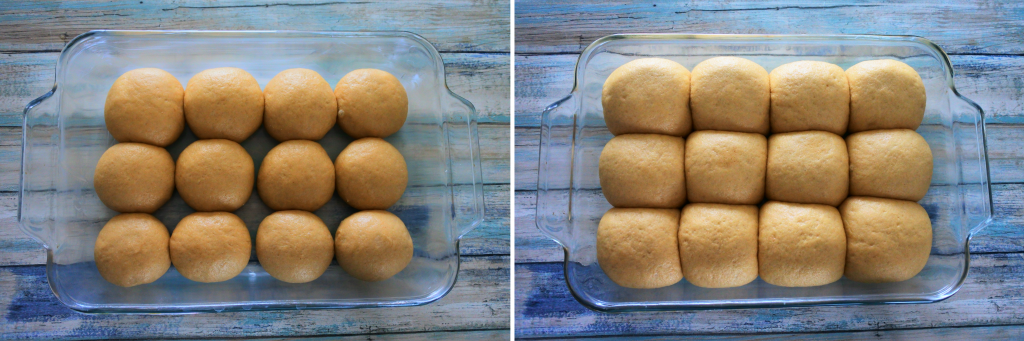
Place your shaped and rolled…uhh…rolls 😅 into a greased baking dish and cover it with a clean, damp kitchen towel or plastic bag. I like to place mine into a plastic bag and set it near my oven where it’s usually warm.
Now we’ll let our rolls rest for just 20-30 minutes. In the image above that is a 20-minute rise. Once your proofing time is up, place your rolls into the preheated 400°F oven.

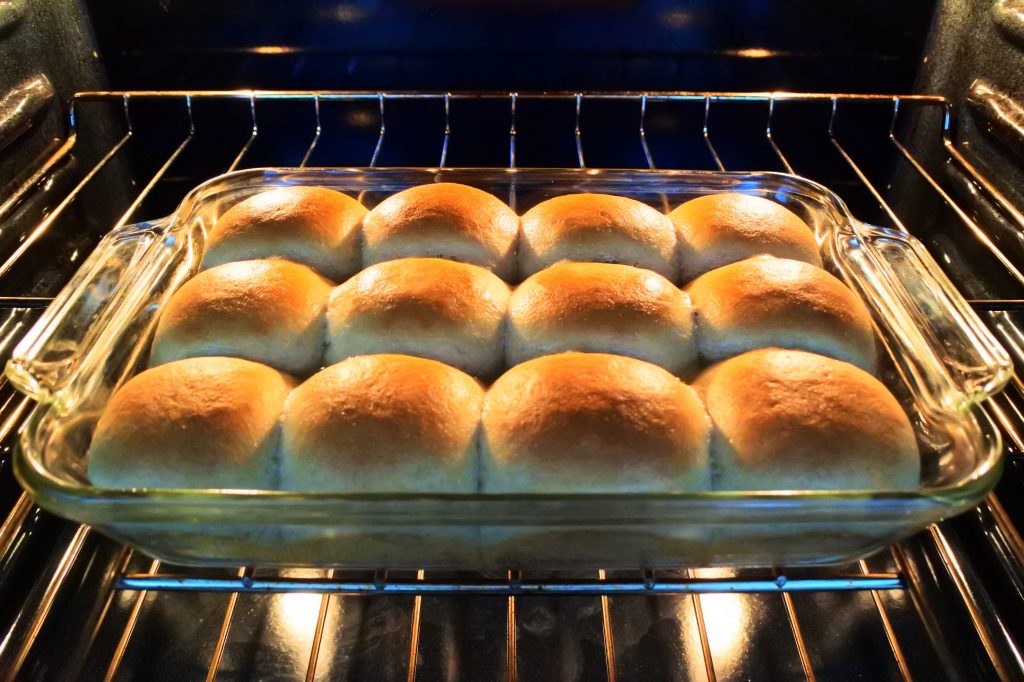
I took a peek at them at about 7-8 minutes into their bake time. I didn’t dare to open the oven at this point but they were baking up so beautifully I just had to share it with you! Am I the only one who gets excited when baked goodies poof up??
In 15 minutes they were done and I could (finally!) open the oven. The blast of hot air and freshly baked bread smell that gusted out around me was pure happiness. 🥰 All that was left to do was brush the tops with a bit of butter, a wholly optional step but once again…who doesn’t like a buttery roll?? And then I let that butter bake into the tops for another 2-3 minutes.

And the end result is the above. Soft, pillowy dinner rolls that took just under and hour to make from start to finish.

Separate your rolls and enjoy the waft of baked bread steam that billows upwards. And if you sink your teeth into your rolls while no one is watching, I won’t tell, we’ll just call it quality control, right? 😉

Amazing 1-Hour Dinner Rolls
Ingredients
- 1 cup water warm
- 1 tbsp active dry yeast
- 3 tbsp raw cane sugar finely blended
- 2½ cups stone ground whole wheat pastry flour plus extra ½ cup as needed
- 2 tbsp vital wheat gluten
- ½ tsp Himalayan salt
- 2 tbsp salted butter melted
- 2 tbsp Whole Milk
- ⅓ cup extra light olive oil
- 1 large egg beaten
Instructions
- Preheat oven to 400°F
- Add ½ cup warm water, 1 tbsp yeast, and 1 tbsp of sugar to a bowl. Stir to dissolve and and set aside for 8-10 minutes to allow the yeast to bloom.
- In a large bowl, sift together the whole wheat pastry flour, vital wheat gluten, salt, and the remaining 2 tbsp of sugar.
- In a third bowl, combine the melted butter, egg, milk, oil and the remaining ½ cup of warm water together.
- Add all the wet ingredients to the dry ingredients and mix until a rough dough forms.
- Turn your dough out onto a lightly floured surface and knead constantly for 7-8 minutes until the dough is smooth and elastic.
- Divide and roll the dough into 12 equally portioned balls and place them into a greased baking dish. Cover with a damp cloth or place inside a plastic bag and set in a warm area to rest for 20-30 minutes.
- Bake your rolls at 400°F for 12-15 minutes until tops are golden brown.
- Remove your rolls from the oven and brush the tops with melted butter and bake for an additional 2 minutes for color and even browning.* (See note)
- Let your rolls cool for 10 minutes before removing them from the baking dish and enjoying. Store any leftovers in a brown paper bag or wrapped in foil and then in a food grade plastic bag in the fridge for up to a week, or freezer for up to three months.
Notes
- You can brush or spritz the tops of your rolls with a bit of milk or water prior to baking to encourage browning though these rolls will brown without it. Note that brushing with whole milk will give your rolls a slightly shiny finish and add a touch of sweetness to the surface.
