Disclosure: This post may contain affiliate links.
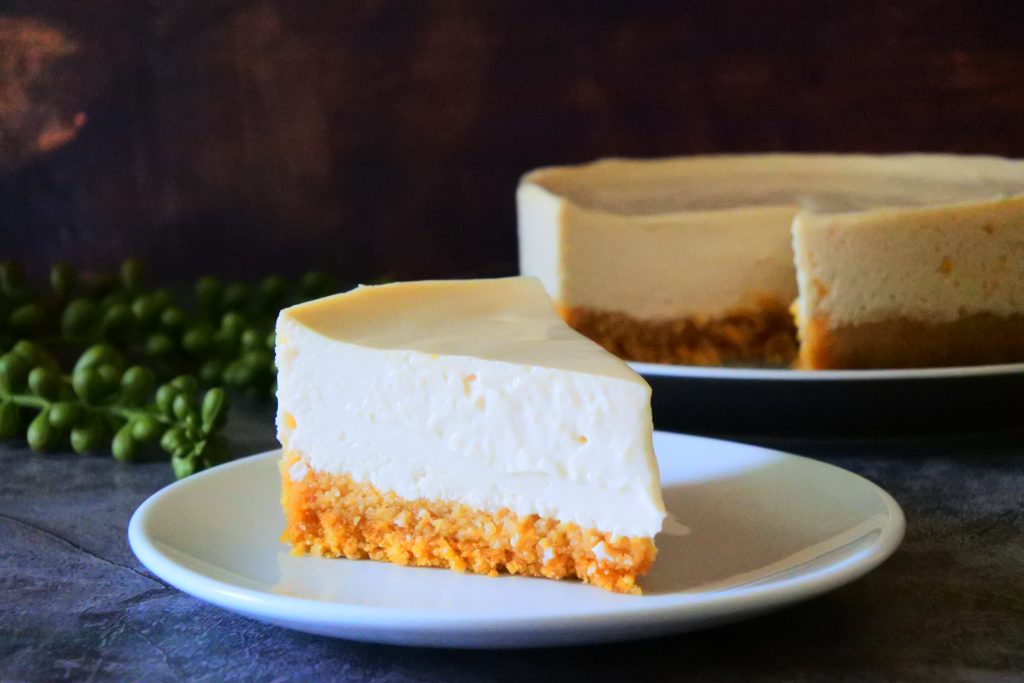
This faux cheesecake will blow your mind. Now you can enjoy the taste and texture of cheesecake without the guilt! Rich and creamy with the iconic cheesecake flavor, this healthier version uses just 6 simple ingredients, contains no cream cheese, and as a bonus it’s also made to be egg-free and gluten-free.
Here’s Why You’ll Love This Recipe
- It uses just 6 pantry ingredients (with the option to add some spice to your crust)
- It is clean eating, and does not contain any wheat, gluten, or eggs.
- It is healthier and lower in sugar, carbs and calories compared to regular cheesecake
- It features a swap of Greek Yogurt or Skyr in place of cream cheese and corn flake crumbs in place of the typical biscuit crumb.
- It has the same creamy texture and flavor of regular cheesecake.
- It’s a great make-ahead dessert option.
- It can be “flavored” by adding your choice of toppings from fruit compotes to jams to syrups and drizzles (Salted Butterscotch anyone??)
- It effortlessly comes together and bakes up in 20 minutes.

Here’s Why This Recipe Works
Greek yogurt, much like cream cheese is known for having a wonderfully tangy flavor however Greek Yogurt contains more moisture and less fat than cream cheese does. That’s why when baked, two things happen to the Greek yogurt that allows it to set up perfectly, the first is that the heat allows the proteins to tighten up and bond together and the second is that some of the excess whey liquid in the Greek yogurt separates and some bakes off while some seeps into the corn flake crumb which allows the crust to set up once cooled and chilled making the elements of this recipe rather harmonious in addition to being healthy!
Ingredients Needed
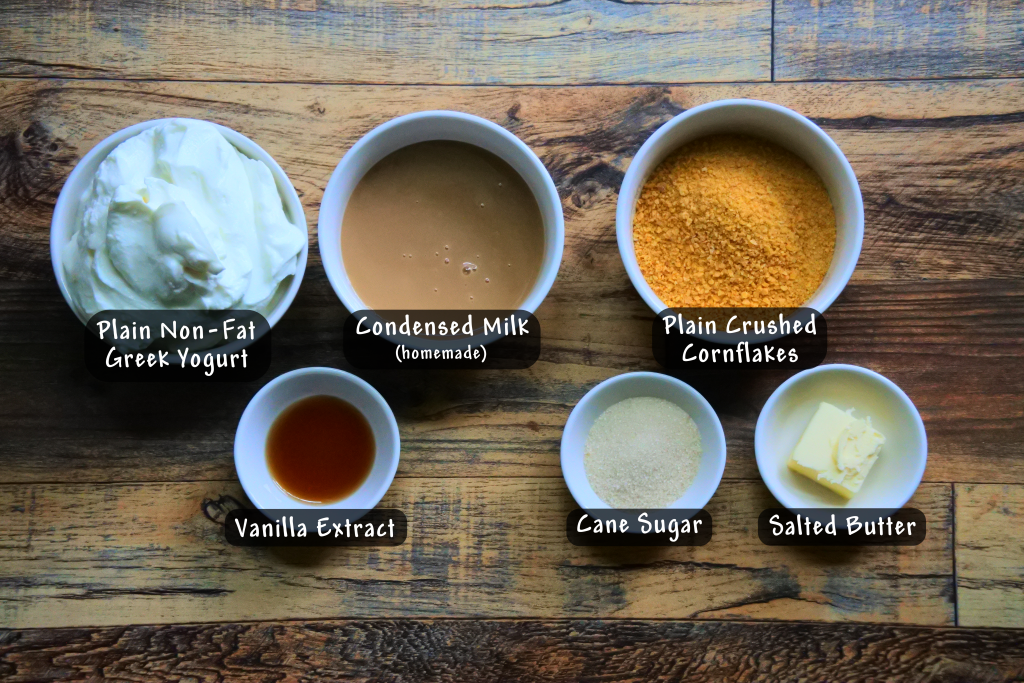
- Corn Flake Crumbs: This makes up the bulk of our gluten free crust. Made of what is essentially plain/unsweetened crushed cornflakes, this is a great alternative for the more traditional graham cracker crust.
- Sugar: You can use your choice of sugar but I highly recommend using either evaporated cane sugar, finely blended raw cane sugar, or coconut sugar.
- Butter: I’m using salted but you can use salted if you prefer. We will need to melt our butter before using it.
- Greek Yogurt: Ensure you’re using a plain, unsweetened Greek yogurt or Icelandic Skyr. Do not use regular yogurt as it will be too thin/runny and do not use flavored yogurt as the sugars and additives in it may skew how your cheesecake turns out.
- Sweetened Condensed Milk: I’m using my homemade condensed milk, but you can use a store-bought version if you prefer. Ensure you’re using condensed milk and NOT evaporated milk.
- Vanilla Extract: Used in our yogurt to add a bit of flavor, you can use either extract or vanilla bean paste if you prefer. Alternatively you can use maple extract, caramel extract or any flavored extract of your choice.
- (Optional) Cinnamon or Pumpkin Spice: You can add a pinch of your favorite ground spices to the crust part of your cheesecake. Cinnamon or Pumpkin Spice are great options but you can also use Ground Nutmeg, Ground Cardamom, Gingerbread Spice, etc.
How to Make this Faux Cheesecake
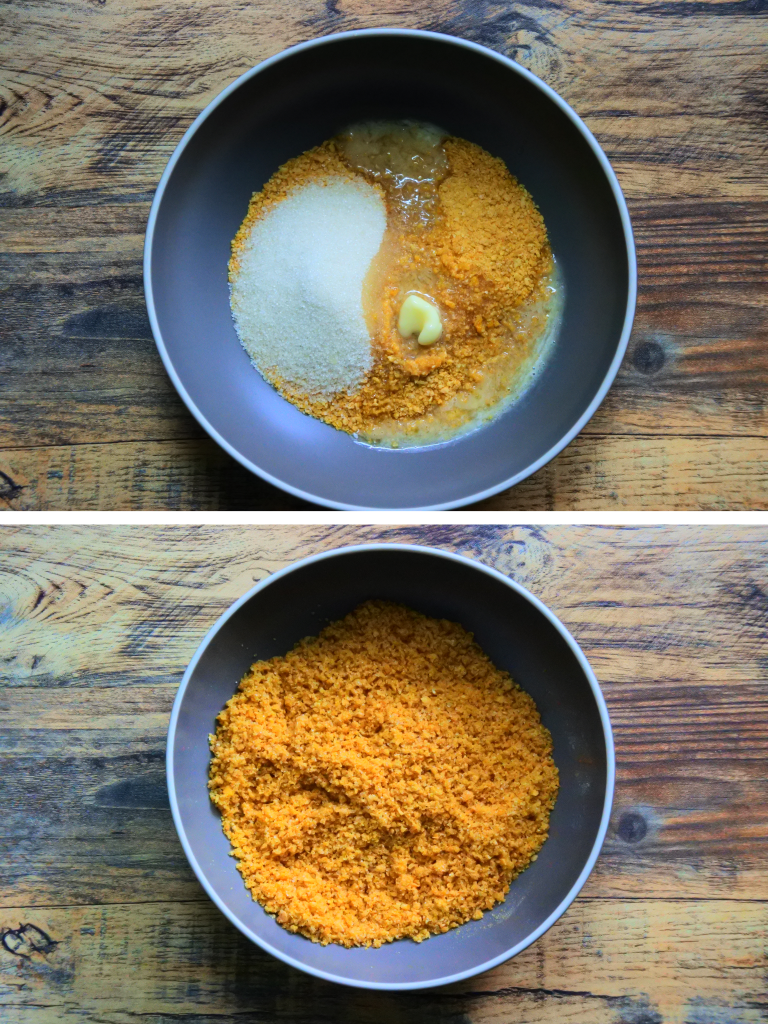
To begin we’ll make our crust by combining the melted butter with the sugar, corn flake crumb and if using your choice of ground spice. Mix until your corn flake crumb is moistened and coated with the butter. Do not be tempted to add more butter, your crumb will seem loose and seem like it needs more liquid to bind it but don’t worry.
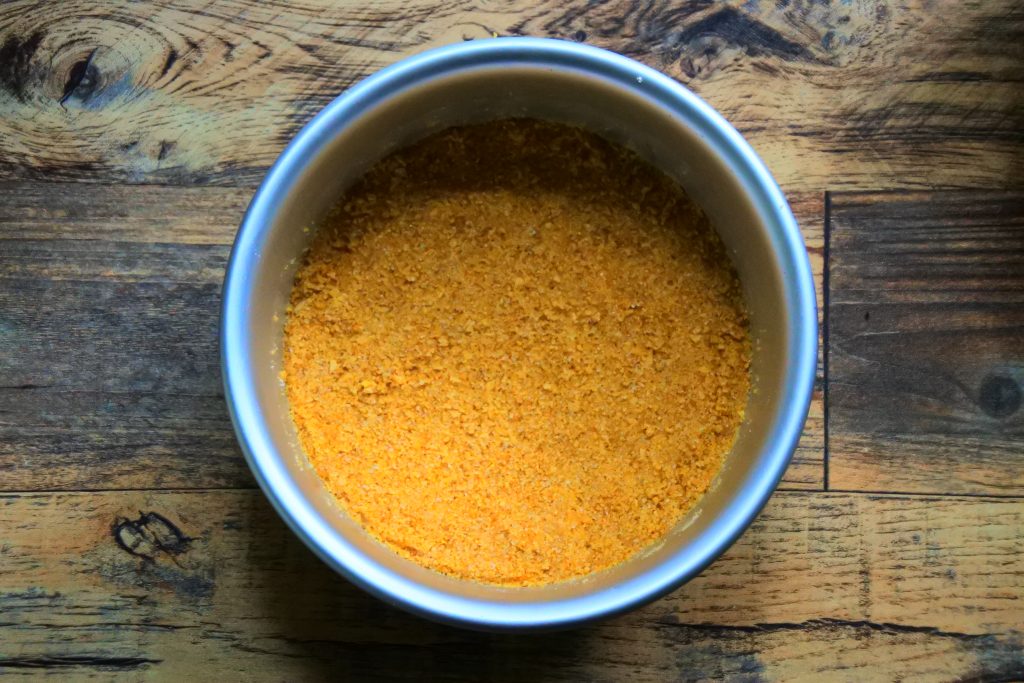
Simply press your crumb mixture into the bottom of a buttered and parchment-lined 6″ cake pan that has a removeable base (this is crucial to allowing the easiest unmolding). Press your crumbs down as much as you can to compact it and form it into as even a layer as possible. There’s no need to try to pull the base up the sides or to make a crater, just form a flat base, and while you may think the base is too thick trust me that it isn’t and will compress and compact once we bake it. Once you’ve made your base, set it in the freezer for 15-20 minutes to allow it to chill and harden.
This would be a great time to preheat your oven to 350F as we move on to the next step.
As a note: I am using an electric oven (no convection/fan) with the heating element on the top, and my baking rack is set to one notch below the middle.
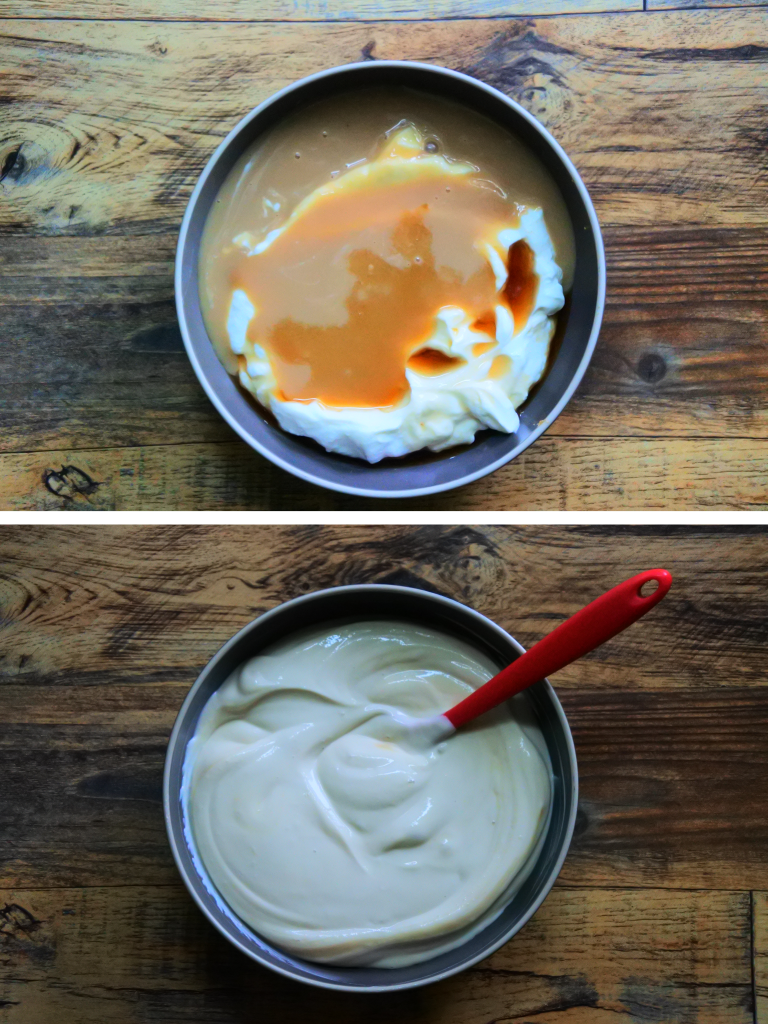
To the same bowl you just made your crumb layer in (because who needs more dishes??) add your plain and unsweetened Greek yogurt or Skyr, condensed milk and vanilla extract. Mix it together until it is fully incorporated. If you like you can use a hand mixer to make things easier. Once done, set it in the fridge until your oven is fully preheated and your base is fully chilled.
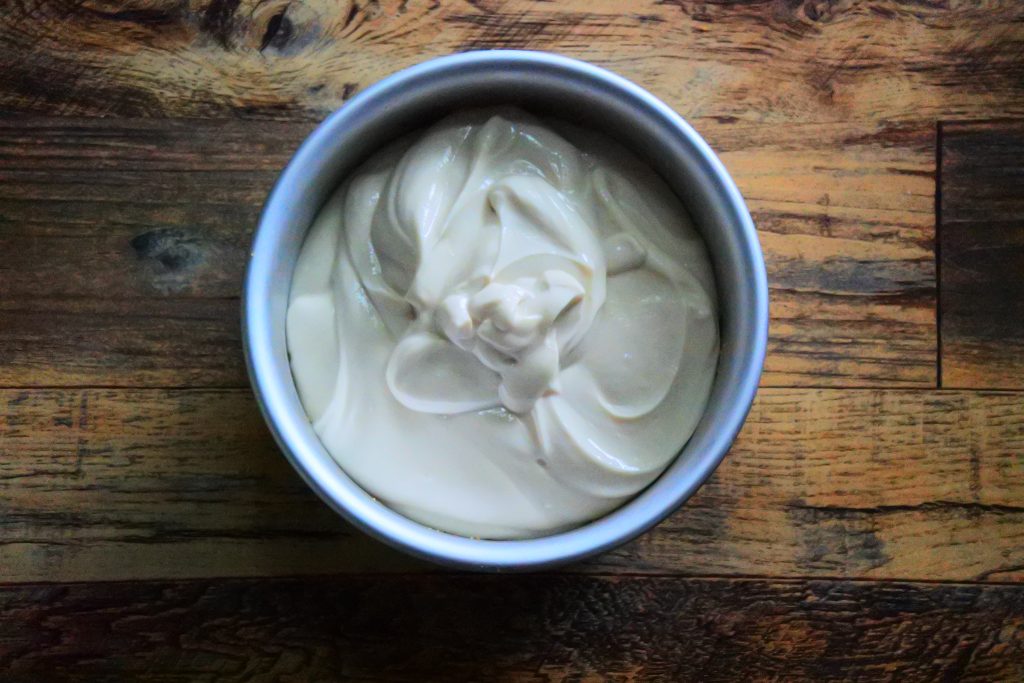
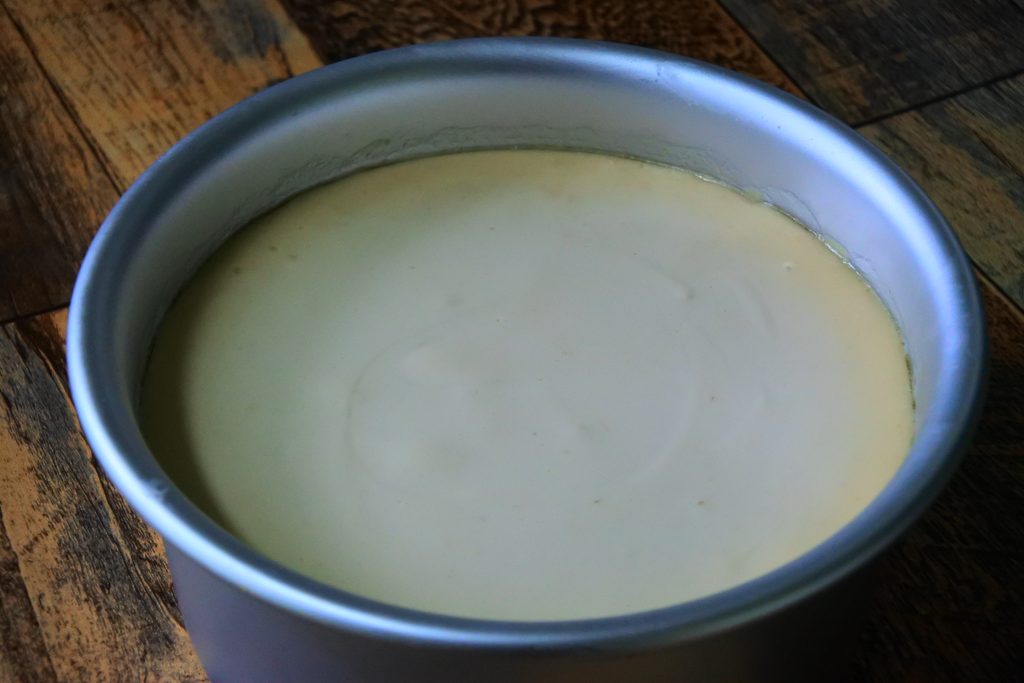
Take your cheesecake base out the freezer and pour your yogurt filling over the top.
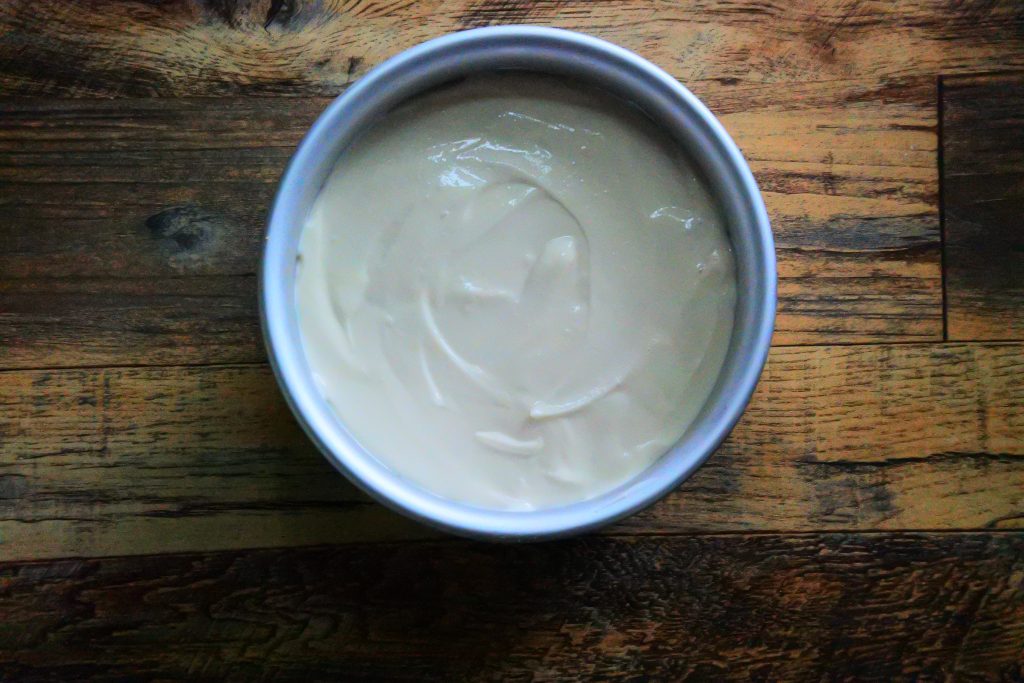
Using a spatula or spoon, spread the filling out into as even a layer as possible. You can also *gently* tap the cake pan to get it to settle.
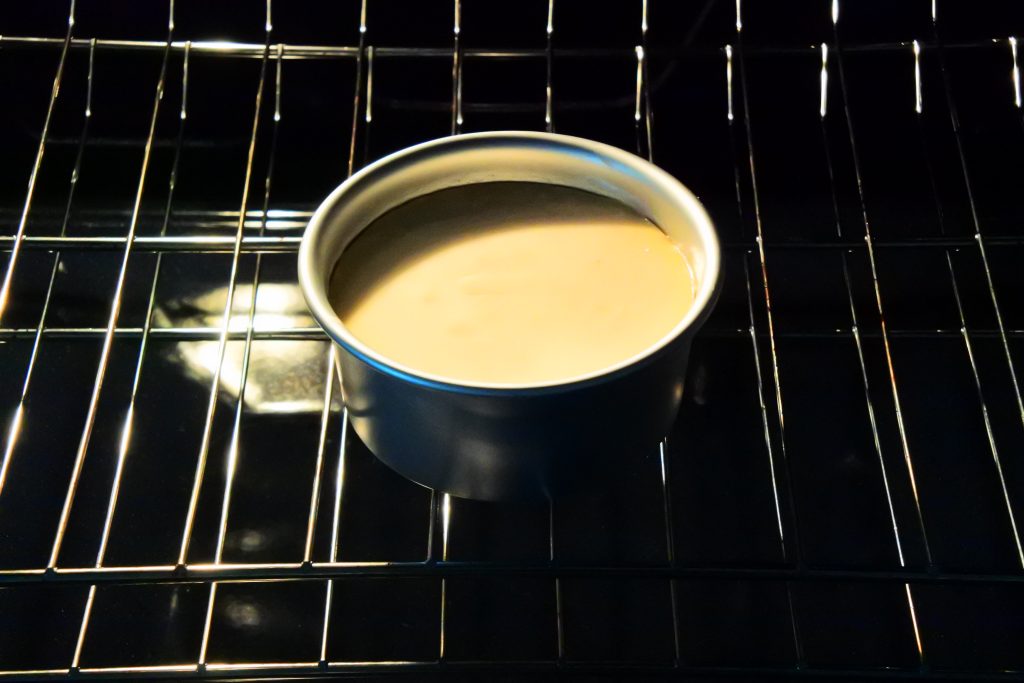
Pop your cheesecake into the oven, if you like you can also place it onto a baking tray. Bake your cheesecake at 350F for 20-25 minutes. In my electric oven with my baking rack set one below the middle my cheesecake is done in 20 minutes. If you’re using a convection setting you may need to bake it for 25 mintues.
Do I Have To Bake This Cheesecake?
The short answer is yes.
The process of baking it heats up the proteins in the yogurt and allows the cheesecake filling to bind and set. It also allows some of the natural whey liquid to evaporate helping it set even further. If you don’t bake it and just set it in the fridge, you’ll have sweet yogurt on top of a corn flake crumb base, aka it will never set into a cheesecake texture.
I’ve known some people who have tried microwaving this recipe but I highly advise against that after testing it myself a couple times. The outer edges will “cook” and you’ll have an almost curdled and rubbery outer ring while the middle is fine, or a fine outer ring with a gloopy unset yogurt middle. Because of how a microwave cooks/heats food up it’s near impossible to get as even a cook as you would in an oven. For the absolute best virtually fail-proof results, bake this cheesecake in your oven.

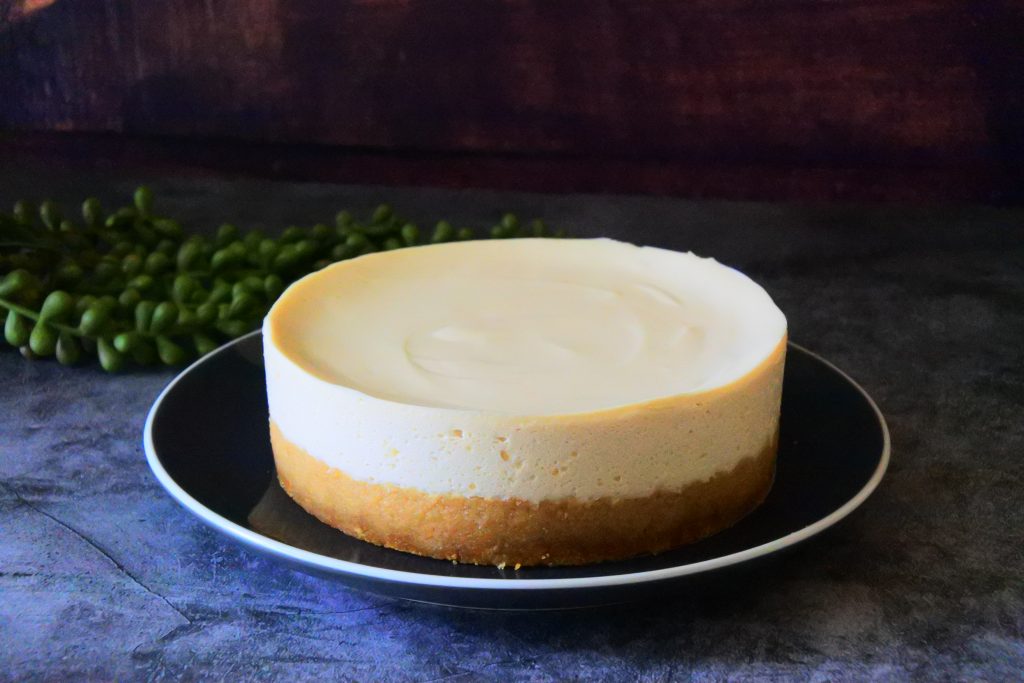
Once your cheesecake is done remove it from the oven. You’ll know it’s done when the edges have begun to slightly pull away from the side of the cake pan and there is a darker ring around the edge. The middle should have a slight wobble as well. Keep in mind that none of the elements of this cheesecake require cooking (aka no raw eggs or the like) so don’t be too afraid of the wobble or of having an underdone cheesecake.
Allow your cheesecake to rest at room temperature until it is cooled, then cover it with foil and place it into your fridge for as little as 4 hours (or until fully chilled) to as long as overnight (recommended). This is the crucial final step in allowing your cheesecake to have the right set and texture.
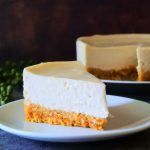
Only once it’s fully chilled can you unmold it by pushing the removeable base up, or releasing the latch if you’re using a springform pan. Keep your cake on the base or slide it along with the parchment onto a serving plate. All that’s left to do is cut yourself a slice and enjoy!

Tips and Tricks for Success
- Don’t skip freezing your crust/base, this is necessary to help it set and to allow it to bake properly.
- Don’t be alarmed that the base seems to be too much/too thick – since this recipes uses corn flake crumbs it is not as densely compact even after being pressed down, trust in the process of the ratios.
- Don’t worry about the crust seeming to be too loose – compact it into the tin as best as you can, but once you add and bake your filling the whey in the yogurt will seep into the crust and once you chill it it will allow the crust to set and stay together.
- Don’t alter the recipe too much – while it may be tempting to alter the recipe and add extra things in, keep in mind that this recipe was created to be precise and work together, adding in things like jam swirls or changing the base can result in your cheesecake turning out differently than intended. If you want to flavor your cheesecake I highly recommend adding your flavorings as a topping when you serve it.
- Consider setting your baking rack to one below the middle – if you have an oven with the heating element on the top.
- Don’t overbake your cheesecake – Keep in mind none of these ingredients are “raw” or require cooking so the baking is merely necessary to help your cheesecake set. If you overbake it, you risk the yogurt curdling/drying out. You want the edges to just begin pulling away, the outer ring around the edge should be a slightly darker shade and the middle should still have a bit of wobble to it.
- Don’t rush to cut into your cheesecake – this recipe is all about the set of the cheesecake and it achieves this after it fully cools down and is chilled. I highly recommend cooling to room temp after baking and then letting it set overnight in the fridge for the best results.
And there you have it, a super simple, healthy and clean eating faux cheesecake made using Greek yogurt. With a classic flavor that you can enjoy as is or topped with your favorite cheesecake toppings we hope you enjoy being able to have your cheesecake and eat it too!
6-Ingredient Greek Yogurt Cheesecake
Equipment
- 1 6"cake pan with removeable base
Ingredients
For Crust
- 1 cup corn flake crumbs tightly pack the corn flake crumbs into the cup (it measures 5oz by weight)
- 2 tbsp salted butter melted
- 1½ tbsp organic coconut sugar or evaporated cane sugar
- pinch cinnamon powder or pumpkin spice (optional)
For Filling
- 2 cups Whole Milk Plain Greek Yogurt or skyr
- 2 tsp vanilla extract
- ½ cup Sweetened Condensed Milk
Instructions
Make the Crust
- Place a parchment round into the bottom of a butter-greased 6" cake pan with a removable base plate.
- Combine the breadcrumbs, sugar and melted butter together (optionally you can add in a pinch of cinnamon or pumpkin pie spice for a bit of extra flavor) and press it into the prepared cake pan and set in the freezer to chill for 15-20 minutes. (do not skip this part!)1 cup corn flake crumbs, 2 tbsp salted butter, pinch cinnamon powder
Make the Filling
- Preheat the oven to 350℉
- Whip together the yogurt, condensed milk and vanilla extract until completely combined. Using a hand mixer works best but you can also use a whisk or spatula.2 cups Whole Milk Plain Greek Yogurt, ½ cup Sweetened Condensed Milk, 2 tsp vanilla extract
- Pour mixture over the chilled crust and bake at 350F for 20-25 minutes until the center has just set with a slight wobble in the middle and the edges have slightly pulled away and are just beginning to brown.
- Remove from the oven and allow the cheesecake to sit and cool at room temperature before covering it and placing it in the fridge to chill anywhere from 4 hours to overnight (recommended) for the best set.
Notes
- Ensure you're using plain/unsweetened whole milk Greek Yogurt, not regular yogurt.
- The crust will seem loose at first, this is normal. As the yogurt mixture bakes, whey will naturally release and soak into the crust, which when cooled completely, will hold the crust together.
- The crust may seem too thick at first but because the breadcrumbs are not as densely compacted as traditional graham cracker crust, the the ratio works out perfectly.
- I am using an electric oven (no convection/fan) with the heating element on the top, and my baking rack is set to one notch below the middle.
