
Though perfect at any time of the year, I’ve been making more and more batches of these to feed that Halloween candy craving. Using just 4 ingredients and about 30 minutes to fully set (making them an ideal recipe to make with your little ones!) you will be thrilled and astonished at just how easy these decadent treats are!

To make them we’ll need some natural peanut butter, some finely blended raw cane sugar (aka clean eat icing powder/confectioner’s sugar), some dark chocolate (you can use any percentage of cocoa you prefer, I’m using 85% for this recipe) and some coconut oil. These four ingredients will create the perfect PB cups that are not just clean eat but also gluten free and vegan/vegetarian friendly!

Combine the peanut butter and finely ground raw cane sugar together to create a thick and workable paste. The sugar needs to be fine for this step to avoid the peanut butter filling from being too gritty and to help the paste come together, so don’t skip the step of pulverizing your sugar!

The next step is to melt the chocolate and coconut oil together. I use the microwave for this and set the chocolate in for 30 seconds at a time, stirring after each 30 second. It takes me 1 minute to do this step. Stir the coconut oil and the chocolate together until fully incorporated.
Now, you might be wondering why we need the coconut oil in the first place, the reason is to keep the chocolate from being hard and brittle once we put it to set in the freezer. You want the chocolate to have a little give and softness to it when you bite into it and the coconut oil ensures that this happens!
So, with both the peanut butter and the chocolate components done, we can assemble our peanut butter cups in a few easy steps!

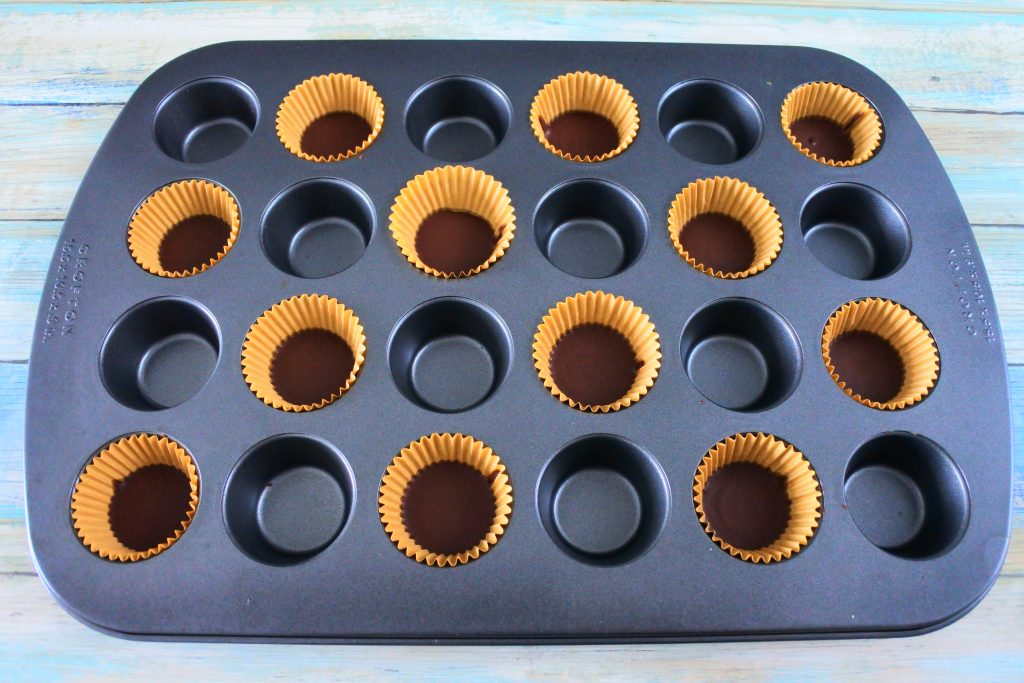
Pour a teaspoon of chocolate into the mini muffin liners and gently tap the tray against your work surface to allow the chocolate to evenly spread and settle. Set the muffin tray into the refrigerator for 5 minutes so that the chocolate can set.
Tip: If your liners don’t sit fully inside the molds of the tin you can place a clean cutting board or sheet tray over it to help “press” them into place when you set them in the refrigerator.

While the chocolate base is setting, divide and roll your peanut butter mixture into 12 even balls (measuring 1/2 tsp each).
Once your chocolate base has set, remove them from the refrigerator and…

Place a peanut butter ball in the middle of each chocolate base.

Using your fingers, gently press each ball down into a flat disc. Make sure that the peanut butter does not touch the sides of the paper liner and there there is a bit of a gap between the liner and peanut butter.
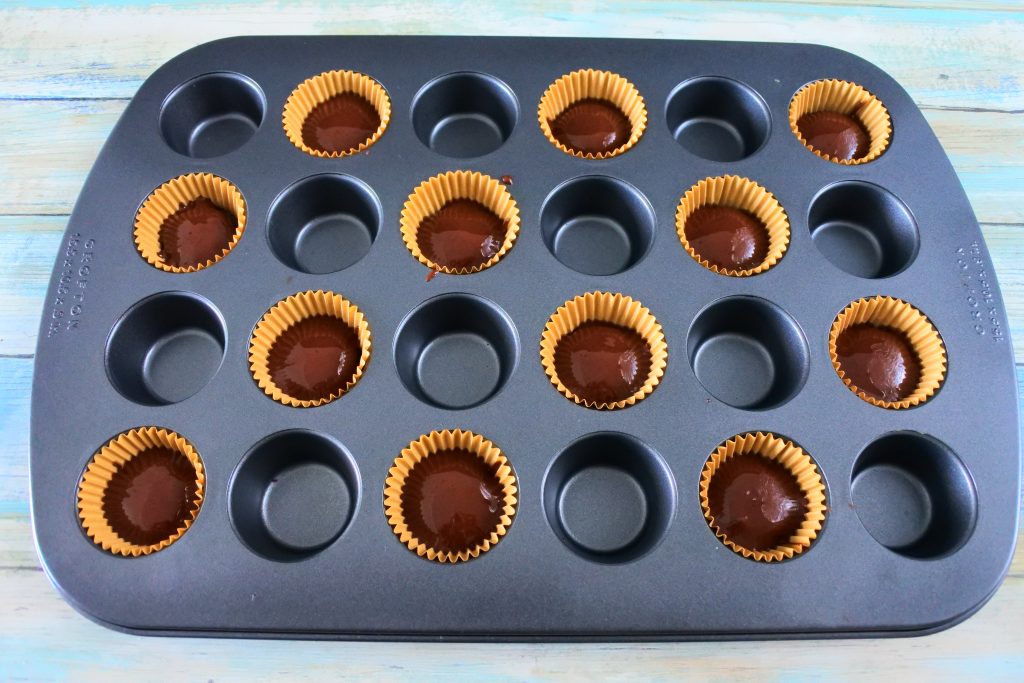
Using your remaining chocolate, pour another teaspoon of chocolate over the flattened peanut butter, being sure to allow the chocolate to fill the edges around the peanut butter discs. Do you notice that the chocolate has an almost dome like shape to them? Well…

Gently tap the tray against your work surface so that the chocolate can evenly spread and create a smooth and flat surface. Also this allows any air bubbles trapped in the chocolate to rise to the surface. Once you’ve done that, set your tray into the refrigerator once more for 20 minutes or until it is fully set!
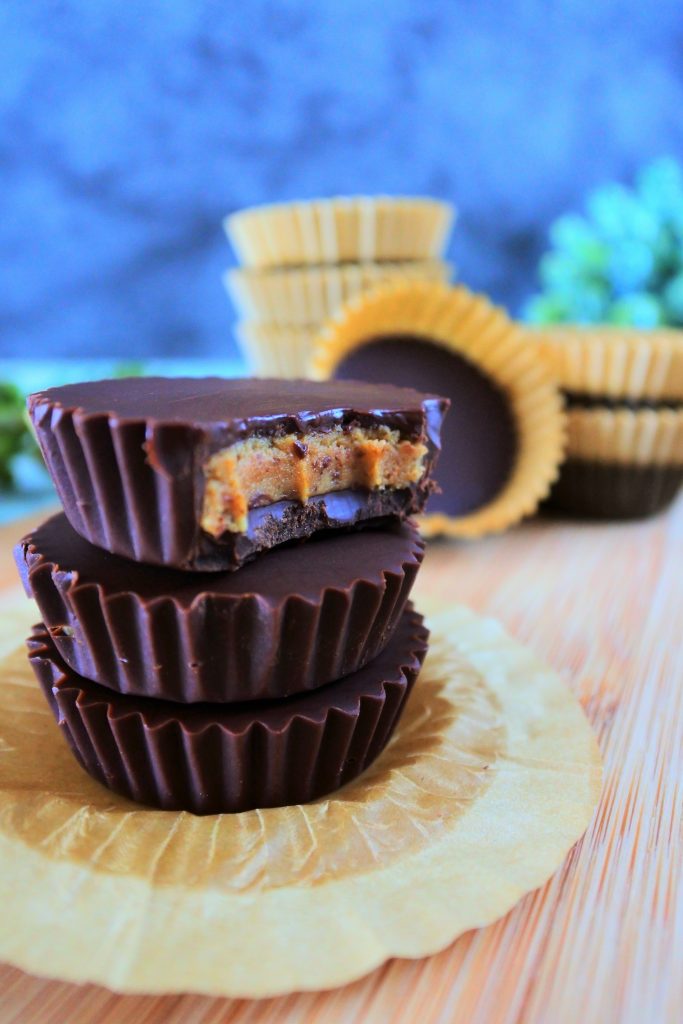
So simple and so delicious and they not only look like but also taste like the real thing!
Even better is that you’re not limited to using mini muffin molds, you can use any mold of your choosing!

For example, I picked up this Halloween themed silicon mold and decided to try making a peanut butter cup with it. The only difference from this to the mini muffins mold was that due to the depth of the mold, I used a spoon to fill the bottom and to also bring the chocolate up the sides of the mold to create a shell of sorts. Then I proceeded as usual by chilling the chocolate, filling it with the peanut butter mixture, topping with chocolate and chilling until set once more.

Once set and released from the mold, this is what it looks like…
Seriously, doesn’t that look absolutely awesome!?

And because I needed to know what the inside looked like I just had to cut into it! I will say that the base chocolate was a little bit on the thick side but truthfully I have absolutely no complaints about that!

4-Ingredient Peanut Butter Cups
Ingredients
- 1½ tbsp powdered sugar (made from raw cane sugar)
- 3 tbsp natural peanut butter (at room temperature)
- ⅓ cup dark chocolate (you can use anywhere from 65%-100%)
- 1 tsp coconut oil
Instructions
- In a small bowl add the chocolate and coconut oil and melt in your microwave in increments of 20-30 seconds until all the chocolate is melted.
- Stir to fully incorporate the coconut oil into the chocolate until smooth.
- Line a mini-muffin tin with 12 liners and pour a teaspoon of melted chocolate into the base of each liner.
- Tap your tray gently against the work surface to evenly spread and allow any air bubbles to be released from the chocolate before setting the muffin tin into the refrigerator to chill for 5 minutes.
- While waiting for the chocolate base to set, combine the powdered sugar (made by blending raw cane sugar in a high powered blender until it is a fine powder) and peanut butter together into a smooth and thick paste.
- Using a 1/2 tsp measure, divide the peanut butter mixture into 12 portions and roll into balls (the peanut butter should be workable without sticking to your hands)
- Once the chocolate bases have hardened in the liners, add a rolled out peanut butter ball onto each one and press down slightly to make a disc, (being sure to not let the peanut butter touch the sides of the paper liner).
- Pour the remaining melted chocolate over each of the peanut butter discs, being sure to fill the sides and top.
- Once again, lightly tap the muffin tray against the work surface to create a flat and even top and to allow any bubbles in the chocolate to rise to the surface.
- Place your peanut butter cup-filled muffin tin into the refrigerator for 15-20 minutes until the chocolate has set.
- Enjoy and store and leftovers in the refrigerator in an airtight container for up to 6 months or in the freezer for up to a year!
