
Before my shift to clean eating I was large and in charge of baking breads using my trusty white flour. Whole wheat bread however evaded me for a long time, but given how much I love bread I was determined to get it right, and I think after so many failed attempts (think bitter, grainy bricks, YUCK!) this recipe nails it ten times over (an unintentional pun since this recipe calls for ten ingredients!) and is honestly on par with the original Hawaiian Rolls recipe created by Tessa Arias over at Handle the Heat, that I used to make using (regular) white flour! And, as an added bonus, no special equipment is needed, meaning that this recipe can be easily made by hand! 😍

To make these whole wheat Hawaiian dinner rolls, we’re pulling out all the stops and creating an enriched dough. Butter, milk, salt, raw cane sugar, yeast, eggs, white whole wheat flour, pineapple juice, honey, and vital wheat gluten are all going into this heavenly concoction from which our dough and subsequent bread will emerge. If it seems like a bit of overkill with the ingredients, know that there is a rhyme and reason for each one. That being said, let’s break it down ingredient by ingredient so you can fully understand the method to this madness, or if you just want to “get to the process” skip ahead to the next image.
Butter: This is all for the richness and flavor. Imagine a soft warm roll you can eat without even needing to add anything to because everything you need is “built in”. While the addition of fat to a bread dough does tend to inhibit the development of gluten, fear not, we have that covered!
Milk: Aside from its nutritional benefits, the milk serves to add moisture and richness, but most importantly, it helps the bread to brown when baked.
Salt: Aside from the fact that this dough will be on the sweeter side and that the salt helps to flavor the dough, the addition of salt serves a very important purpose in bread making. It helps to strengthen the gluten structure in the dough which leads to a better rise since these gluten strands expand and realign when the dough begins to proof (simply put: the salt helps the dough be strong enough to trap and hold more air without collapsing on itself when the dough is left to proof).
Raw Cane Sugar: Regular brown sugar is no bueno because it’s essentially striped down white sugar with the molasses added back to it. Raw “brown” sugar retains all its nutritional properties since the molasses is not removed in the creation process to begin with. That being said, the purpose of the sugar here is to assist the yeast in blooming.
Yeast: Simply put, it’s not bread without yeast. Yeast feeds on the sugars we give to it and creates carbon dioxide in return (sort of like a yeast burp!) This is what allows the dough to rise, which gives the bread its traditional texture and taste. For this recipe we’re going to double the yeast most tend to use (so we’ll use two packets instead of one). This compensates for some of the other ingredients (like the flour, the butter etc.)
Eggs: Eggs in a bread dough aids in enriching the dough (the yolks), but it also acts as a leavening agent and contributes to the rise of the bread; meaning fluffier, lighter, softer rolls!
White Whole Wheat flour: White whole wheat flour is made of the endosperm, the germ, and the bran of the wheat berry and contains 100% of the nutritional value of regular whole wheat flour because it is 100% whole wheat flour. The difference is that it’s made from ground red wheat berries which is much milder in flavor (think less bitter) and therefore closer to white flour in taste!
Pineapple juice: Okay, I can admit when I’m sort of going a bit overboard. This ingredient was in the original recipe and I’ve kept it because I can! I love the extra kick of sweetness that it adds to the bread plus the sugars in it helps feed all that hungry, hungry yeast…and for what the yeast cannot eat, the sugars go towards generating that much sought after brown color on our rolls.
Honey: Yes, I know we already have the raw brown sugar (though it’s only a teaspoon for the benefit of the yeast’s bloom!) and the pineapple juice, but hear me out. Do you ever notice that most whole wheat breads are honey whole wheat breads? There’s a reason for that. Since whole wheat flour absorbs more water and moisture than regular flour, most whole wheat breads tend to be on the dry and almost crumbly side. What I’ve learned is that honey is needed to add that much needed touch of moisture that doesn’t go away when we bake the bread.
Vital Wheat Gluten: This is an absolutely essential ingredient and one that really makes (or breaks it if you choose to omit it, so don’t omit it!) this recipe. Whole wheat flour is low in gluten content and gluten is needed to give bread its signature stretch and elasticity. Without it, bread is dense and does not develop. Even with the yeast, it will not work if there is not enough gluten in the bread! Vital Wheat Gluten is essentially pure protein that is ultra concentrated gluten, and yes, it is clean, (Read more about what it is, how it’s made and why it’s useful HERE) and we are going to add it to compensate for the low gluten content in whole wheat flour.
So as you can see, all the ingredients play a role both for themselves and in complementing the other ingredients, and the end result is a light, fluffy, sweet dinner roll that is perfect all on its own. So now that we understand the role our ingredients play, let me show you just how easy this recipe is to make!

We’ll begin by blooming our yeast in some warm milk. To the milk we’ll add our raw cane sugar and then dissolve the yeast into it. (Note that the top bowl is merely a bigger bowl that I add everything into since the yeast does froth and bloom upwards quite a bit).
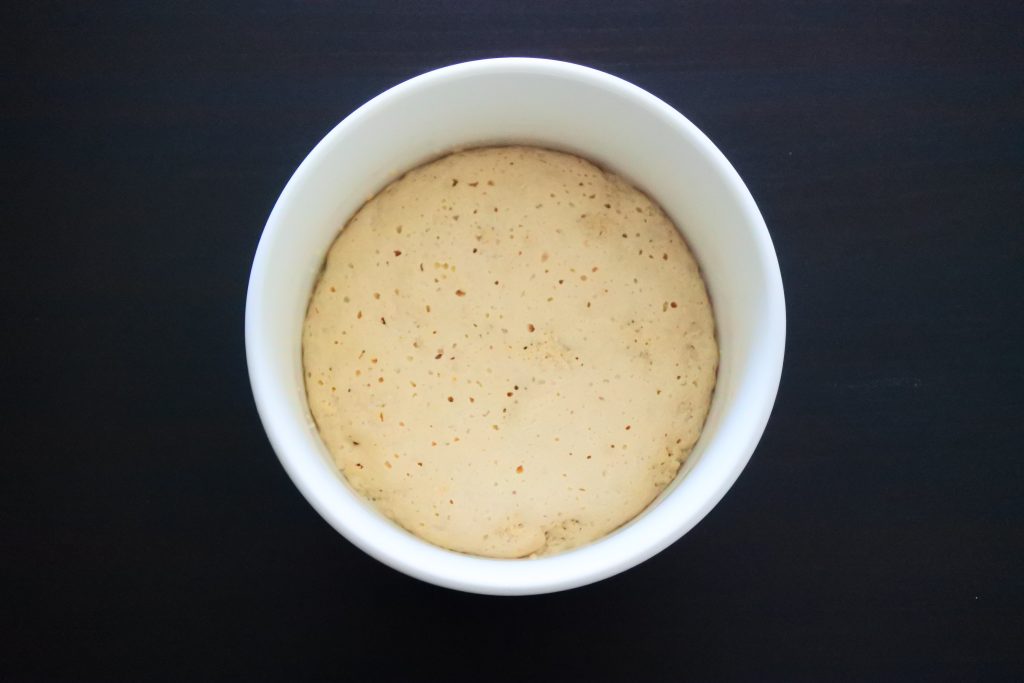
Once five or so minutes have passed and we can see that our yeast is alive and thriving, we’ll move on…
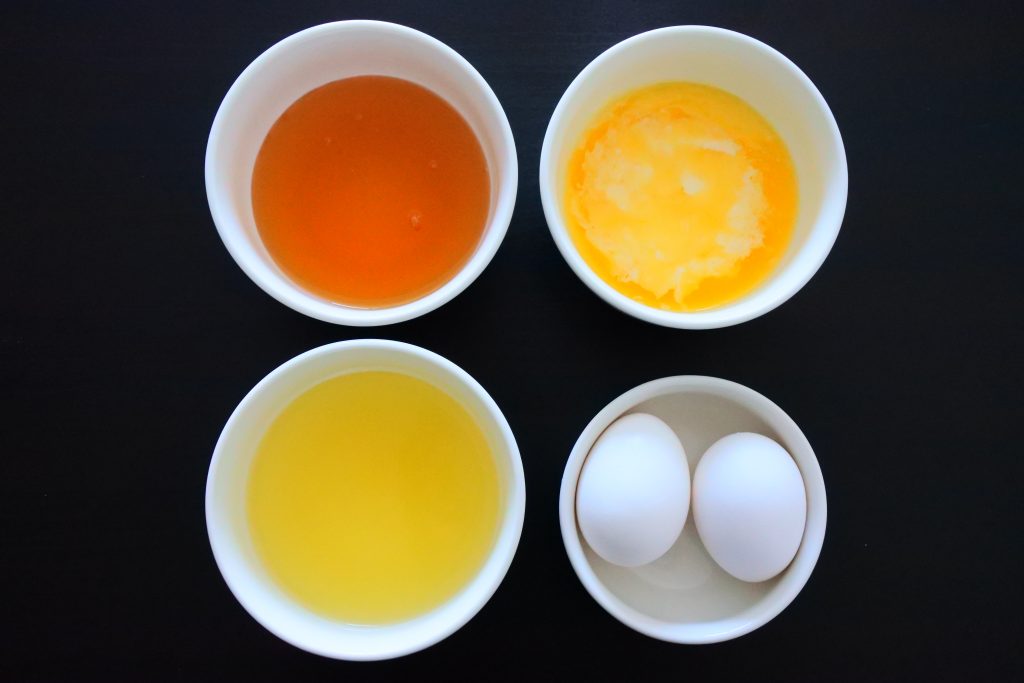
…The next step is to combine all our other wet ingredients together. The honey, eggs, melted butter, and pineapple juice will be whisked into as homogeneous a mixture as we can get it.
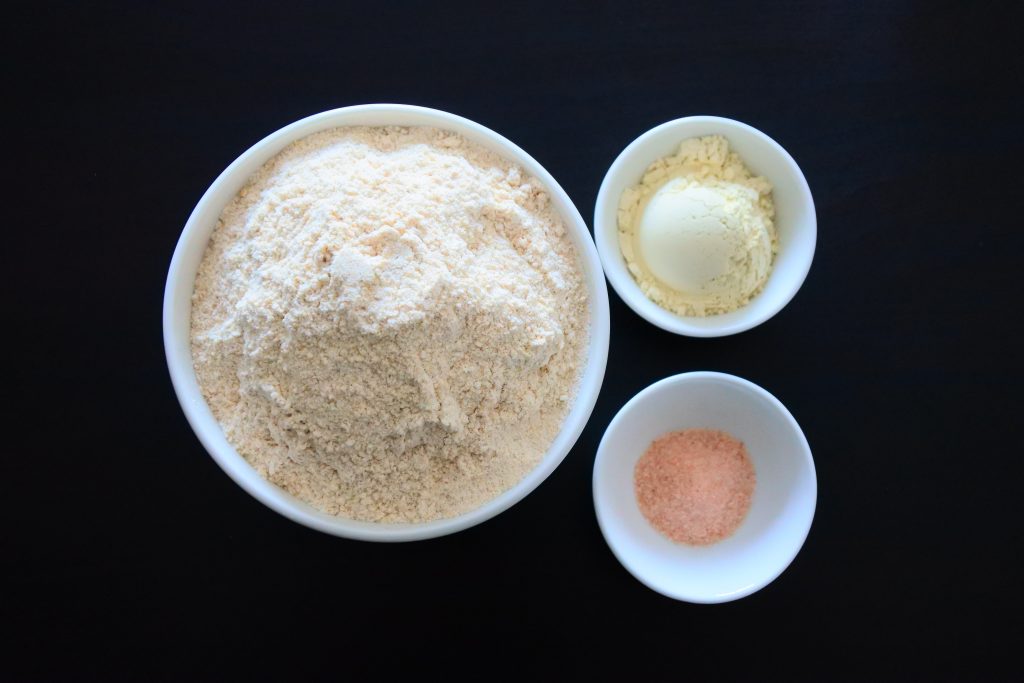
Then we’ll focus on our dry ingredients by adding the salt and vital wheat gluten to our white whole wheat flour.
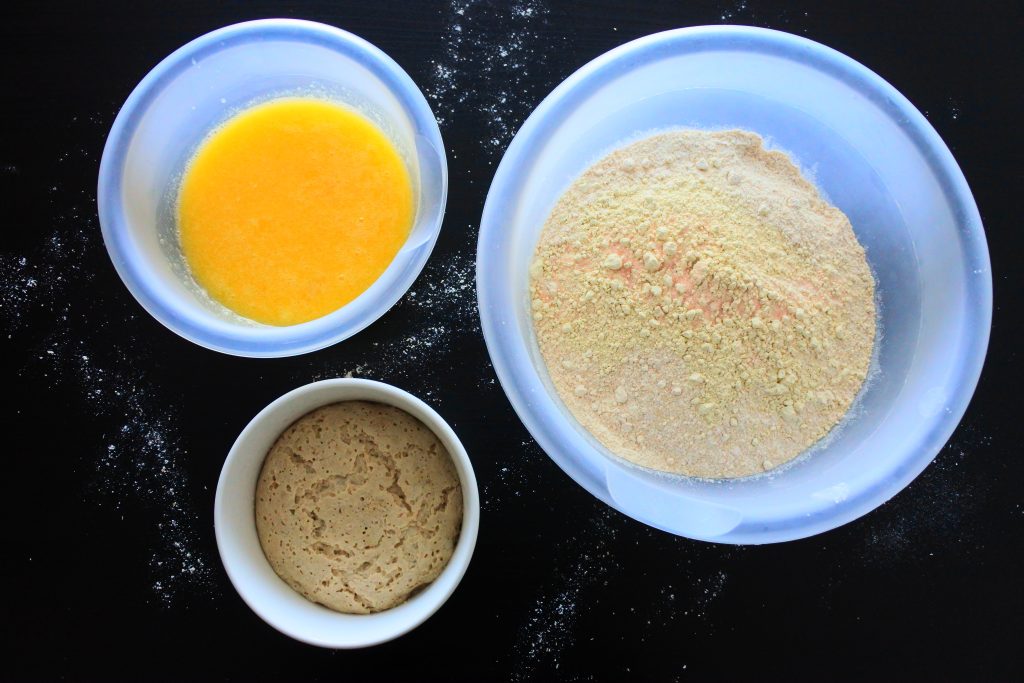
With our gathered ingredients together we’ll begin to form the dough. The first step is to thoroughly combine the dry ingredients, mixing it until the vital wheat gluten (and salt) is evenly dispersed throughout the flour (if not, when you add the liquid the vital wheat gluten will immediately begin to clump together into a sticky glutinous mass, we don’t want that happening!) Next, we’ll add in our egg/honey/pineapple juice/melted butter mixture, and stir until the flour has absorbed it all.
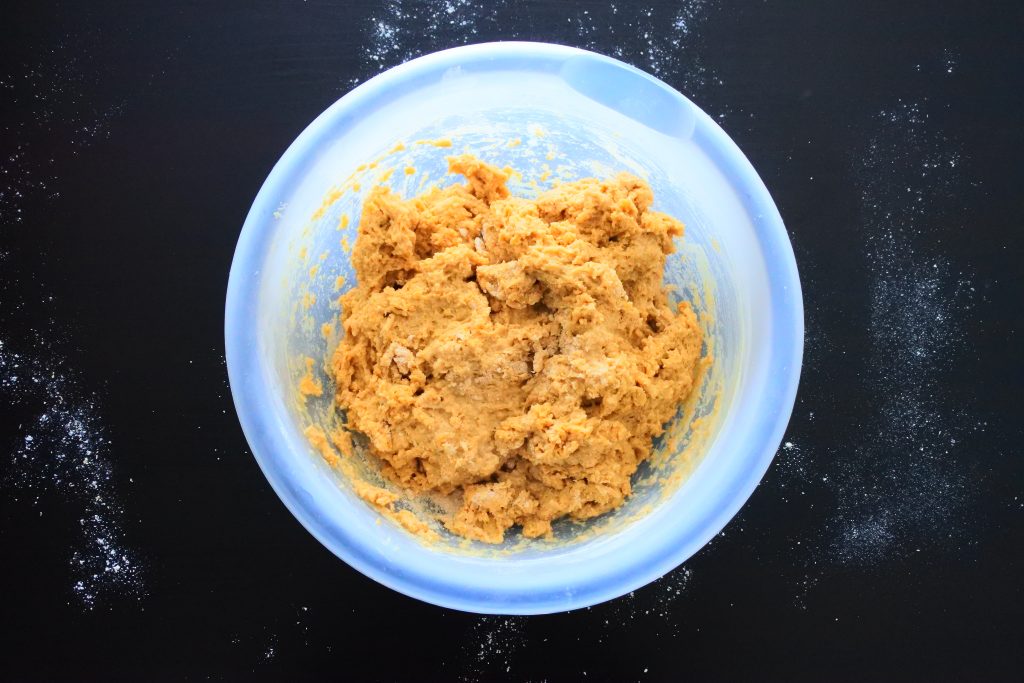
Once that happens, we’ll add in the milk/sugar/bloomed yeast mixture and stir to form a sticky dough.
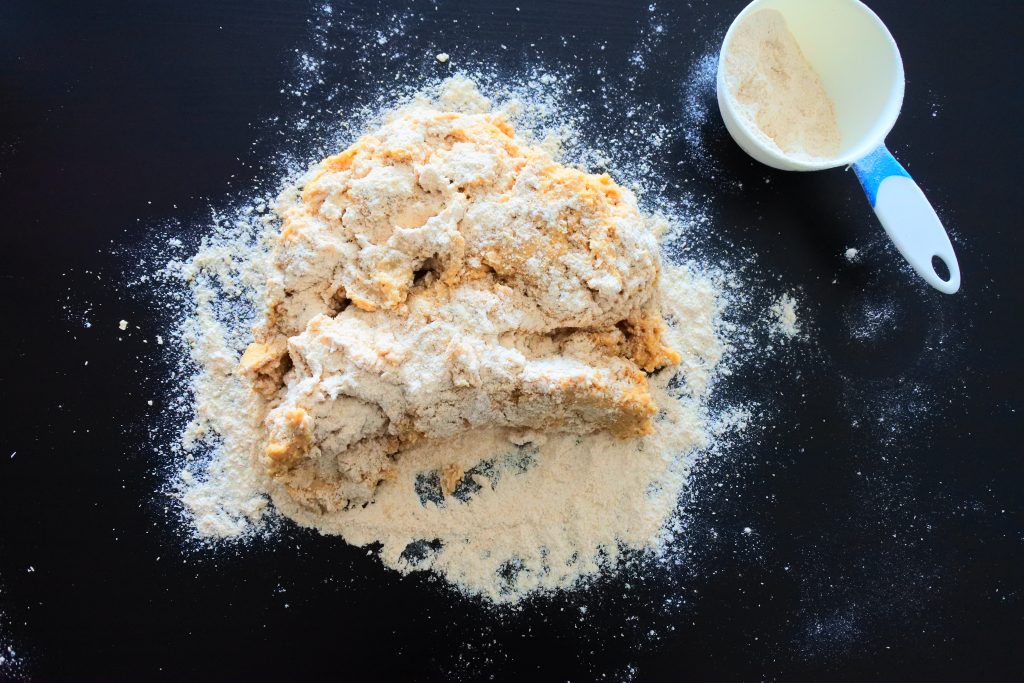
Once this dough is formed, we’ll turn it out onto our floured counter top and begin to work it. Adding more flour as we go (a good mark is to sprinkle flour when the dough begins to stick to your hand or the work surface and almost tear away). Do note though that you don’t want to overdo the use of additional flour since the more you work the dough the more the whole wheat will absorb the liquids and bind together.
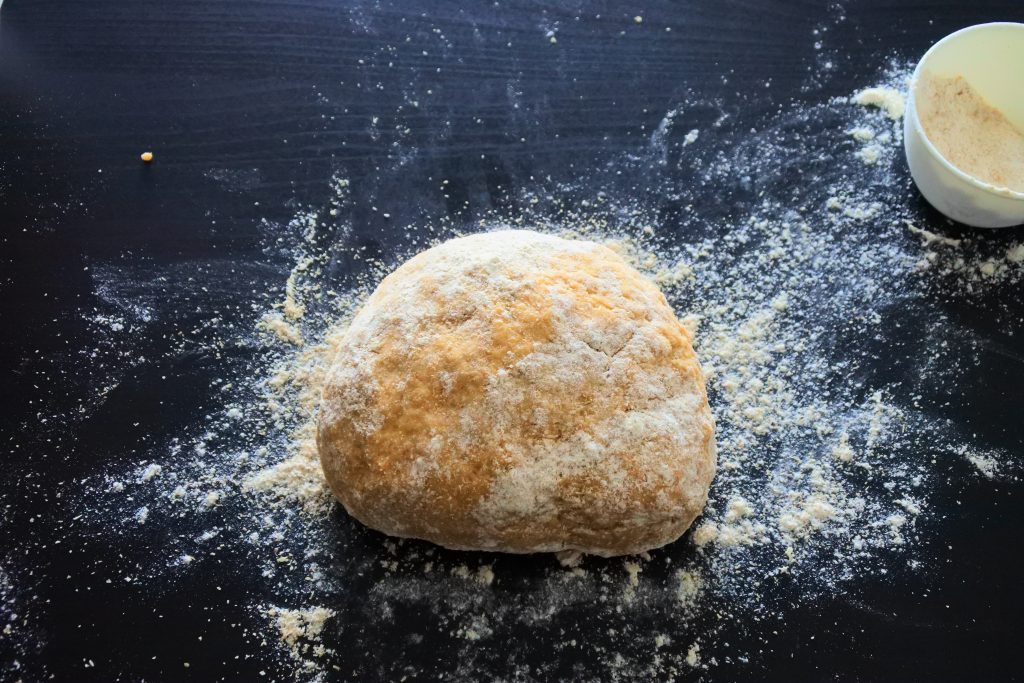
Knead the dough continuously for 5-6 minutes, this allows the proteins (glutenin and gliadin) from the added vital wheat gluten to expand and form the strands of gluten that will give our bread its signature texture. The kneading doesn’t have to be intense or fast-paced, but it needs to be constant and you need to work the dough well.
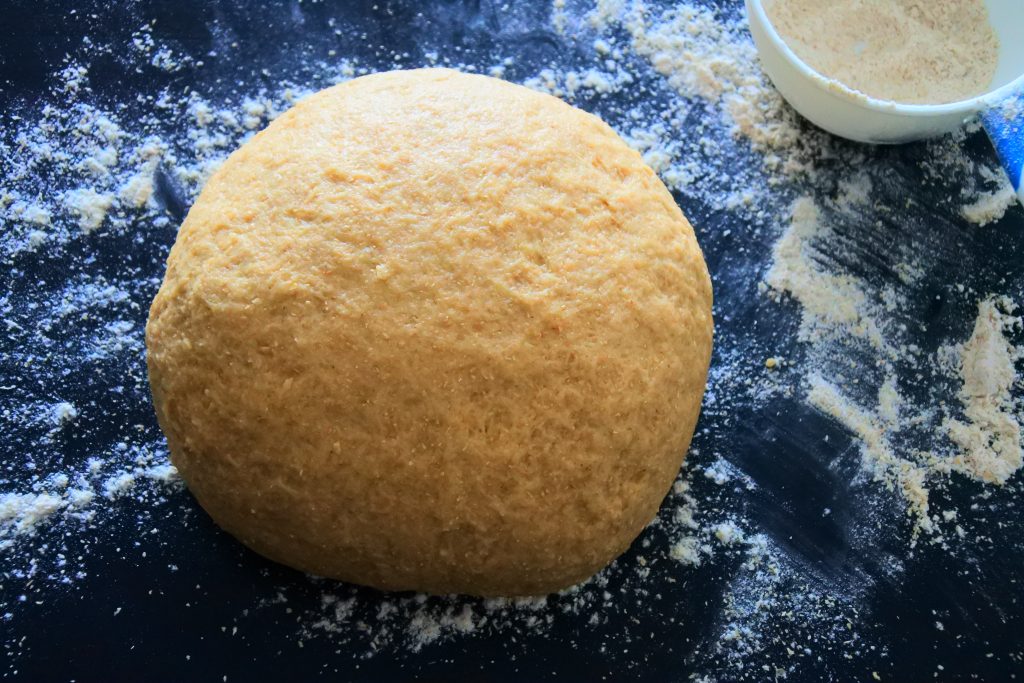
As the gluten strands develop the dough will go from a sticky mess to being slightly tacky to the point where you can press into it with your finger and the formed intent will bounce back slightly (thanks to the developing elasticity of the gluten) and your finger should be clean and free of any dough.
Once that happens we set the dough into a clean, lightly oiled bowl to proof until it has almost tripled in size. The oil not only keeps the dough from sticking to the bowl, but it helps to prevent the dough from drying out while it sits (exposed to the air) to rise. I recommend keeping the bowl covered with a damp cloth while it rises.
After our initial rise, we’re going to punch the dough down and divide it into fifteen equal portions (I typically form and quickly roll my dough into a rough fifteen inch long log and cut off inch-long pieces.) While they need to be around the same size, they don’t have to be perfect. Once we’ve rolled each piece into a ball, we’re going to place it into a buttered dish (I use a 9×13 glass baking dish) where we will allow it to proof a second time. Once the rolls have doubled in size yet again, we’re going to bake our rolls in a pre-heated oven.
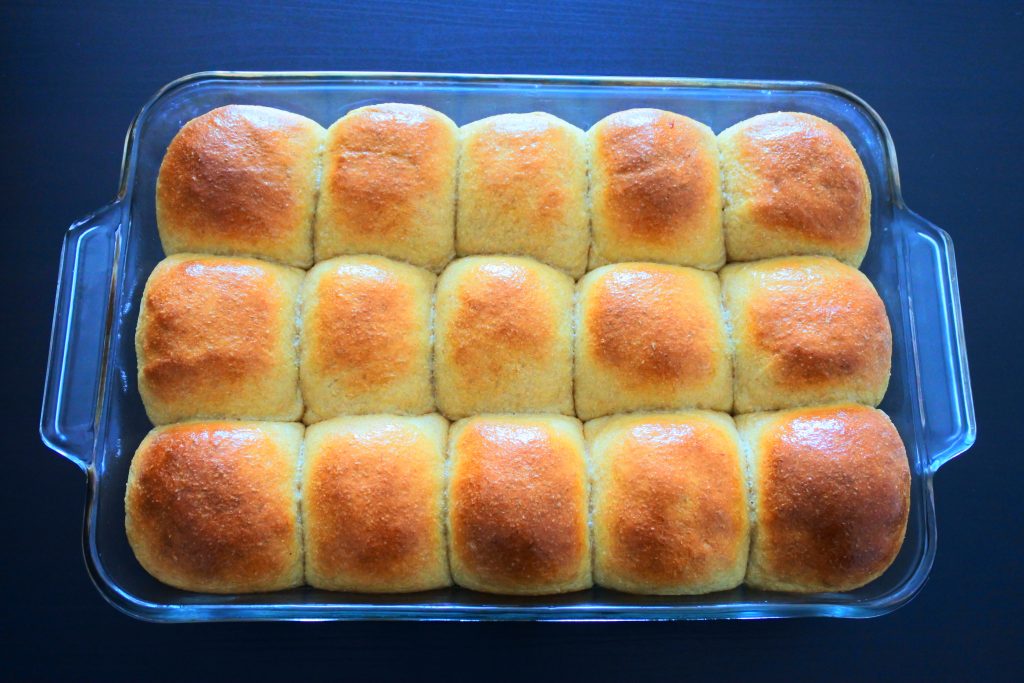
Our golden rolls are done!🤤 All that’s left to do is brush the tops with butter (optional) and slide them out of the dish and onto a wire rack to cool before devouring them.
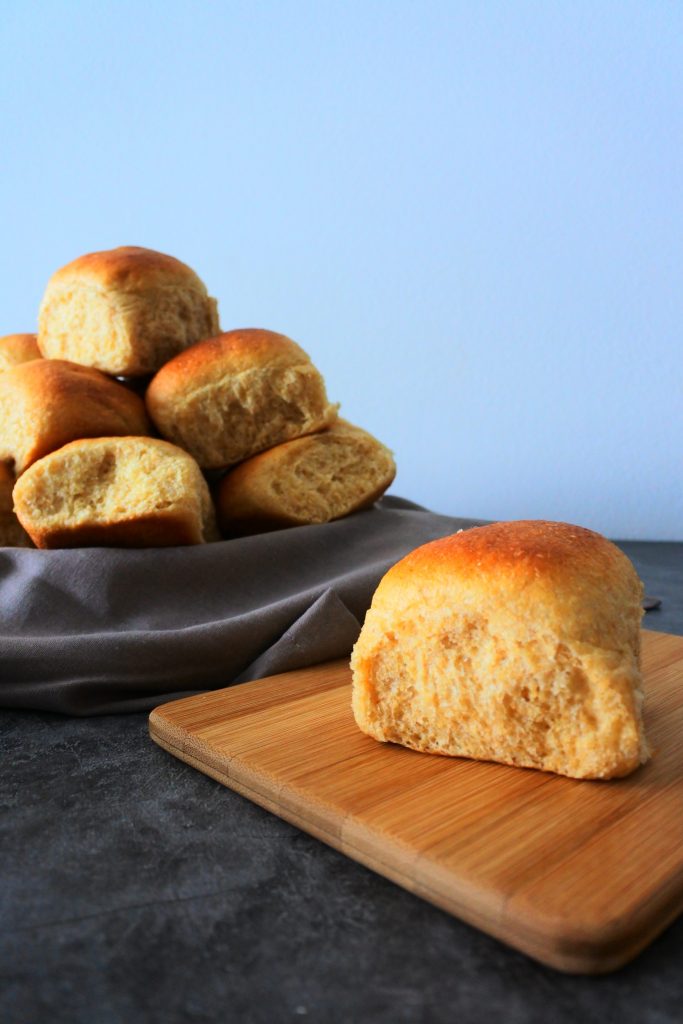
They tear apart like a dream and are light and fluffy with a perfect crumb texture. Seriously, if you don’t tell people it’s 100% whole wheat I can almost guarantee you they will never know!

These rolls hold well in the refrigerator and toast up beautifully in the days to come. Honestly, this is now my go-to recipe for bread as I can use it for whatever I like.
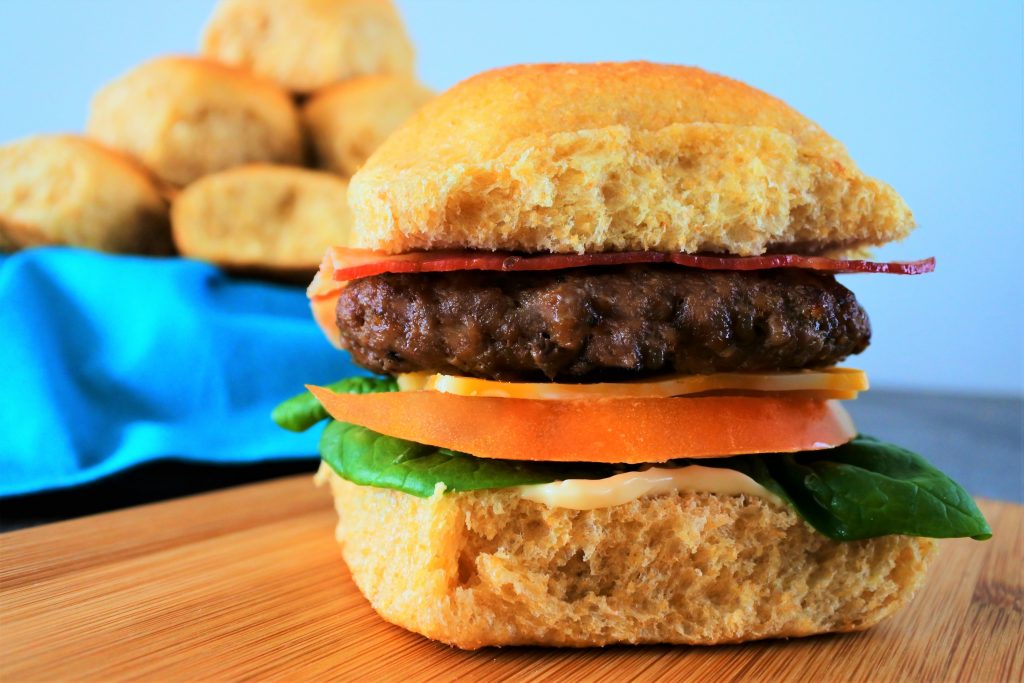
From breakfast sandwiches and PB&Js to tuna melts and cheeseburger sliders (pictured above) or even these copycat Chick-fil-A Original Sandwich and the Chick-fil-A Grilled Chicken Sandwich these rolls are versatile and delicious! And, if you have a sweet tooth like I do, pair these rolls with some Homemade Nutella for a truly decadent treat!

100% Whole Wheat Hawaiian Dinner Rolls
Ingredients
- ¾ cup Whole Milk
- 1 tsp raw cane sugar
- 4½ tsp active dry yeast (2 packets)
- ½ cup pineapple juice
- ⅓ cup salted butter (melted)
- ⅓ cup honey
- 2 large eggs
- 4 cups white whole wheat flour (+ extra half cup as needed)
- 2 tbsp vital wheat gluten
- 1½ tsp Himalayan salt
Instructions
- Warm milk to 110°F and add and dissolve the yeast and organic raw brown sugar. Allow the yeast to proof for 5 minutes.
- In a separate bowl, combine pineapple juice, melted butter, honey and eggs together and whisk until smooth and well combined.
- In a third (large) bowl add the salt and vital wheat gluten to the flour and stir well to incorporate and evenly distribute the vital wheat gluten.
- Add the pineapple juice/butter/honey/egg mixture to the flour and stir to incorporate until all the liquid has been absorbed.
- Add in the bloomed yeast and once again mix until all liquid has been absorbed. (The dough should be sticky at this point).
- Turn the dough out onto a floured surface and begin to work it and knead it consistently for 5-6 minutes, adding more flour as needed. (The dough should be just slightly tacky but when touched should not stick to your finger and the indent made should bounce back slightly)
- Place the dough into a lightly greased bowl and cover with a damp cloth and allow to rise for 45-60 minutes (until doubled in size).
- Punch the dough down to release the air and divide it into 15 portions. (I typically give a quick knead and roll the dough into a rough 15" log and cut 1" portions off). Roll each portion
- Roll each segment into a round ball and place into a buttered baking dish. Cover the dish with a damp cloth and allow the rolls to once again proof until doubled in size (45-60 minutes).
- Half-way through your second proofing, pre-heat your oven to 375°F and when your rolls have doubled in size, place the baking dish (with the rolls) into the oven for 20 minutes until the tops get a nice golden brown color.
- Brush the tops with butter and slide the rolls out onto a cooling rack and allow them to cool for 20 minutes before tearing apart into individual rolls.
- Bring any leftovers to room temperature (completely cooled) any store in a sealed bag or airtight container in the refrigerator for up to a week or in the freezer for up to a month.
Notes
- Use eggs and pineapple juice that are room temperature.
- You can use instant yeast if you prefer, if you do there is no need to bloom the yeast.
- You can make the dough ahead of time and allow them to rise in the fridge overnight. Allow the rolls to sit at room temperature for at least an hour before baking or they will not rise.
Nutrition
*This recipe has been adapted from Handle the Heat’s Homemade Hawaiian Bread Rolls.
